
Roper Whitney #58 Punch Press
I recently acquired a used Roper Whitney #58 pedal press. It arrived with a pretty big box of tooling to go with it.
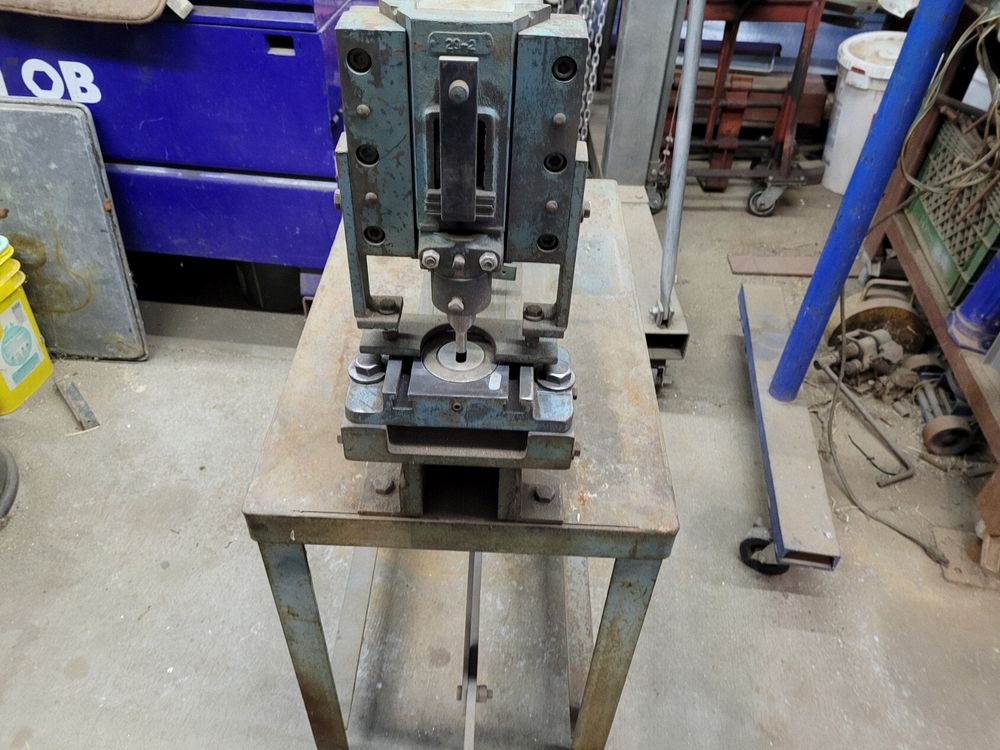
The images in the ad made the unit look pretty nice given its age. In real life it was every bit as good as the images. It did not appear to be very worn and upon disassembly at home this proved to be the case. There was no internal rust on the ways and only one nut was missing. This thing weighs just shy of 400# and is a bit top heavy.

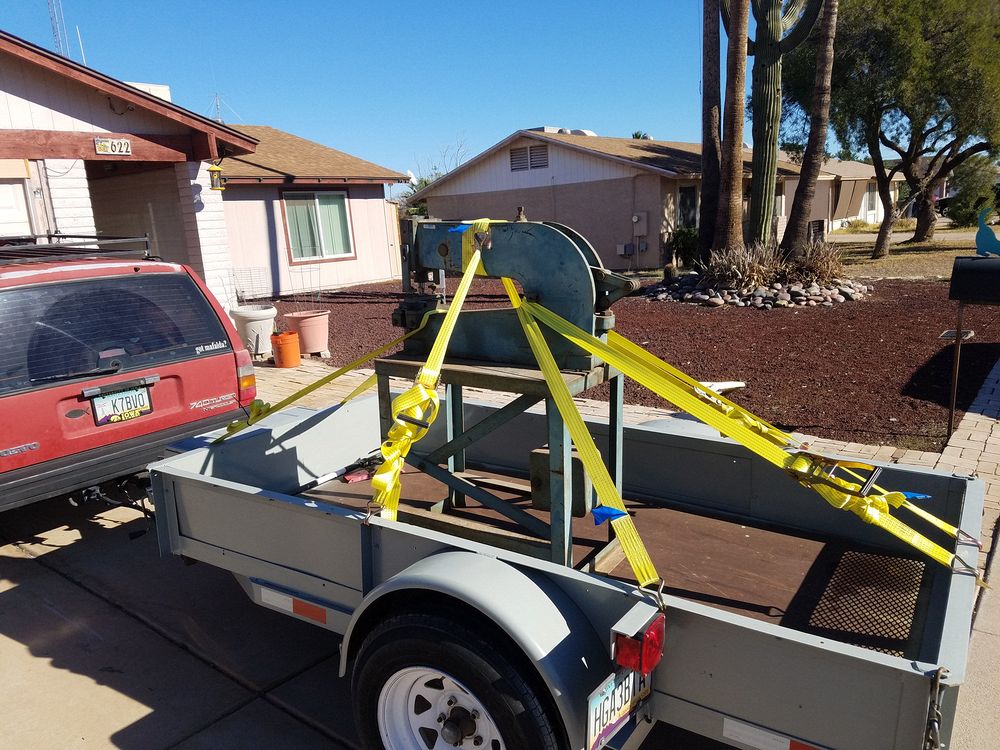
One can never be too rich, too good looking OR have too many tie down straps!! I added a second strap at the back in case some fool jumped in front of me and popped on their brakes. These people now a days love to try and fill that safety cushion you leave in front of your vehicle....

I removed the bolt on parts and scraped the thicker crud from the machine with a putty knife. The punch was actually quite clean for its age and not vey greasy and the ways were in excellent shape.. I sprayed it down with ZEP Purple Clean and scrubbed with a scotchbrite pad. Doing double duty, I made sure to park the punch on top of the greasy patch in the driveway! The chipping paint on the top deck of the stand was sanded with an orbital and some 60 grit discs.

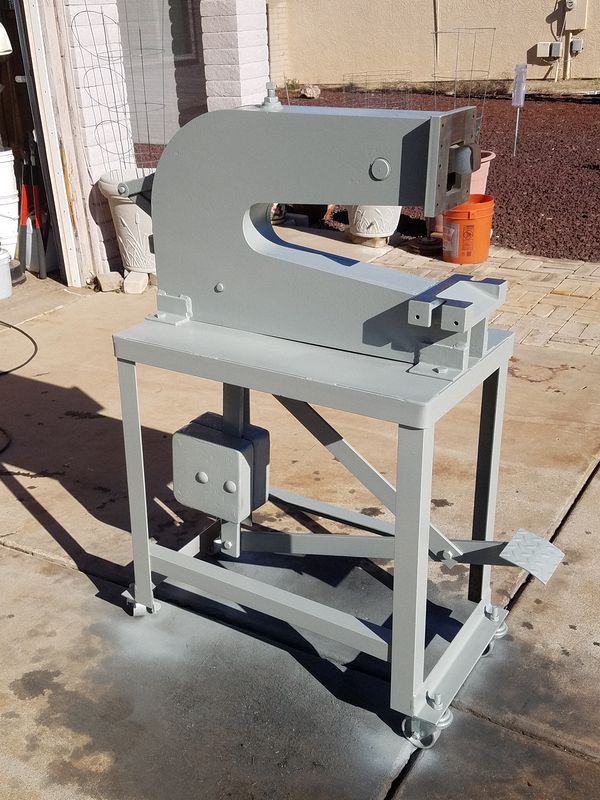
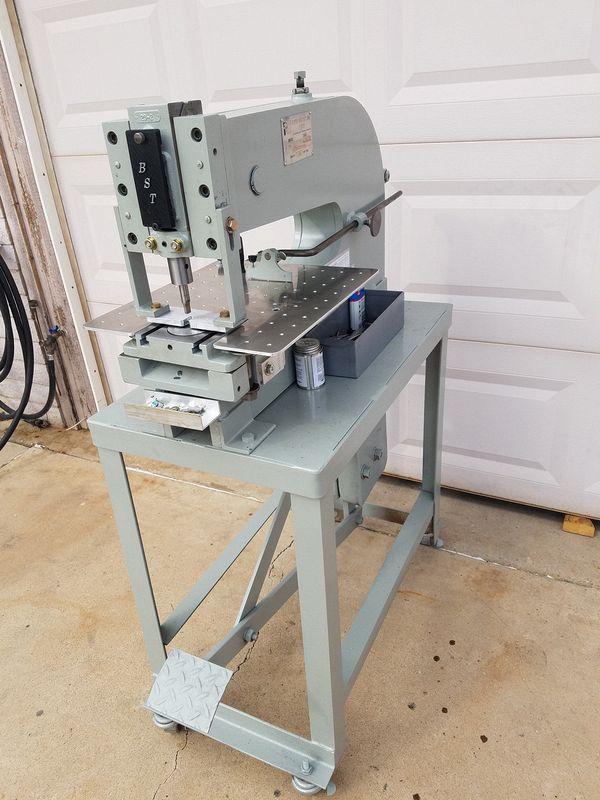
With bolt on parts removed for clean up and painting, I shot a coat of paint, The ever durable Rustoleum Industrial Spray Enamel. This stuff sprays very nicely, does not run unless you get stupid and is hard to damage once cured. This is my go to machinery paint if I am not powder coating. The machine was mounted on a set of 3" steel locking casters to make moving it around easy. I was concerned with tipping it over while moving due to it being kind of top heavy.
Unless I have a good head of steam going and catch a large expansion joint in the concrete it will not tip over. During operation the wheel locks are not needed unless it is sitting on the sloped part of the driveway. Plans are to make a work table with a matrix of holes for the machine to facilitate side stops for repeat work.

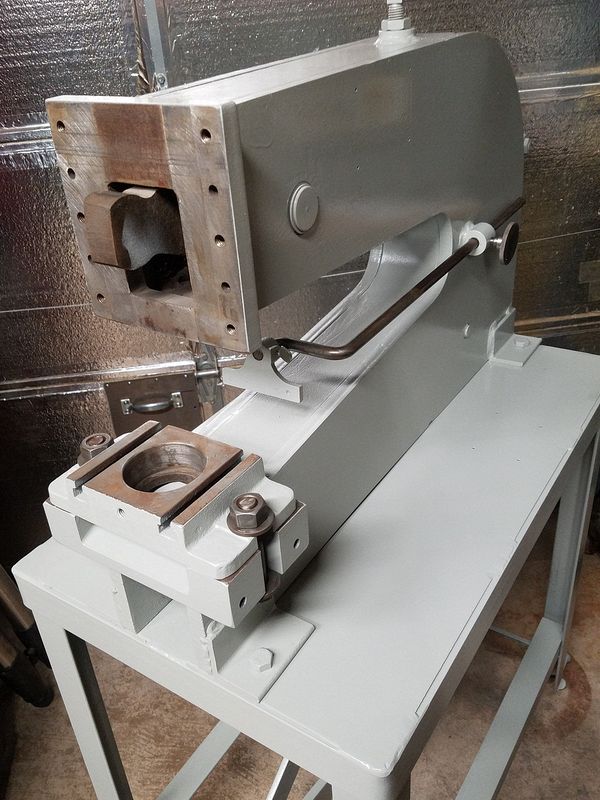
The parts were masked and sprayed. I will wait until the paint cures well before reassembly. The 2.75" Die Shoe and the back stop have been installed after painting. A light cleaning of some water spots from storage will be performed on the gib surfaces prior to installation. All in all the machine is in great shape.

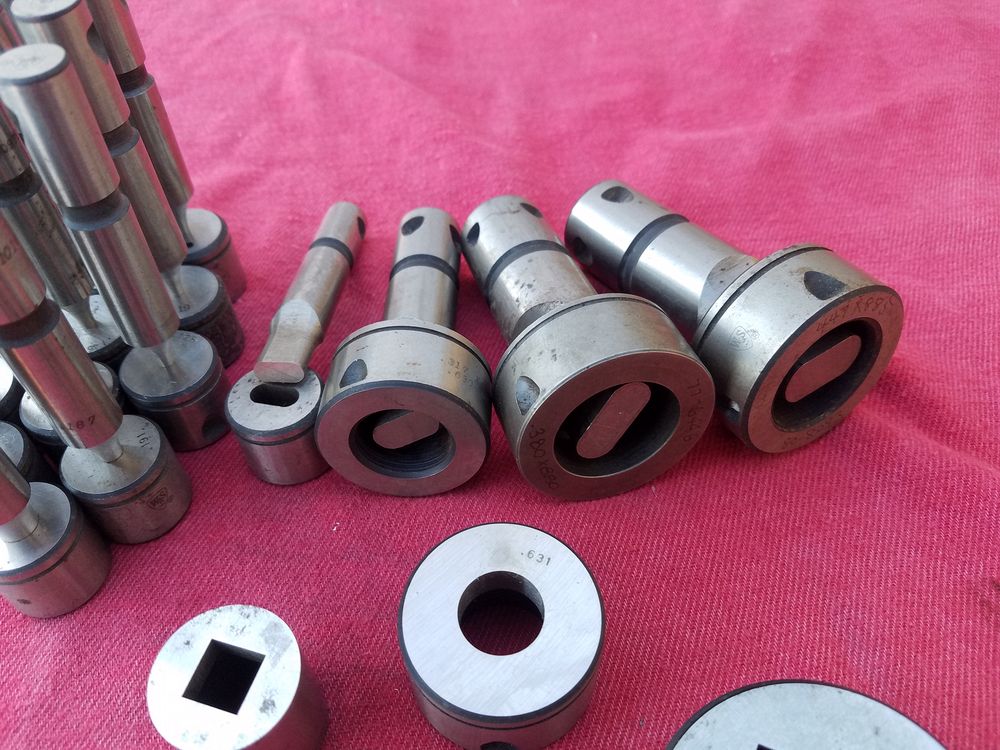
Here is what was included with the punch. There are two die adapters at the top of the left picture, 1.50 inch and 2.25 inch. All of the smaller dies are 0.880 inch and an adapter will need to be made, as will a Punch adapter for the 1/2" diameter punches. One of the slotted punch sets has a 0.750 inch shaft and an adapter will also need to be made.

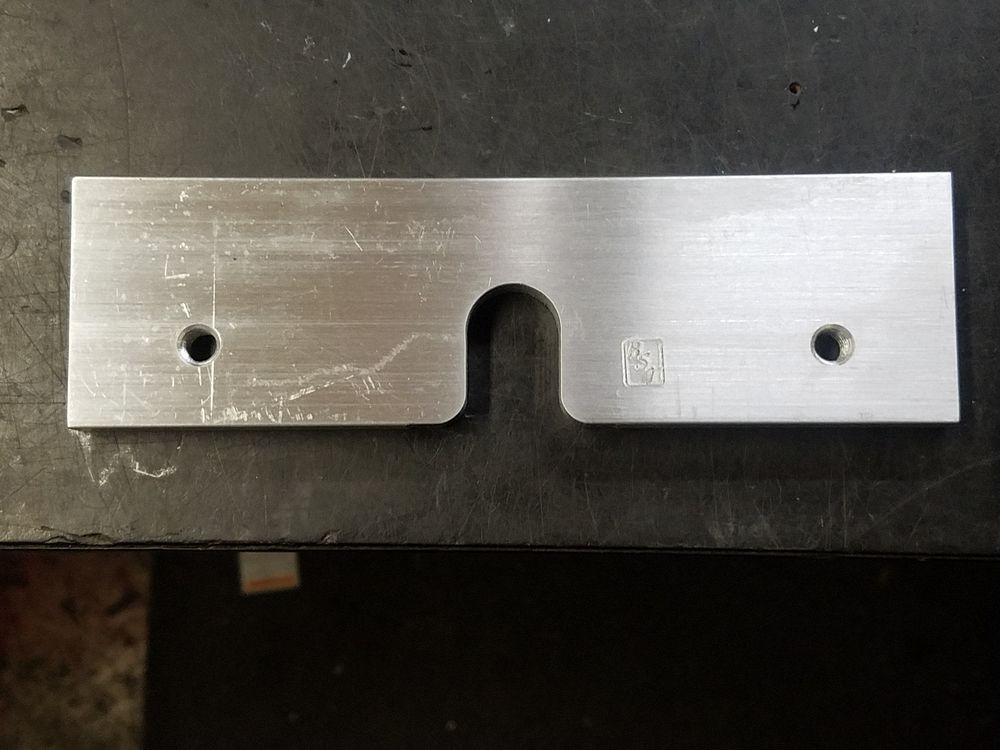
I designed a pattern for the stripper plates, electing to make them from 3/8" X 2" Aluminum bar. The cut path is the green portion on the screen shot.

Set of three stripper plates, 3/8", 3/4" and 1". Installed stripper bar is the 3/4" version. Larger (or smaller) plates will be made as needed. The hold down bolts for the die shoe were modified by adding a larger flat washer and drilling, tapping and installing a small bolt to prevent the bolt from turning while tightening. This way it is a one wrench operation.

A small tool tray with Allen T-handle wrenches and custom made open end wrench (aka: sawed down combination wrench) and a knockout catch tray that fastens to the front of the machine with a pair of cup magnets. I found a weather resistant BBQ grill cover that will cover the entire machine to keep it clean as it will be stored outside under the West awning of the house. Any exposed steel surfaces will be treated with the rust preventative mix that I make. One part Lanolin and three parts Way Oil.

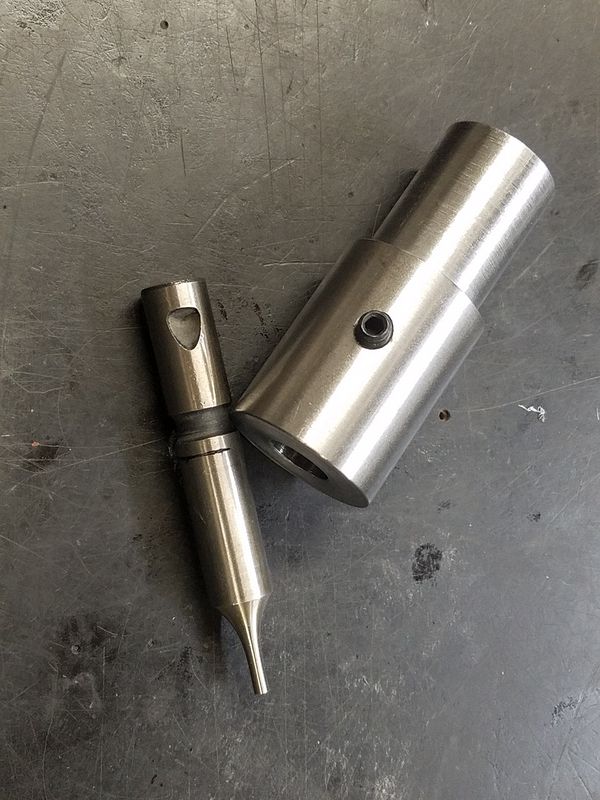
The next step was to make a punch adapter to fit the 1/2" diameter punches. The machine is designed to hold 1" diameter punches, so anything smaller will require a reducer. It was easier to pull a chunk of steel and machine one than to source on the internet. I found one of the official adapters and at $28 the price was right, however shipping was nearly the same price as the part!!

I also needed to make die adapters as the majority of the dies that came with the machine are 0.880 diameter and the smaller of the two that were included were way too big.

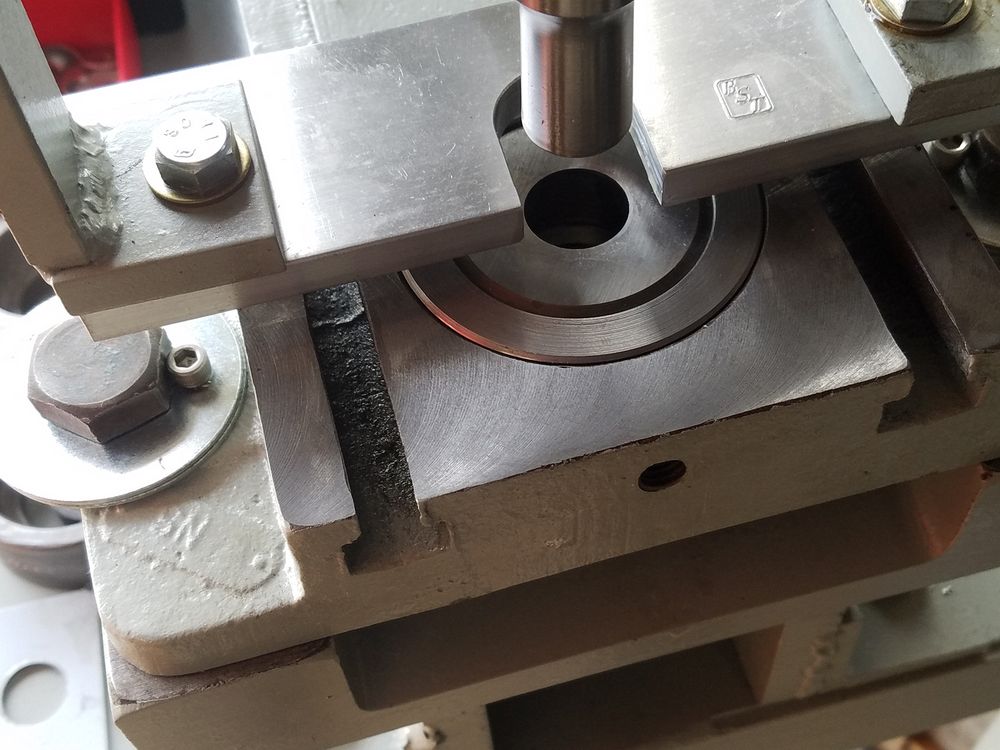
AZ Metals cut some pucks from a piece of 2 3/4" CRS and I face finished them and bored one to fit the smaller dies. I have extras to make more in the future as needed. I removed the die shoe and resurfaced it to get rid of the hammer marks from previous abusive operators.

I sold a duplicate Heinrich #6 bench punch that I have had for a while to fund the purchase of a Punch/Die set that I ordered from Cleveland Punch. This will add 12 hole sizes from 1/4" to 1" by 16th's. (All but the 7/16" for some reason.) I already have a 7/16" in the hoard of punch/die sets that were acquired with the machine. From that same hoard I have several 1/8", 3/16" and many odd sizes smaller than 1/8". I should not be needing to purchase many in the future.

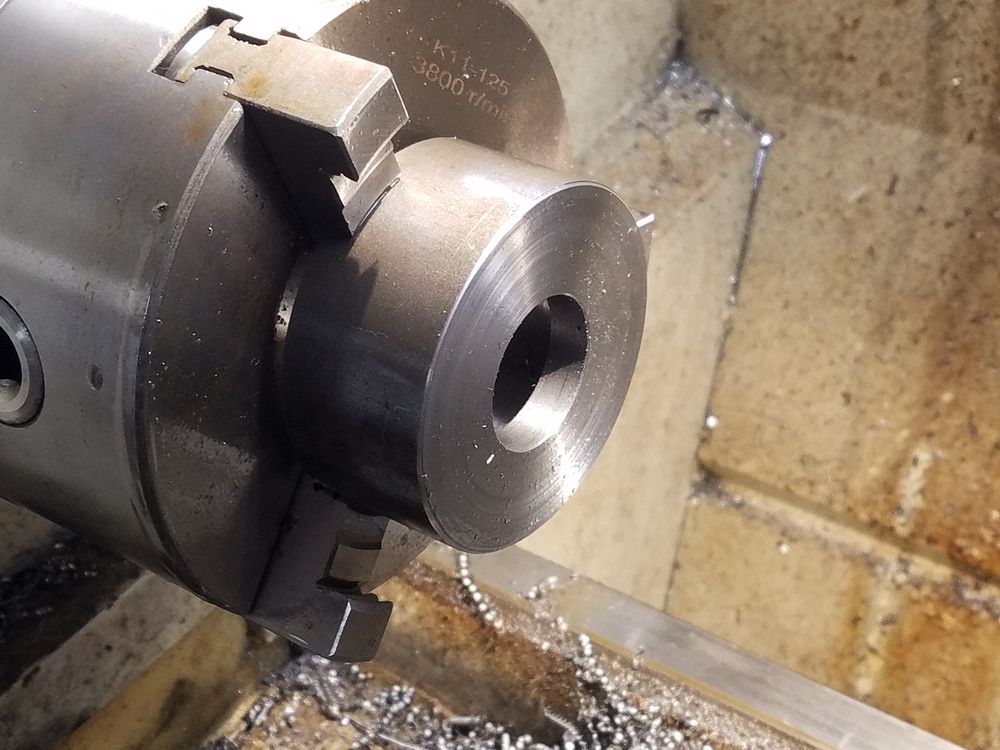
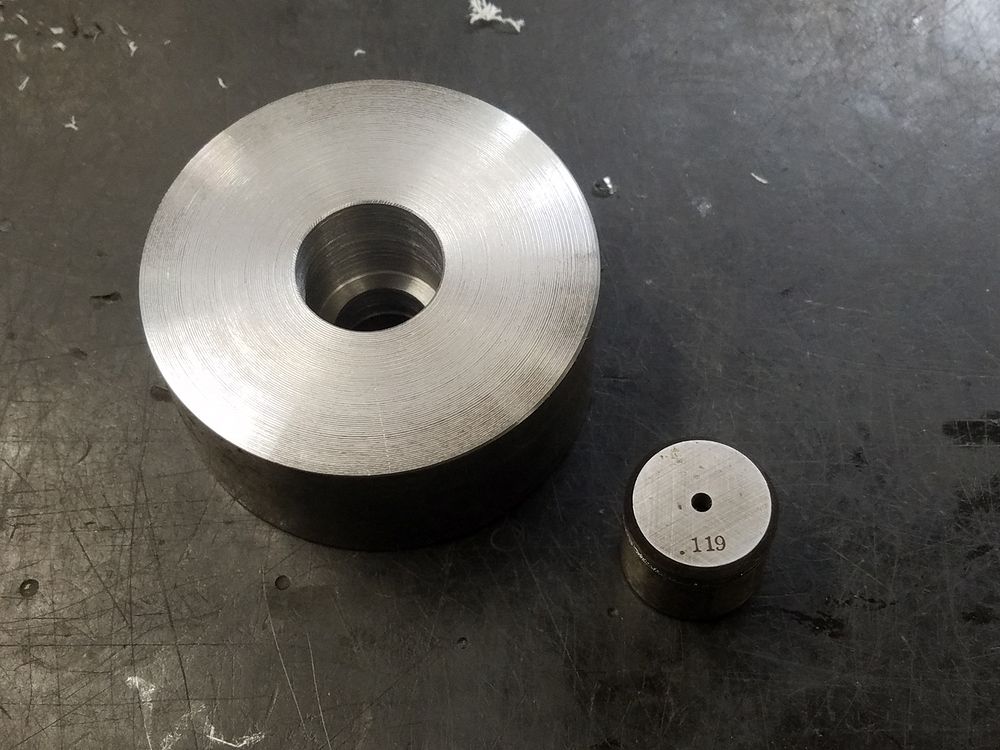
Another puck was mounted in the lathe and bored to fit the new Cleveland dies, which are 2" diameter.

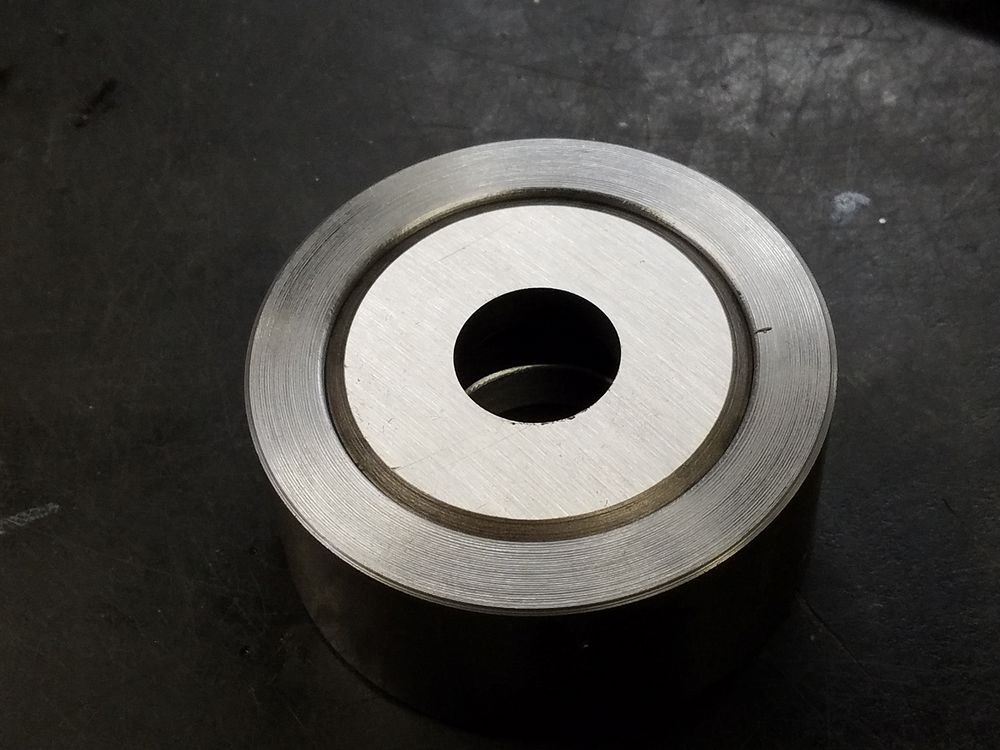
Completed die adapter and die.

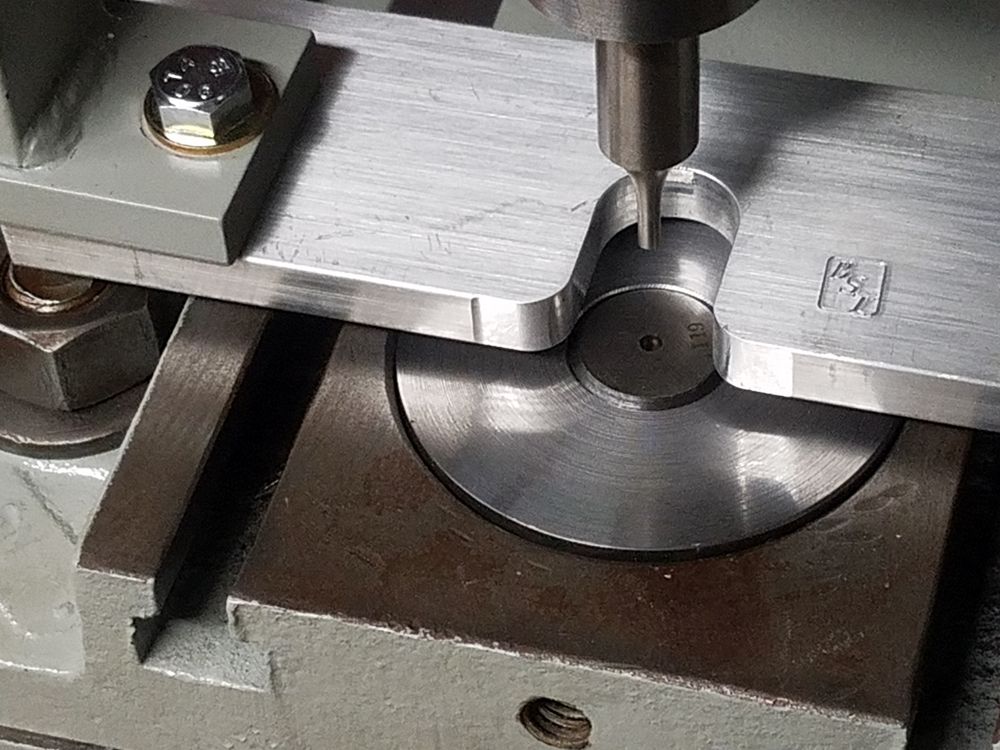
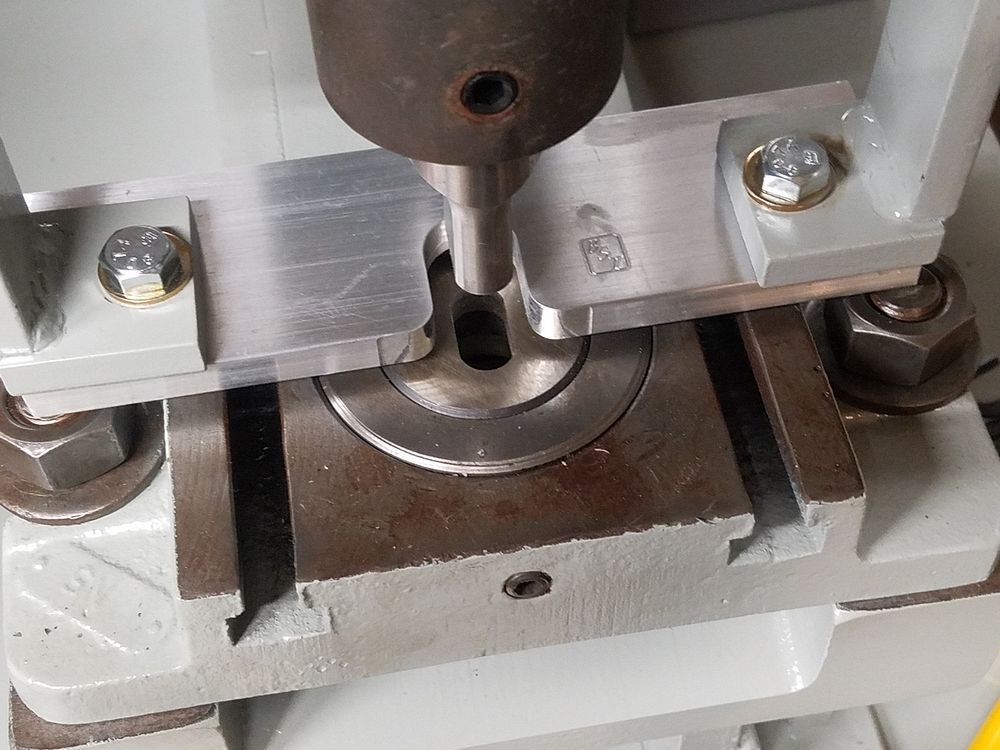
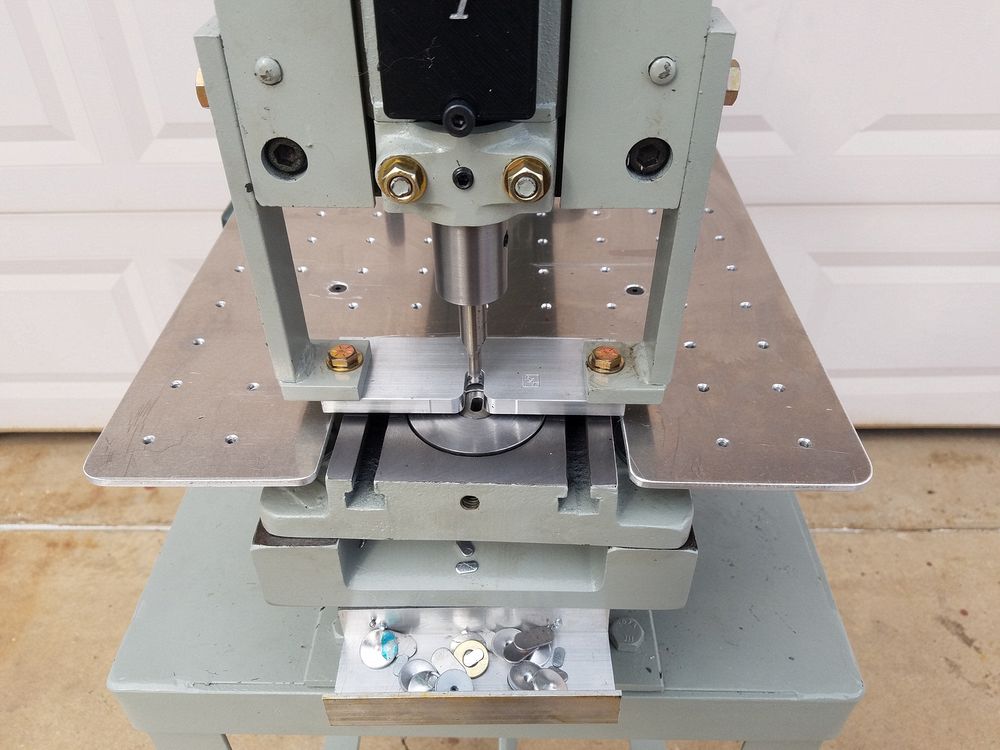
Installed punch and die adapters. 1" shank punch on the left with 3/4" punch (with sample holes) and a 1/2" shank punch on the right. Two different stripper plates shown.

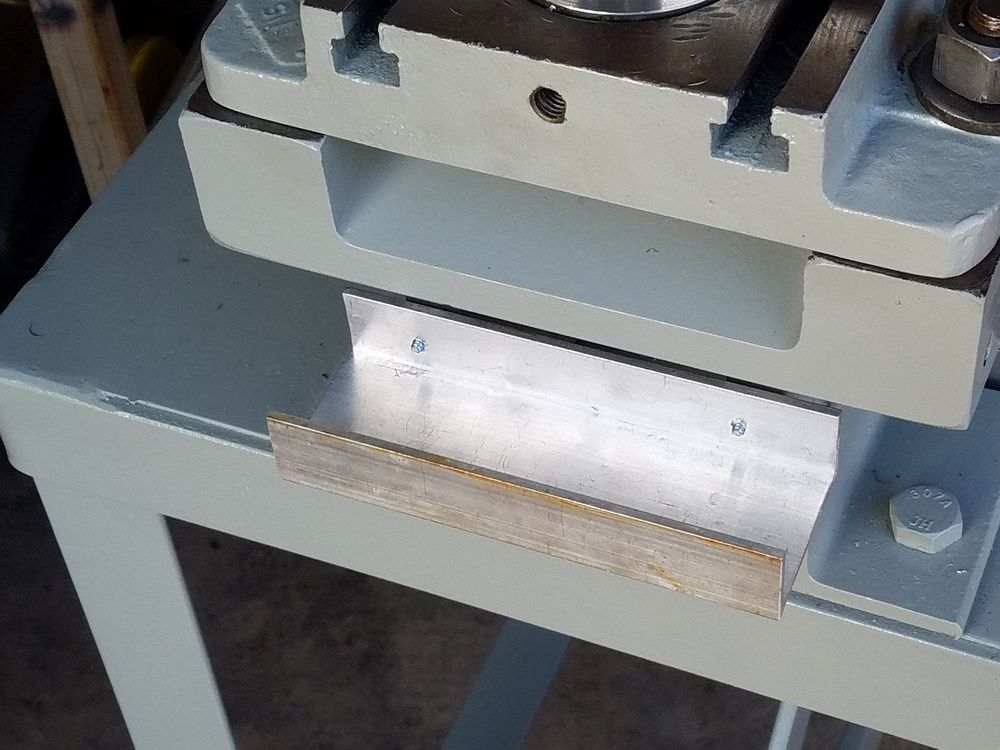
I have found using my Heinrich #6 Bench Punch that a work table with a matrix of mounting holes is extremely useful. I sourced some 2" x 4" 1/4" thick structural aluminum angle from the "junk pile" and used some slices to make the front support brackets. These are independent of the die shoe so slight variations on the die shoe position will not affect the fastening of the work table. 10-32 flat head Allen bolts will be countersunk into the 3/16" plate that will be used for the work surface. The rear end of the table will rest on the frame of the punch, no support bracket(s) will be used.

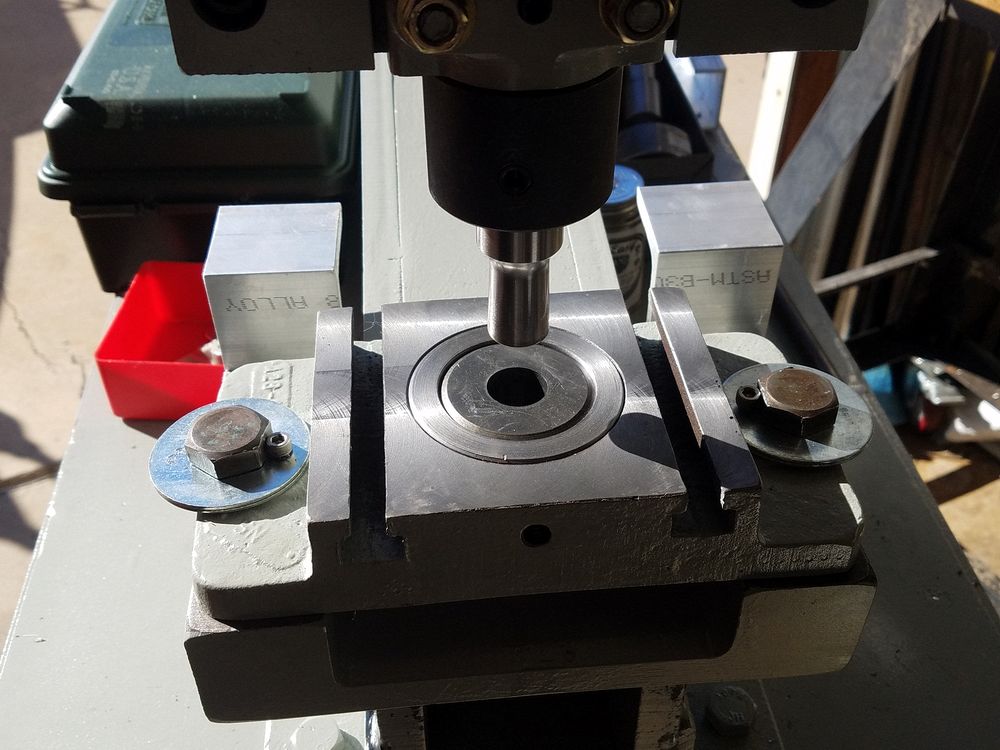
A test fit of the table prior to drilling and tapping a "million holes". The Versa Tapper and the drill press made short work of tapping Seventy Five 10-32 holes in the 3/16" plate. The spacing pattern is the same as the work table on the Heinrich Bench punch. Only two machine screws are used to hold the table into place and the tapered head of the screws ensures the alignment of the table. The table can be removed to change the punch/die and will index exactly upon reinstallation. Shown are two fences installed.

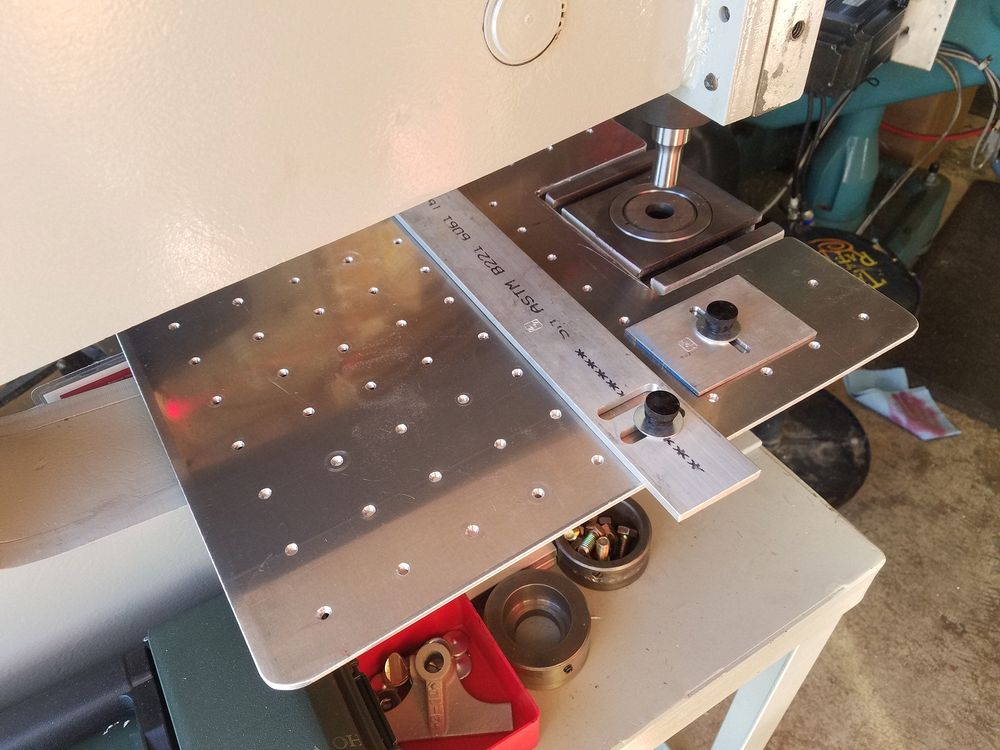
Left and front views of the completed work table.

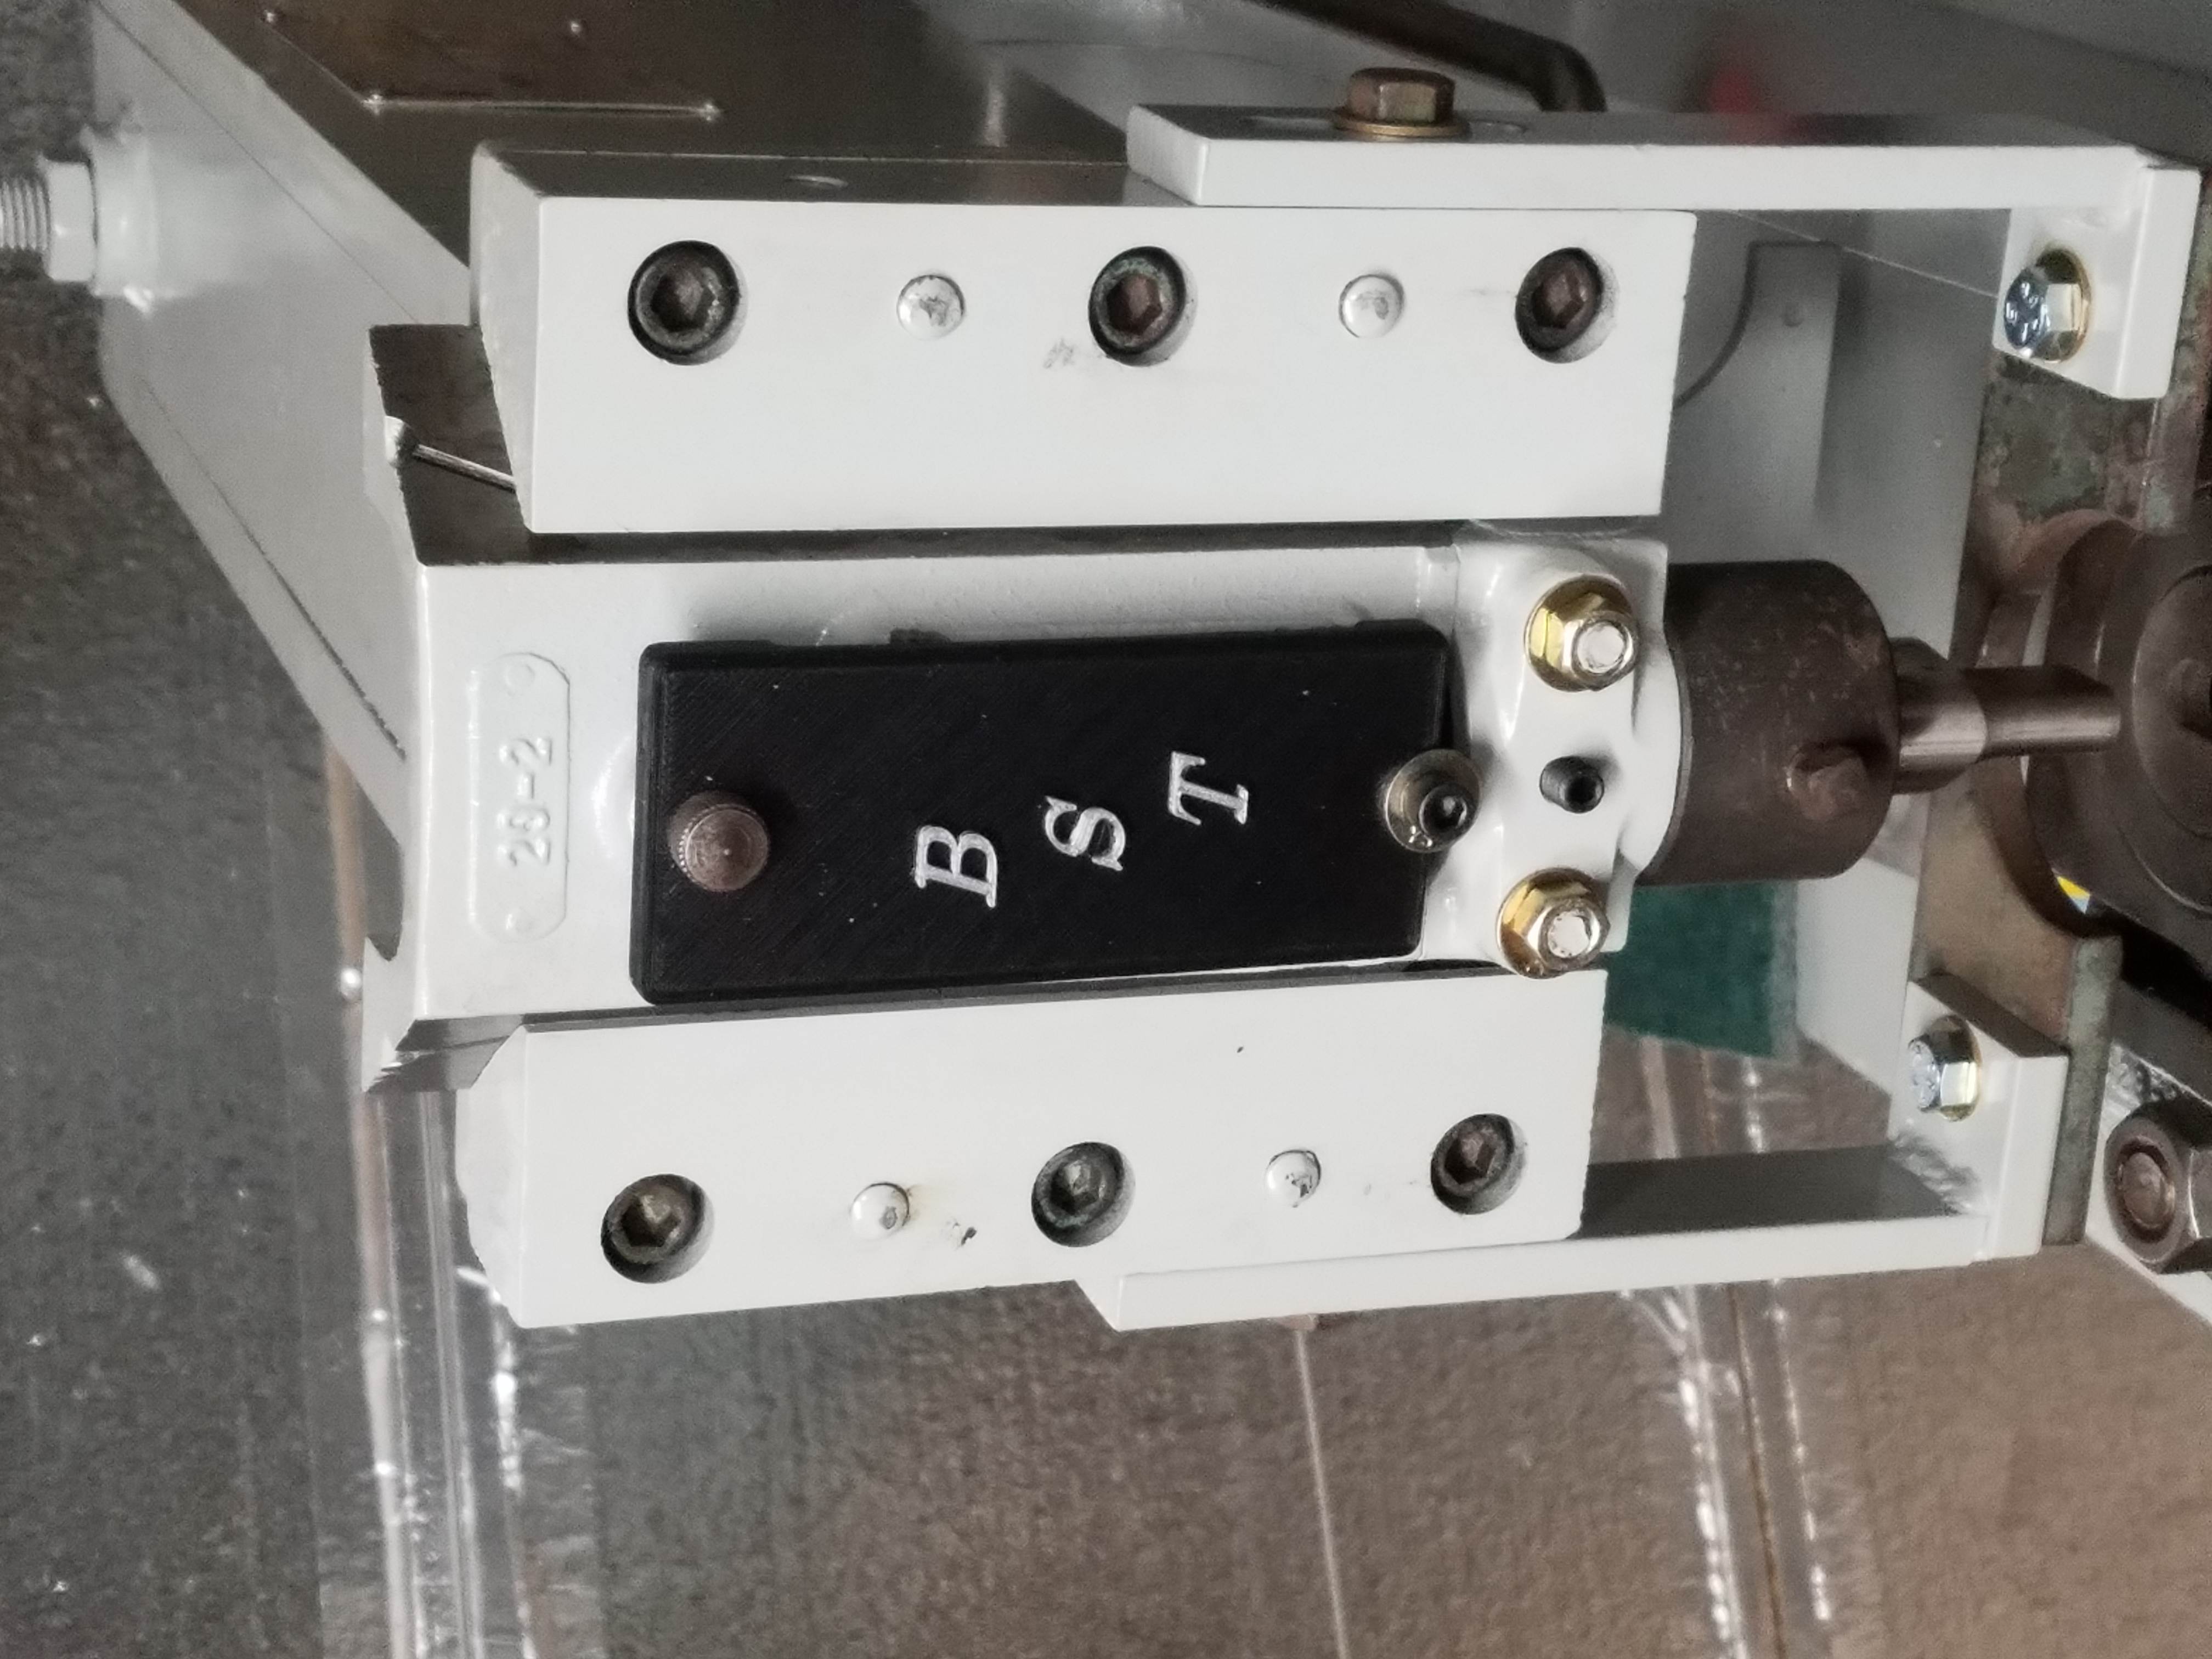
Last item on the list was to replace the chunk of steel strap that was used to replace the missing cover plate for the travel shims. I deigned and 3D printed a cover.
Machine is ready to go!