
Enlarger Lens Boards & Negative Carriers
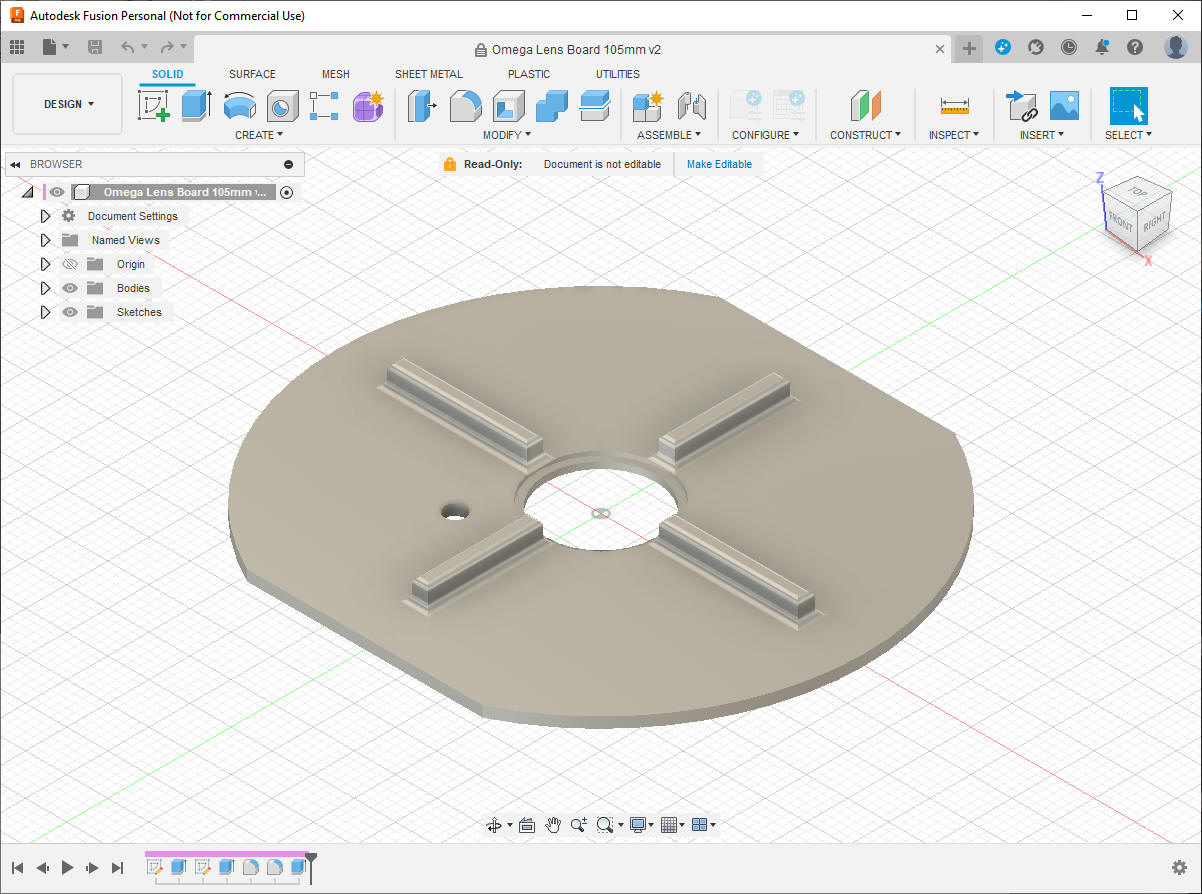
As I added lenses to the Omega D2 enlarger I required more lens boards. Two of the lenses required "hat type" mountings and I had to resort to commercially sourced units. The flat plate style mountings were machined on my milling machine in the shop. Now that I have a couple of 3D printers I decided to make them via that process.
My current collection of enlarger lenses includes:
Schneider Componon 50mm f5.6
Schneider Componon 80mm f4
Schneider Componon 105mm f5.6
Vivitar VHE 135mm f5.6 (actually a Componon-S)
Rodenstock Rodagon 150mm f5.6
The 135mm and 150mm are mounted on metal hat type boards, everything else is flat mounted.
The lens boards were designed using Fusion 360 and 3D printed with PETG filament. Due to the thinness of the board, I added stiffening ribs on the bottom side. Some of the lens boards shown at right.
Negative Carriers
While I have a nice assortment of negative carriers for the standard film sizes (35mm, 6X7 and 4X5) my possession of a Pentax 110S SLR required a carrier to fit. The laser cutter and some black acrylic sheet came to the rescue!
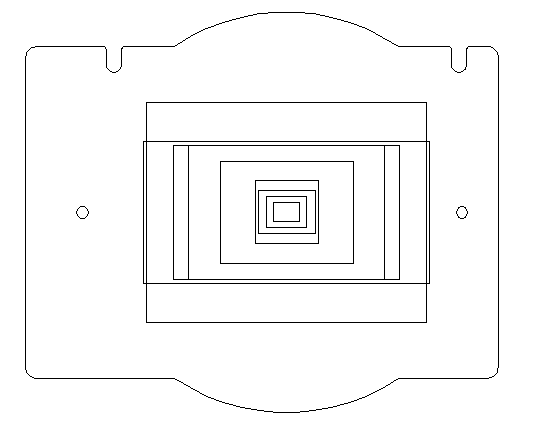
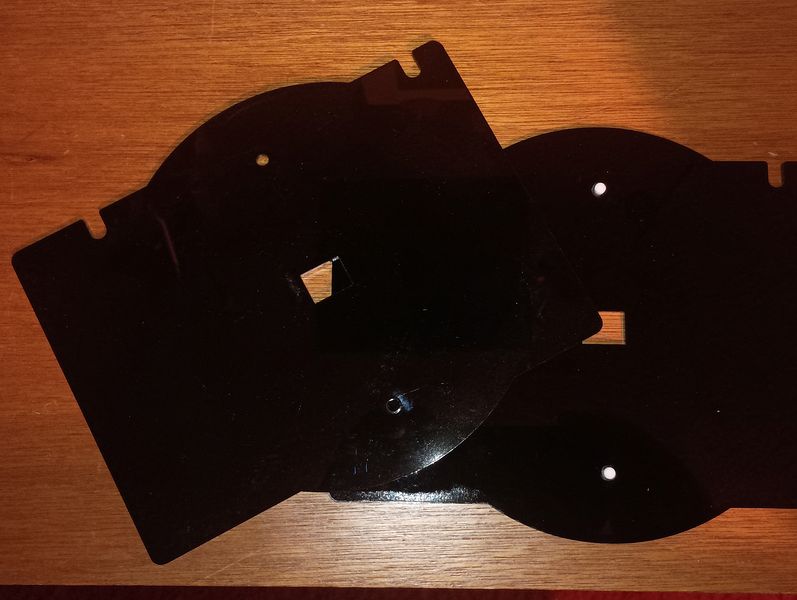
Original Turbo CAD Platinum dxf drawing for the "universal" carrier. Many openings are not shown to make the image a little less confusing. To make the file to cut the parts I just turn off all layers except the one I want to use. The registration pins were moved to be above and below the opening for the negative. Smallest opening is for the Minox, largest is 4X5. The carrier on on the right is the one I made for the 110/16mm films. The top and bottom parts are the same and a button (white) of acrylic is solvent welded in place to form the male part of the alignment.
I can make the following carriers (red indicates carrier made):
Minox
110/16mm
Half Frame 35mm
35mm
126
6X4.5
6X6
6X7
6X9
6X12
4X5

Not shown are the OE 4X5 and Acrylic 6X12 carriers. The 6X9 at the lower left is an anti Newton Ring carrier