
Graflex Graphic View
A friend gifted me a really olde Graflex camera a year or so ago. This got me back into large format photography. I have kidded him on an occasion or two that this was in retaliation for getting him back into ham radio a number of years before that. So far, I do not believe he has disputed my thoughts on this matter. ROFLMAO
The trunk it came with was pretty decrepit looking, but the camera itself is in excellent condition.


The camera is a fairly rigid, tank of a machine. Well constructed and dating back to the late 40's and early 50's. The beautiful red bellows is without holes or any type of damage.


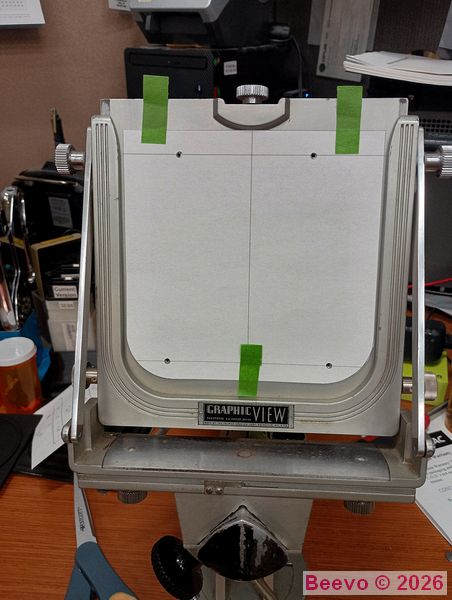
Name Badge and ground glass.


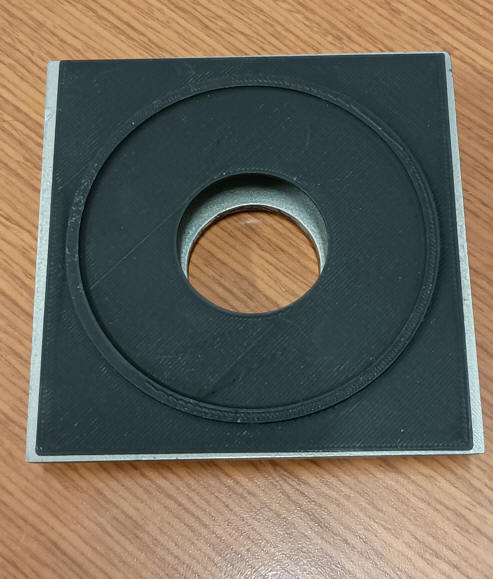
There were several lens boards included in the kit, which also included a battered time-worn original trunk. I machined a relief in the back of the lens board to accommodate the larger required hole and to thin out the plate.


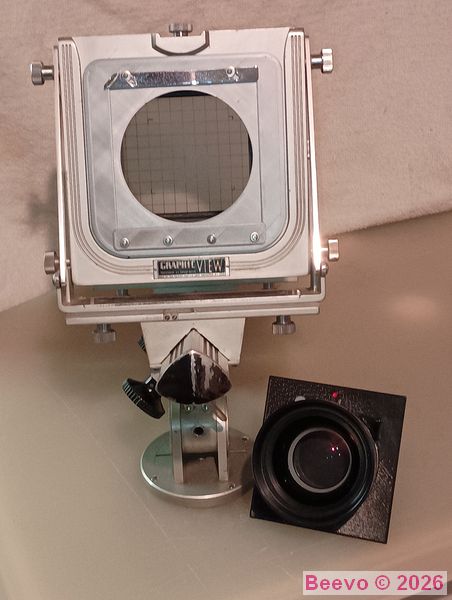
Mounted Lens. Camera on its first outing at the Lost Dutchman State park, Superstition Mountain in the background. While most of my large format work will be with the wooden Tachihara, I will keep this one for use that is better suited for its design.
Update 4/24/2026
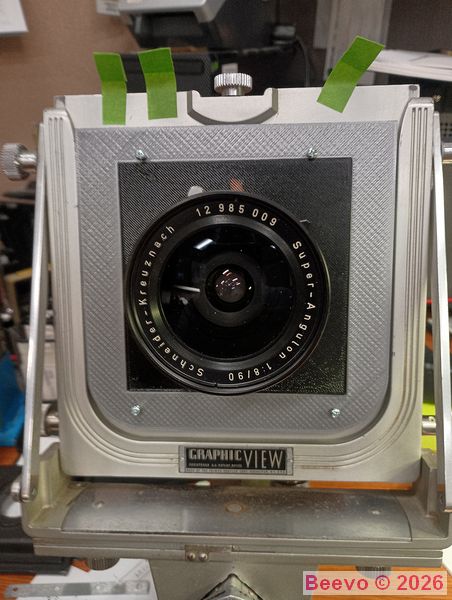
I decided to use the Graflex for a specific image and decided i did not like having to move the lenses from one lens board to another, it's all about those horribly fine threads...
Looking over the design of the front standard I realized that a fairly simple, reversible modification that required drilling no holes or making no physical changes to the camera could be pulled off.
First order of business was to figure out how to adapt the ever so slightly smaller Tachihara lens boards (Tachihara board laying on top of the Graflex board) to the Graflex front standard. I removed the Graflex retaining hardware and using TurboCAD designed a template. It took a couple of tweaks to get it right.
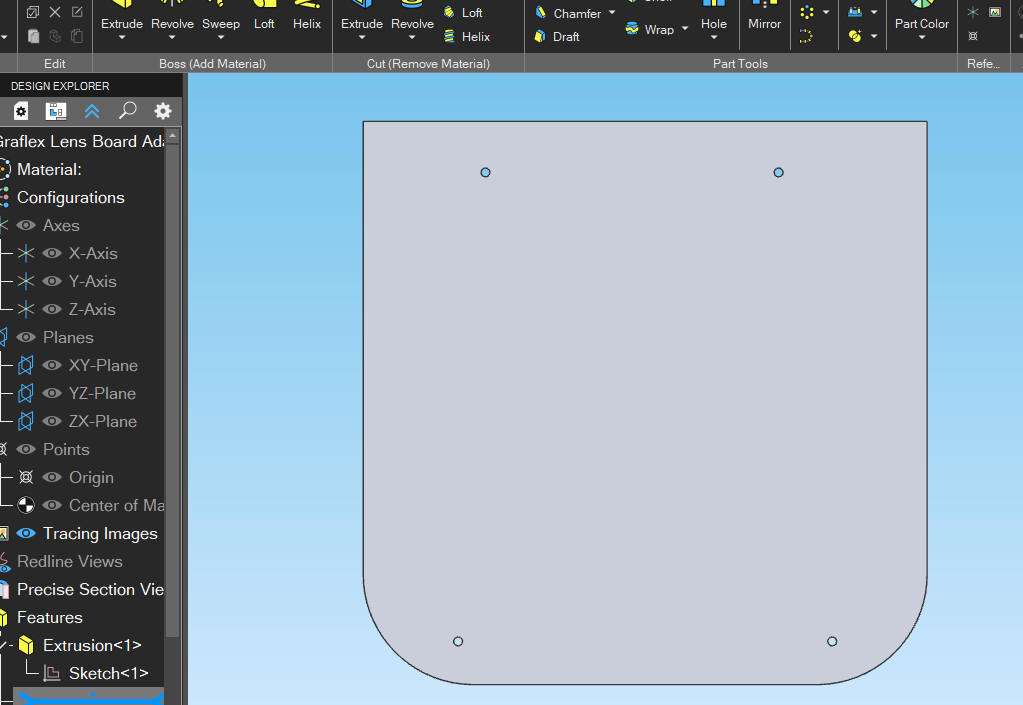
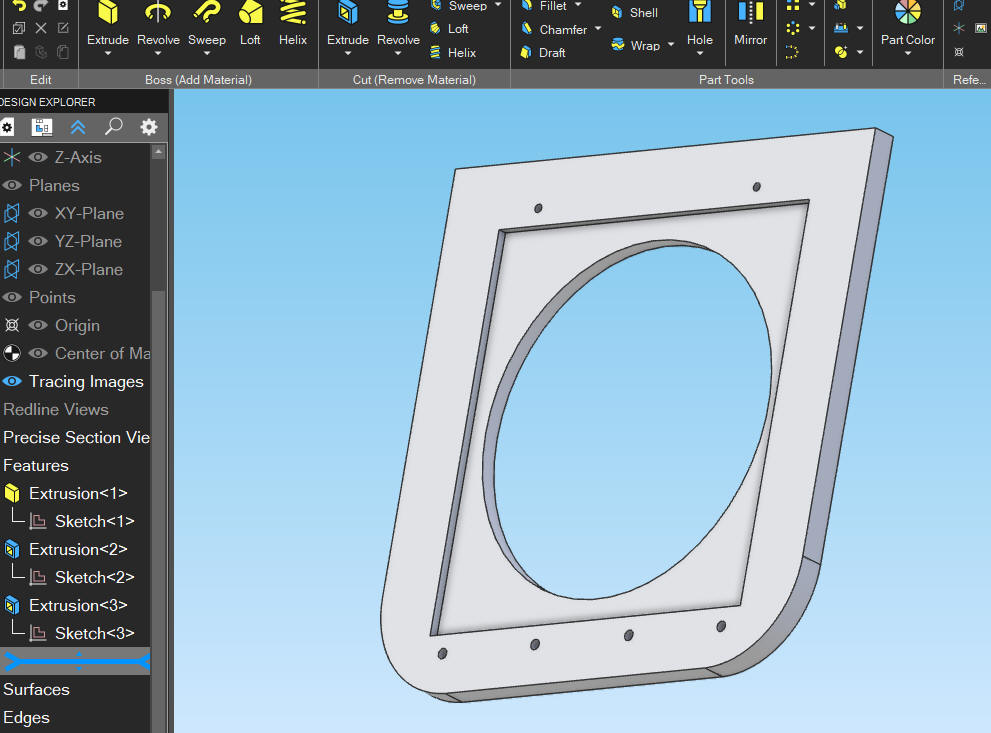
The design was imported into Alibre Design Professional and modifications and additions were then made. The idea was to have the original mounting screws pass through both the retaining hardware and the adapter into the original threaded holes in the front standard. The design allows the rise on the front standard to be fully functional.
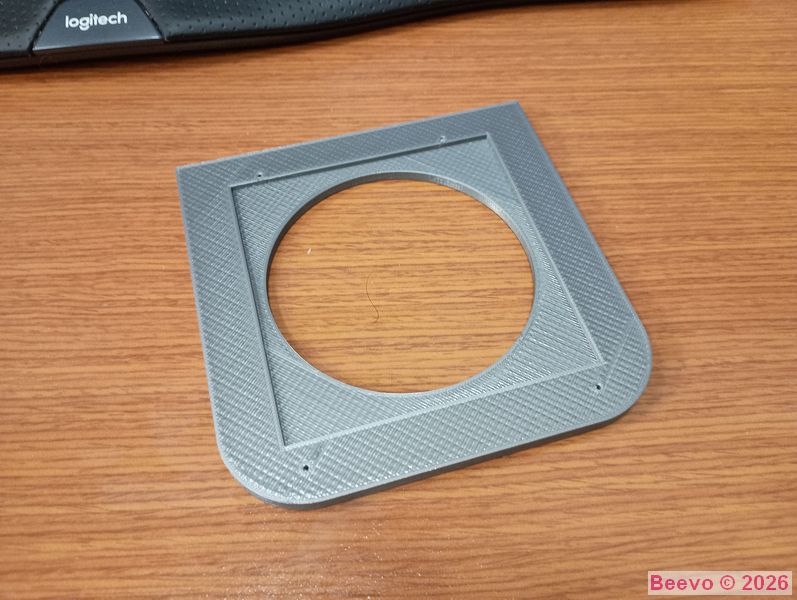
Here is the first test part 3D printed in PETG filament. I nailed all the outer dimensions as well as the hole placement. The pocket for the Tachihara lens board needed to be 0.010" deeper and 0.020" larger in both the vertical and horizontal directions. I have discovered different brands of the filament have differing amounts of shrinkage when printing. I was particularly proud of the screw hole placement as they are 2-56 machine screws.
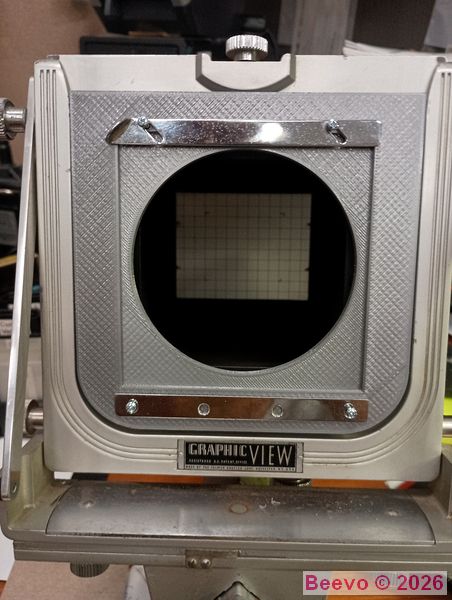
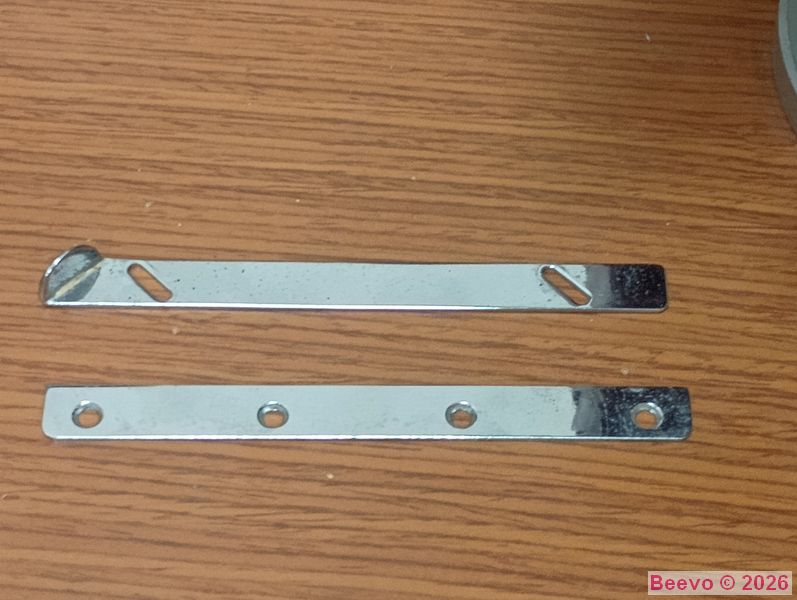
Hardware test fit, the final design will have the full compliment of four holes on the bottom retainer. I will need to make a new retainer plate for the bottom as I could not relocate the factory plate without drilling and tapping new holes higher up to accommodate the smaller Tachihara Lens Board. The top of the opening for the Tachihara lens board was dictated by the location of the sliding holder and its mounting screws. This relationship could not be changed without drilling or modifying the camera. First and foremost I wanted this to be a totally reversible modification, leaving no evidence of its existence. The final version of the adapter plate will have four top layers in addition to a finer infill printed to provide a smoother more pleasing finish.
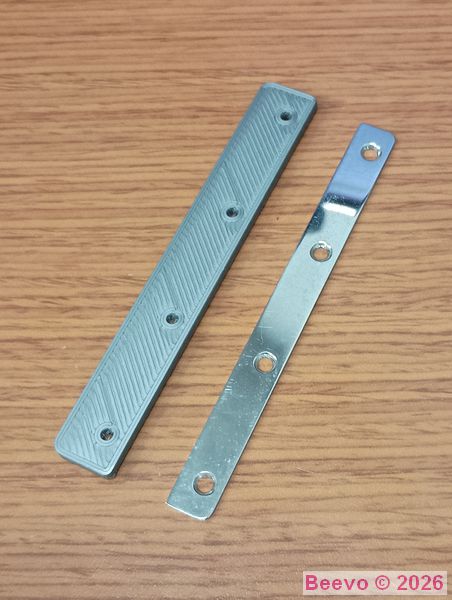

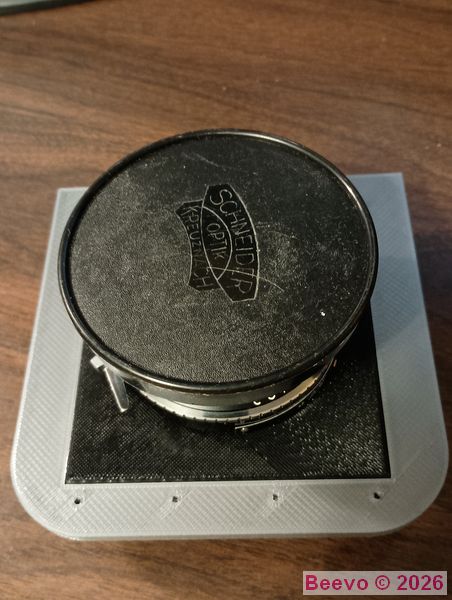
I designed and 3D printed a larger bottom retainer, shown next to the original retainer. This eliminated drilling and modifying the Graflex's front standard. The lens was test fitted to the adapter and all is good to go. I printed a more stylized adapter and retainer to improve upon the looks of my test parts using a slightly different filament in my collection that more closely matches the original finish of the camera..