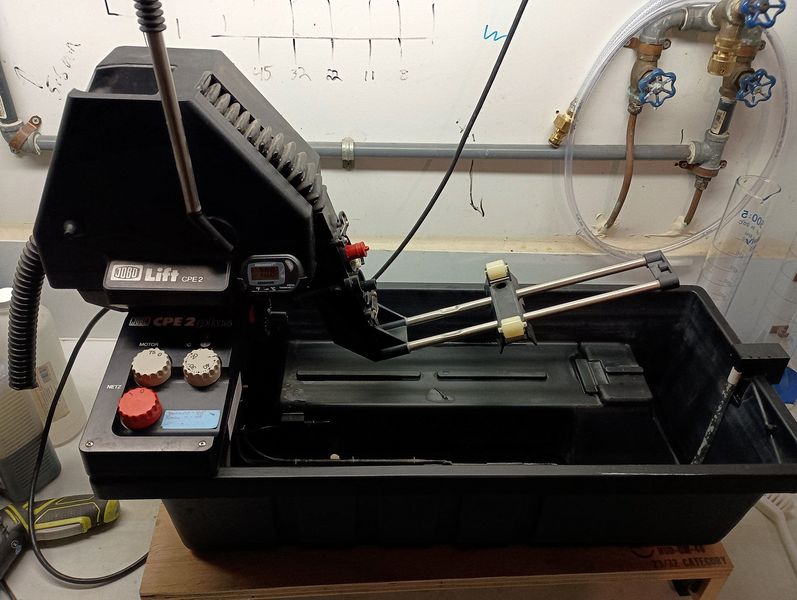
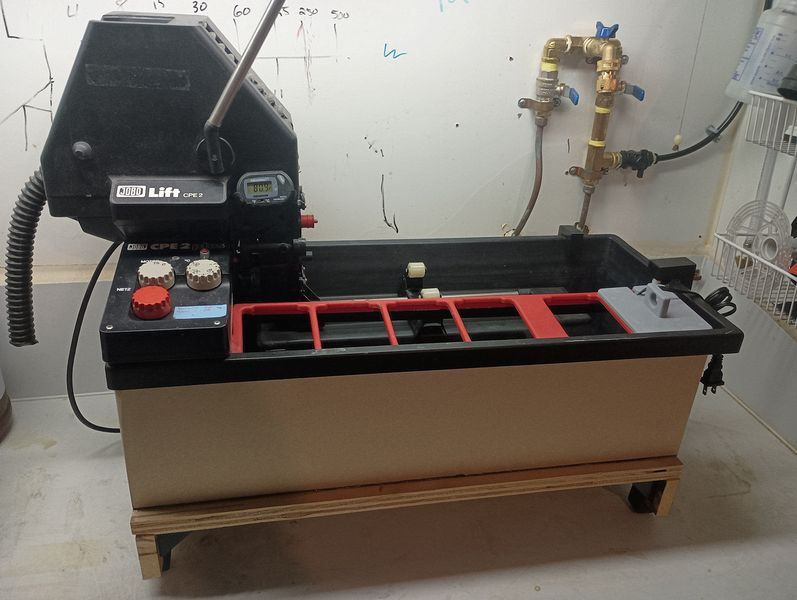
Jobo CPE Rotary Processor
When I got really serious about medium and large format photography I purchased a Jobo CPE rotary processor, a few years later I added the lift assembly to the basic unit. The processor has been a rock solid performer over the years.
I did not like the mess made when draining using the lift due to the short space between the counter and the end of the drain tube. I added a riser to the unit. Yes, it's made of wood, but I 3D printed some feet to keep the wood dry.
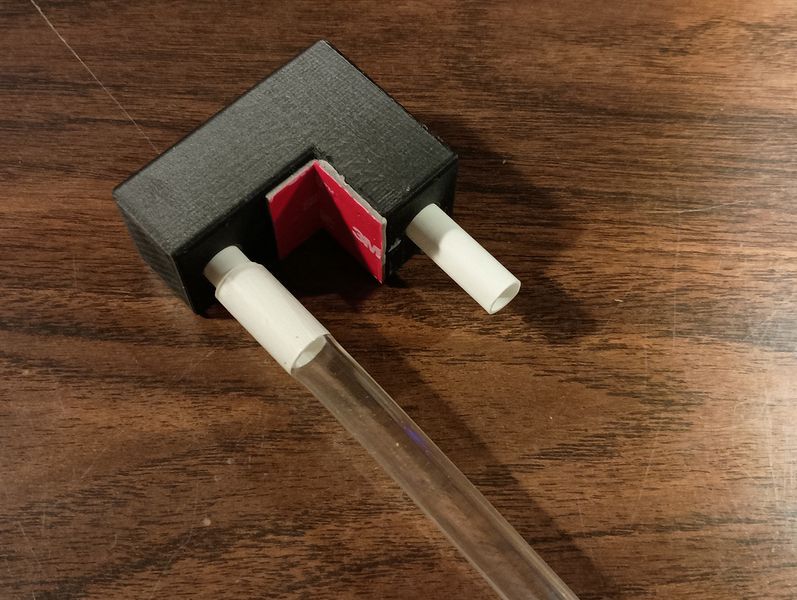
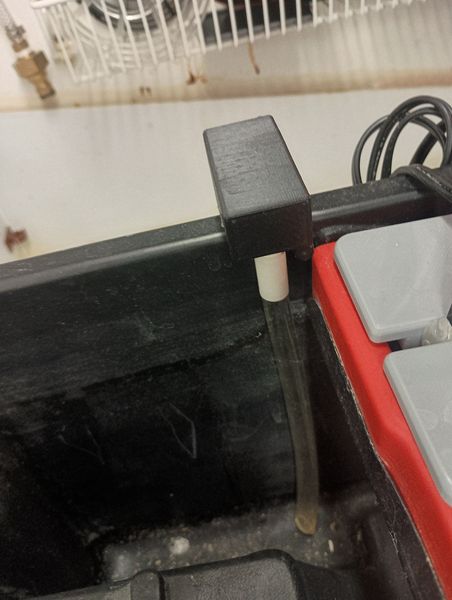
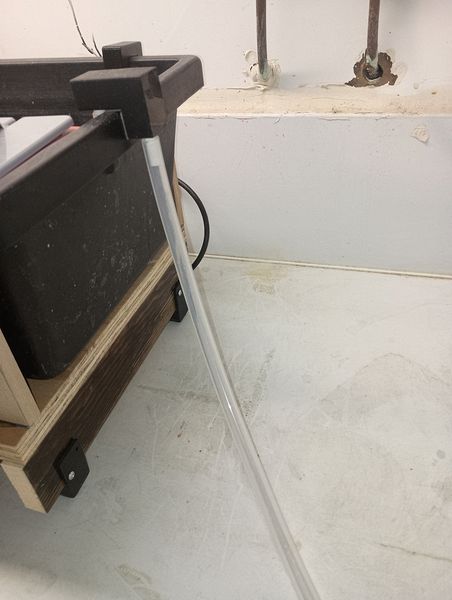
I 3D printed a drain fitting using PETG filament. Line stubs were solvent welded in place and 3M tape secures the fitting on the rim of the processor tub. The dip tube on the inside of the processor stays attached full time, The drain tube is removable when not in use. The drain tube is long enough to reach down to the 3 gallon jug I store the water in between use, providing a strong siphon. This reduces the amount of water consumed during processing. With the water shortages here in the Valley of the Sun, I do as much as possible to limit waste.
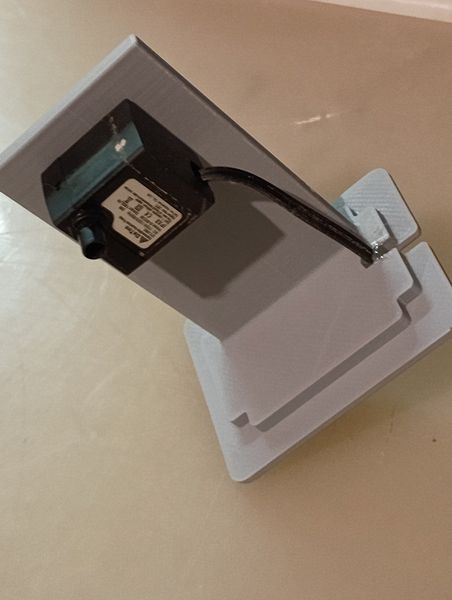

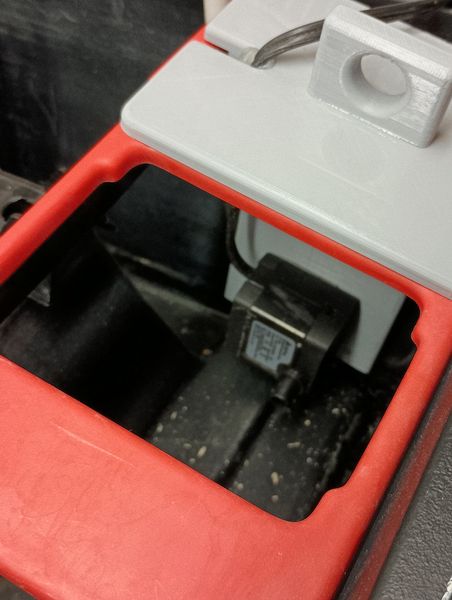
I added a circulation pump to the Jobo. The bracket is 3D printed using PETG and a small pond pump is secured using 3M tape. A handle printed using PETG was solvent welded to the top of the unit. The unit drops into the for right bottle hole and a tube (not shown) extends most of the length of the processor. Circulation seems strong and the temperature variance at various locations in the tub are minimal. This pump location was changed when I made a new bottle rack in May '26m see below.
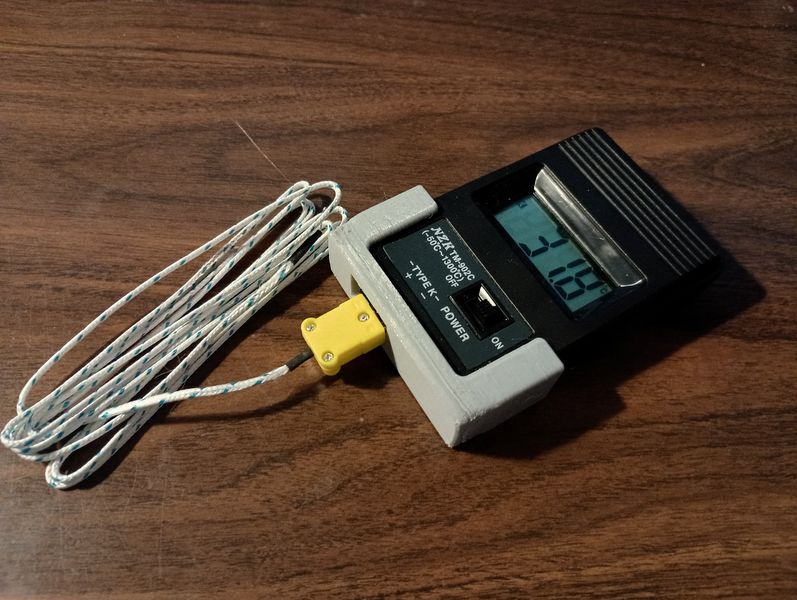
I elected to add a better temperature readout on the processor. I found a nicely priced K Type thermocouple module on Amazon and 3D printed a mounting bracket using PETG filament. and will mount it on the lower face of the lift housing using 3M mounting tape.
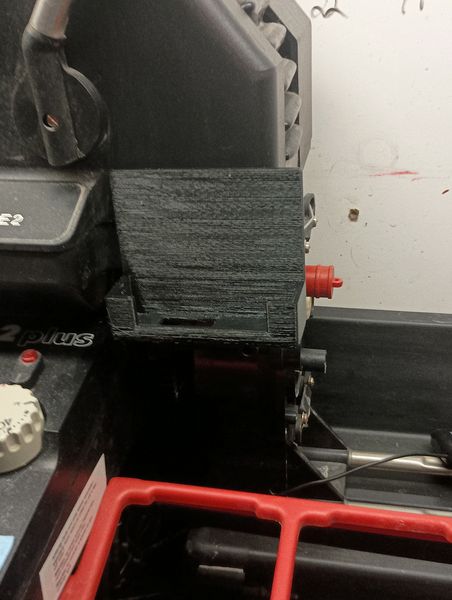
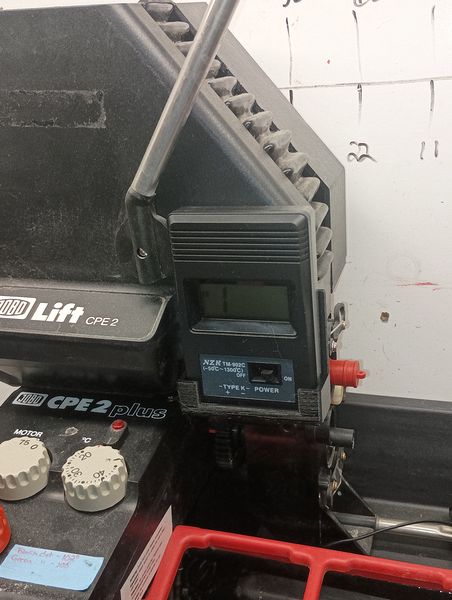
Bracket attached to the lift housing, the unit slips nicely into the bracket and it easily removable for a battery change.

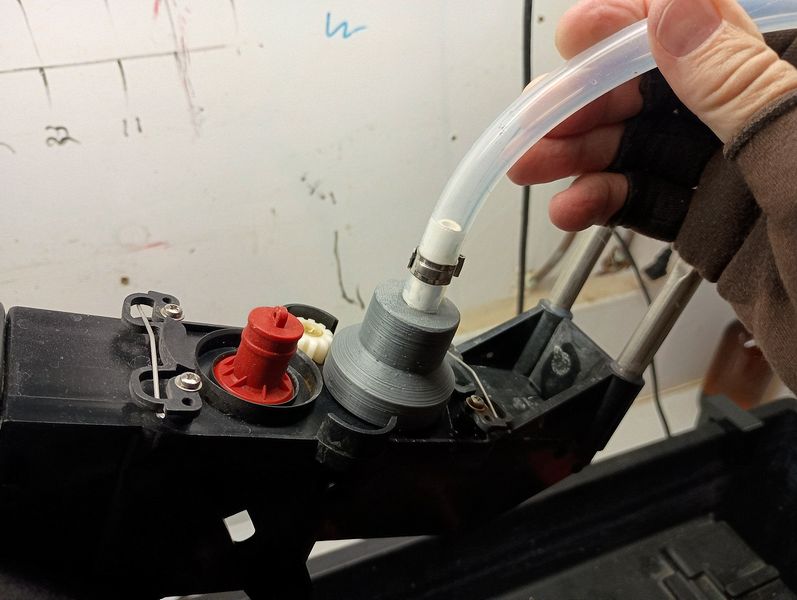
I devised a rinse adapter based on a part I made using Fusion360 and printing with a 3D printer. Tilt the lift up and flush.
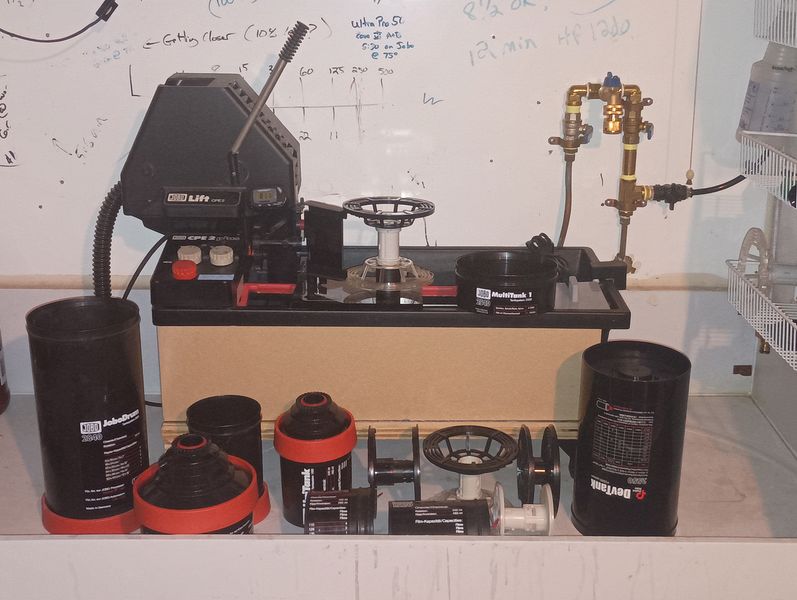
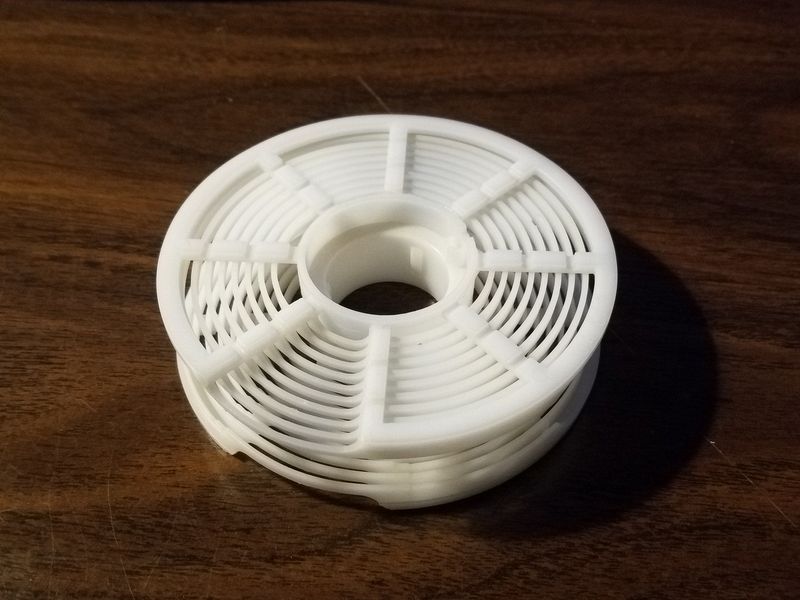
You can never have too many Jobo reels or tanks! Here is a partial shot of the collection. I run both the 1500 and 2500 series tanks and reels. I can't explain the existence of the tall 2500 tank extension on the left. The shorty 2500 tank was purchased on a lark when I found it on eBay for a price too good to pass up. The 110/16mm reel gets used quite often with my having a Pentax 110 SLR.
I decided to make a bottle rack that is compatible with my preferred solution containers, 500ml glass bottles. I happened to have a nearly full roll of Hatchbox red filament and unlike most red filaments, this stuff actually IS red, not Chevy Orange like most. Alibre Professional being my preferred design software was fired up and I went to work.
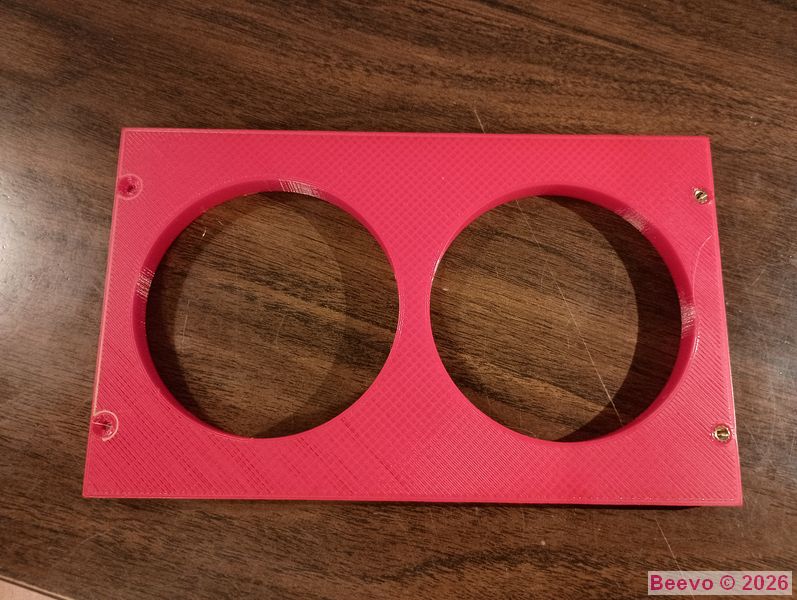
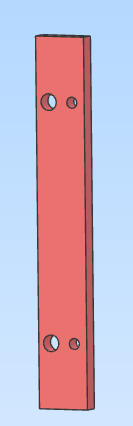
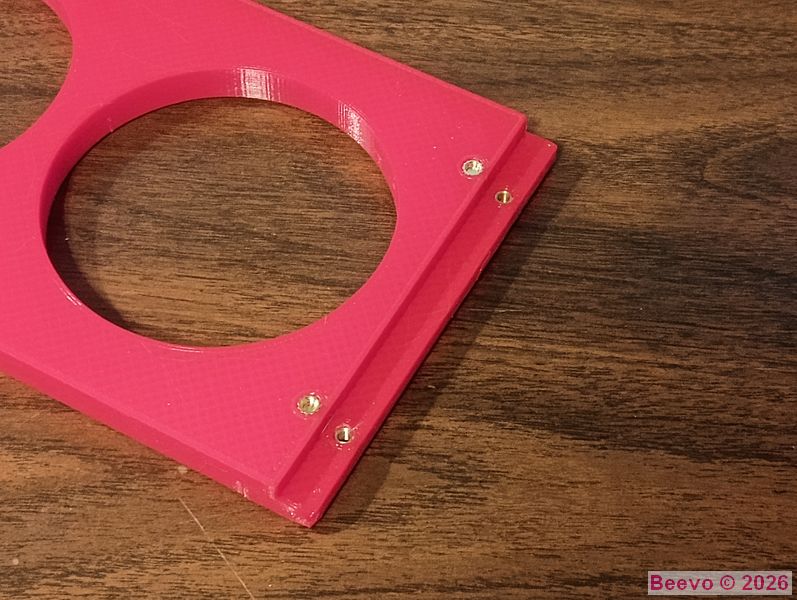
The basic design of the tray was pretty simple, but had to be made in several pieces as my 3D printer at home only has an 8" capacity. The tray sections were designed with stepped ends to allow the pieced to be lap joined, The splicer block show in the center was a result of my wanting all the top surfaces to be very smooth and the same texture as each other.

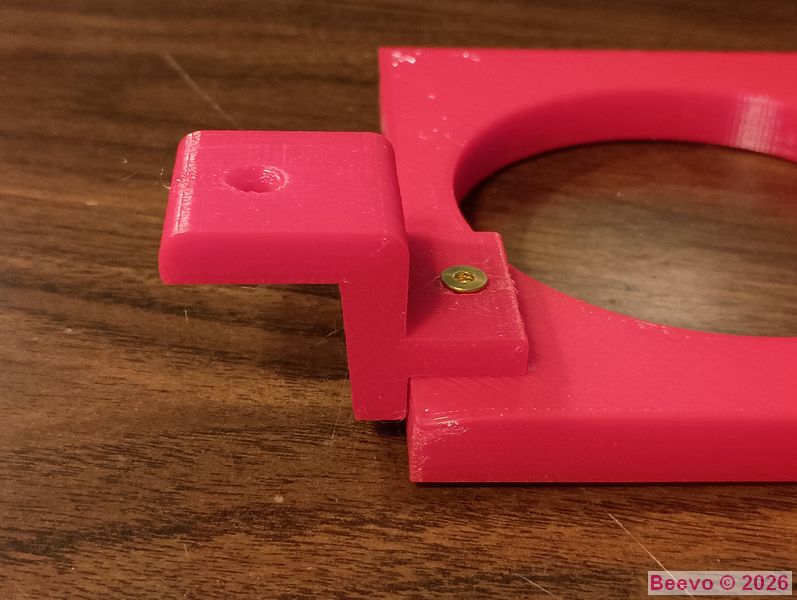
Completed bottle rack (LH) and Detail of mounting bracket (RH). The rack was assembled using brass heat set bushings and machine bolts as I did not know if "adjustments" would be required, so I did not solvent weld the parts. The entire assembly could at this point be cemented together and I would do this if I were ever to make a replacement. Besides, installing the brass threaded bushings is fun...
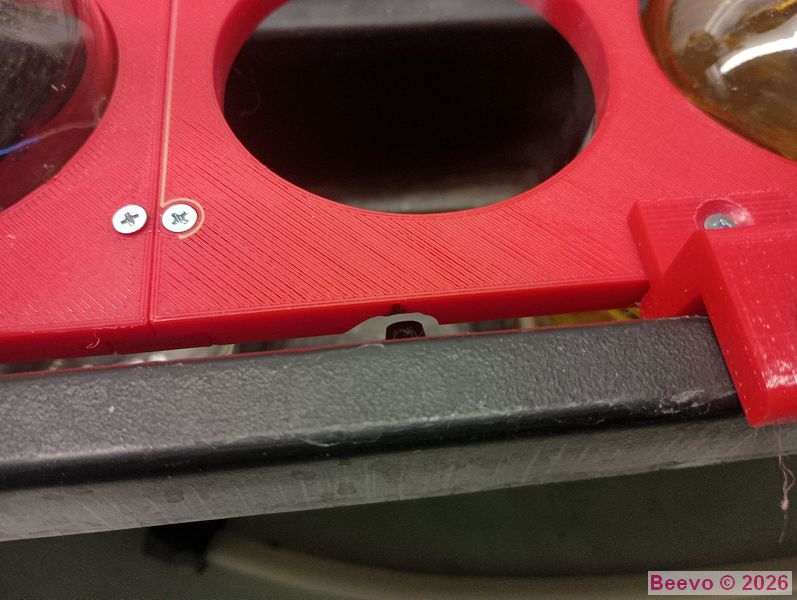
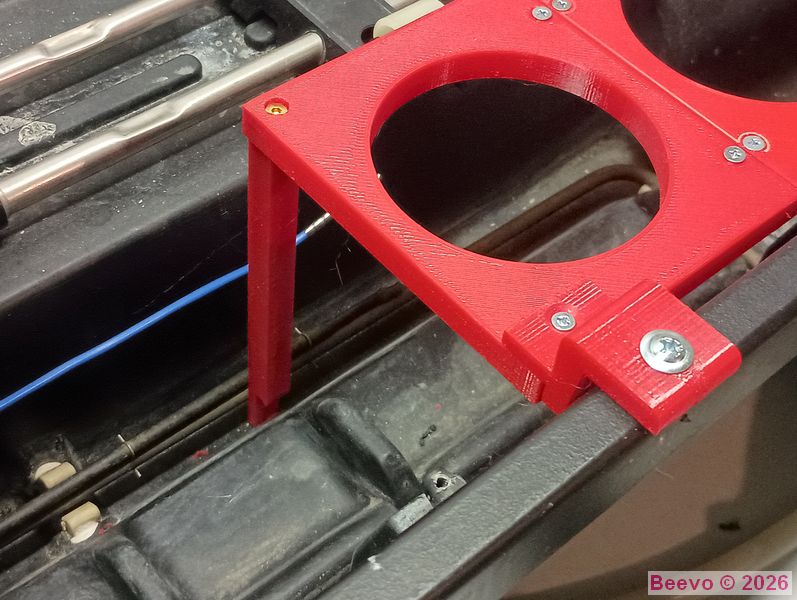
Test fit was good and only a small relieve needed to be made to clear a mounting boss for the original tray. You can see where I ground away the tray to clear teh boss. This will be programmed into the CAD file in case I make another for some strange reason. With the tray installed, a support leg was made for the corner that hung out over the tank.
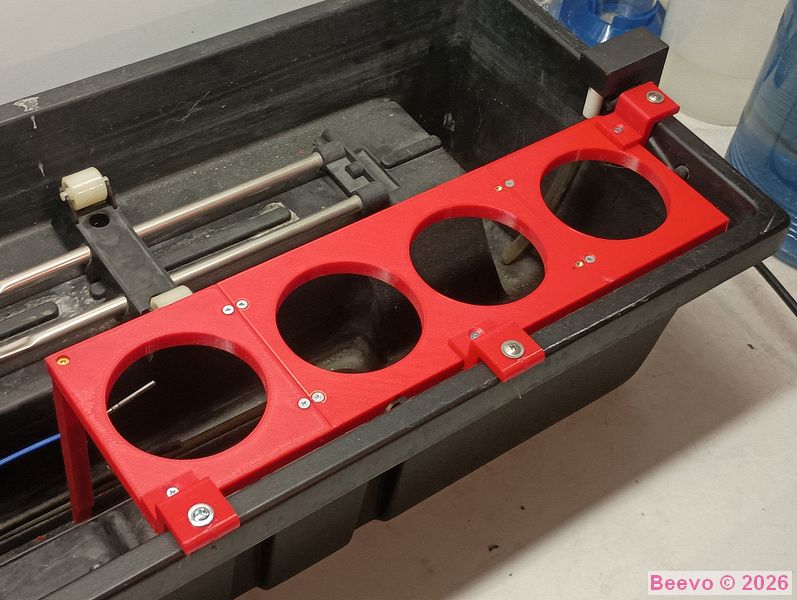
Completed bottle rack. All hardware will be changed out to Stainless Steel.
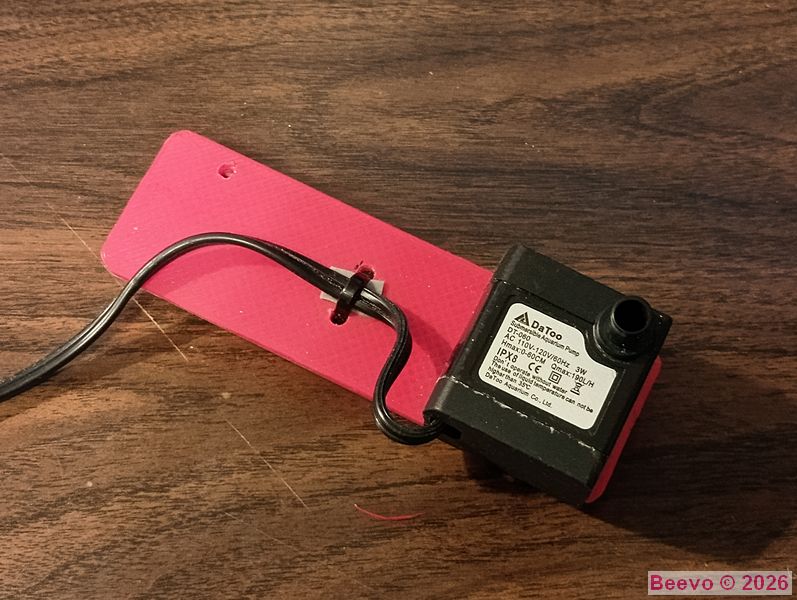
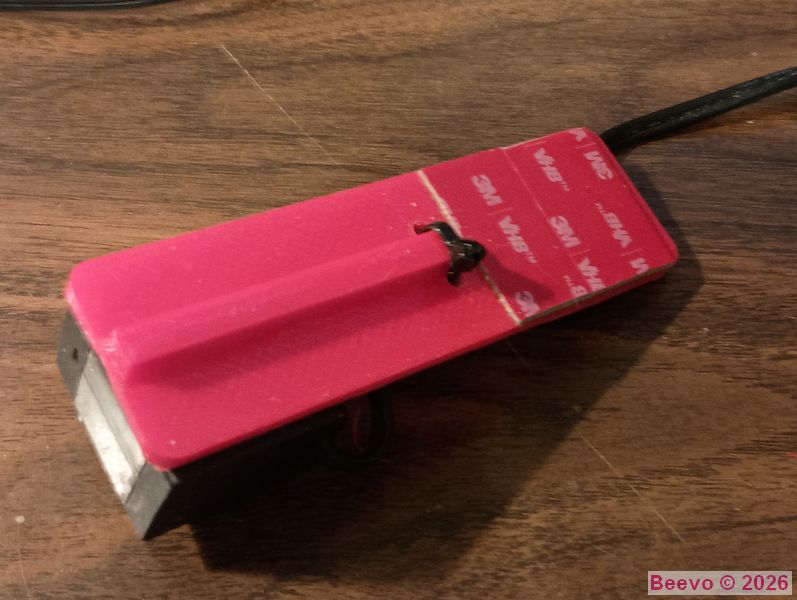
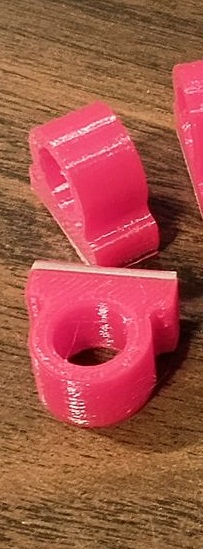
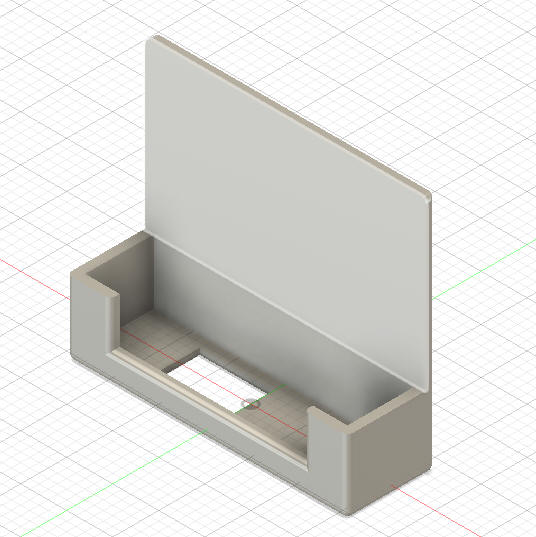
While upgrading the rack with the new design the coolant circulation pump needed to be relocated., I designed and 3D printed a bracket to mount the pump at the left end of the tank. I added a rib to the back of the bracket to reduce flex and vibration. A small hole was drilled into the mounting tab to locate the bracket over the original pin that was used for mounting the factory bottle rack. 3D printed hose mounts shown on RH.
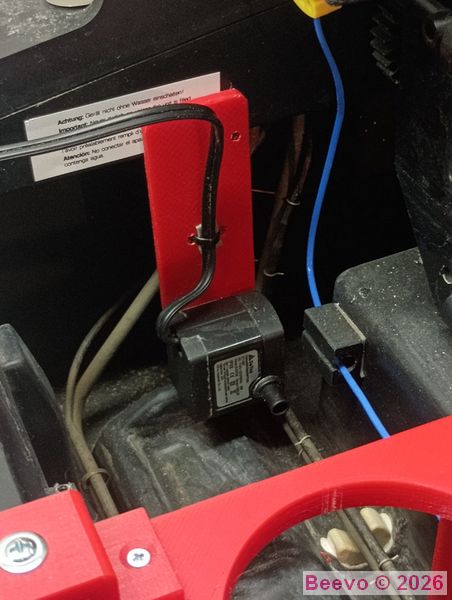
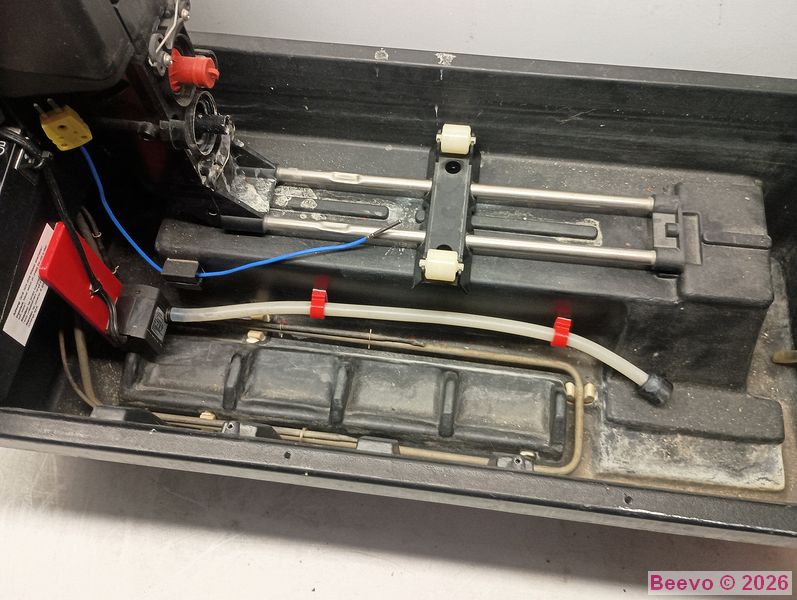
After the installation of the circulation pump and bracket a couple of sticky mounts and zip ties routed the power cord cleanly to the back of the processor. I 3D printed some mountings for the pump hose and installed them as you can see in the RH image.
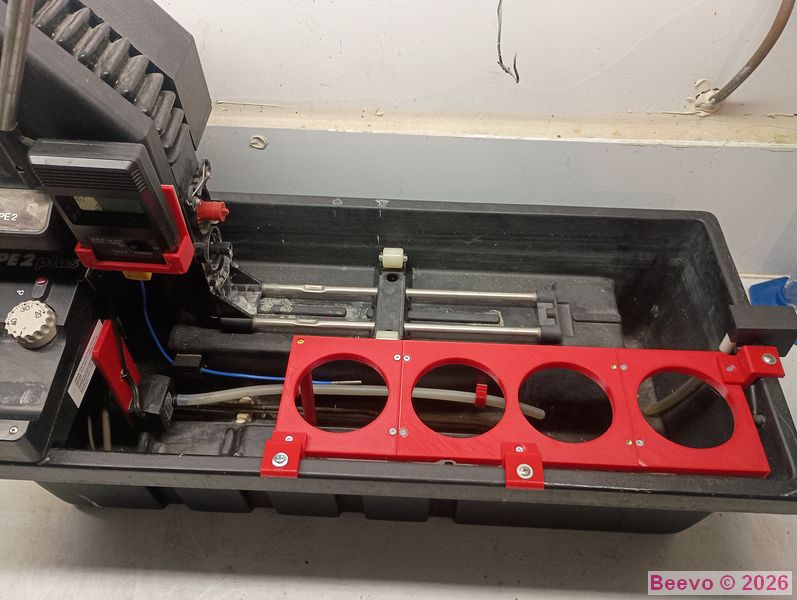
Jobo Processor all ready to go for another couple of decades...