UV Exposure Unit
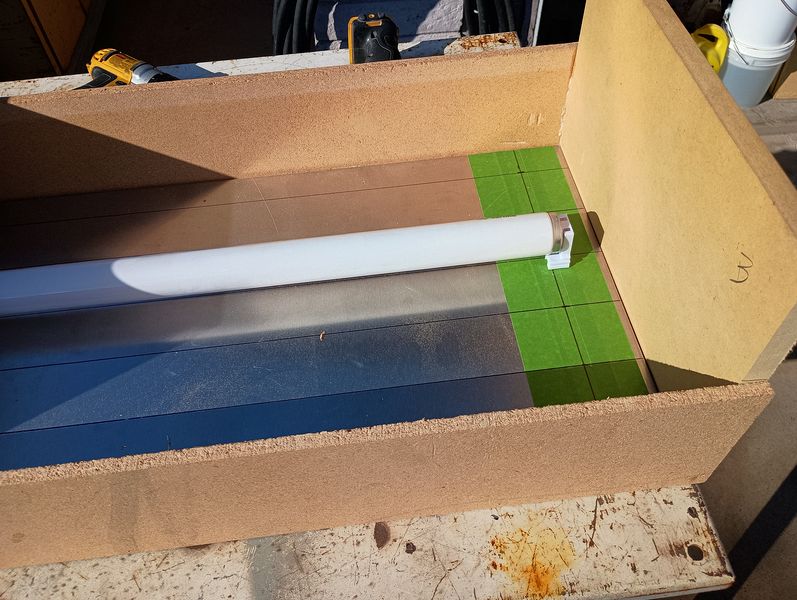
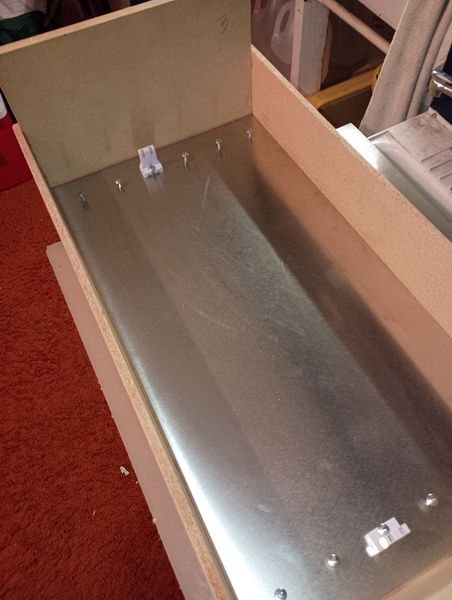
I had built a UV exposure unit a long time ago when I started messing with Kallitype prints. The original unit had 4 tubes, as coverage fell off at the edges, I decided to add another pair of bulbs. This required a complete rebuild of the unit and in doing so, I decided to eliminate the metal lamp housings and mount the tubes on a metal sheet backplane.
A housing was made up from 1/2" MDF. A sheet of aluminum stock was glued into place and tape was used to calculate the tube spacing and drilling lines for the mounting screws.
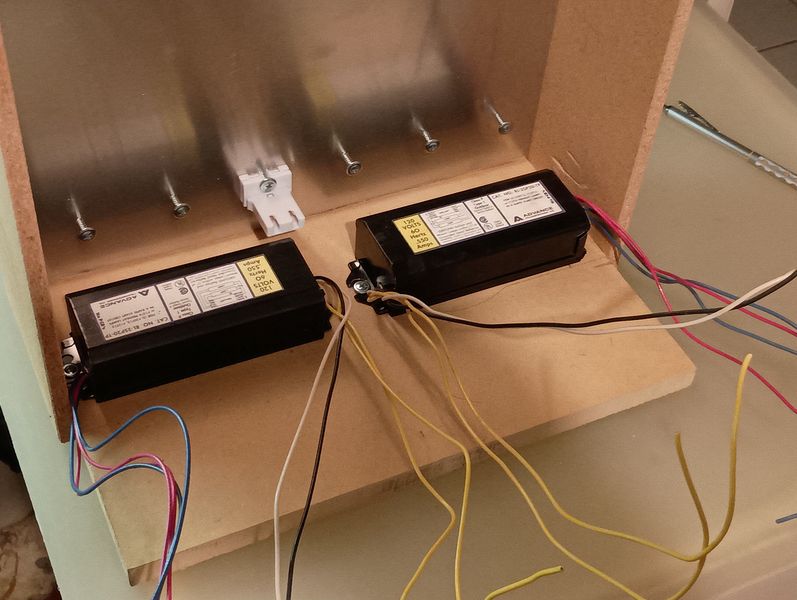
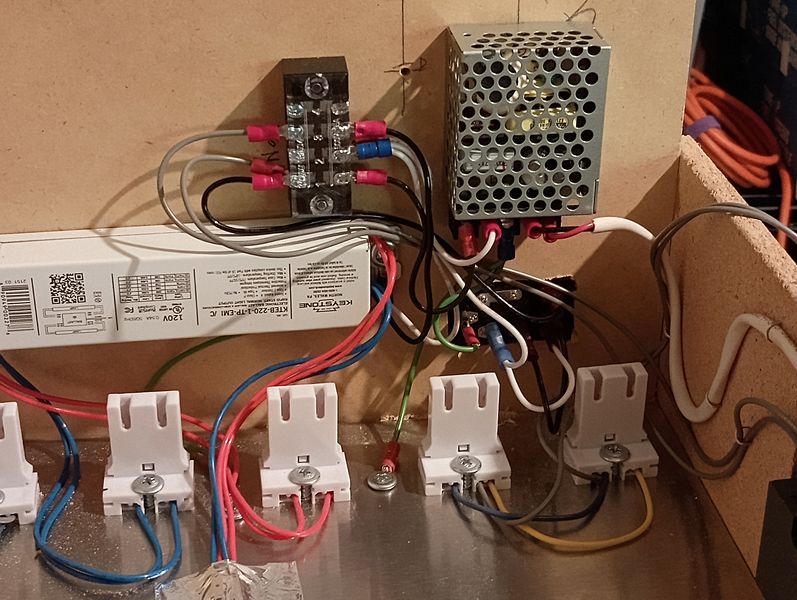
The ballasts were mounted on the inside ends of the housing. Due to the size one had to be mounted on the opposite end. The small 5V power supply is for the digital controller module.
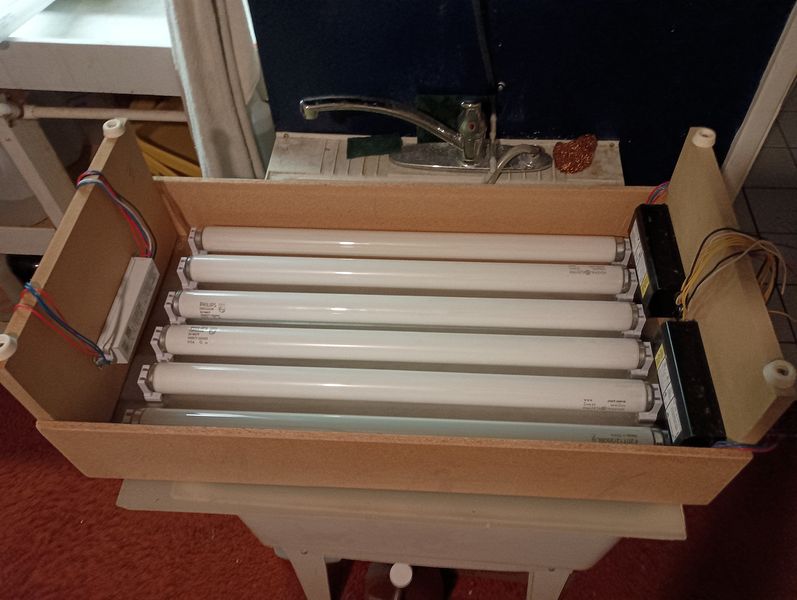
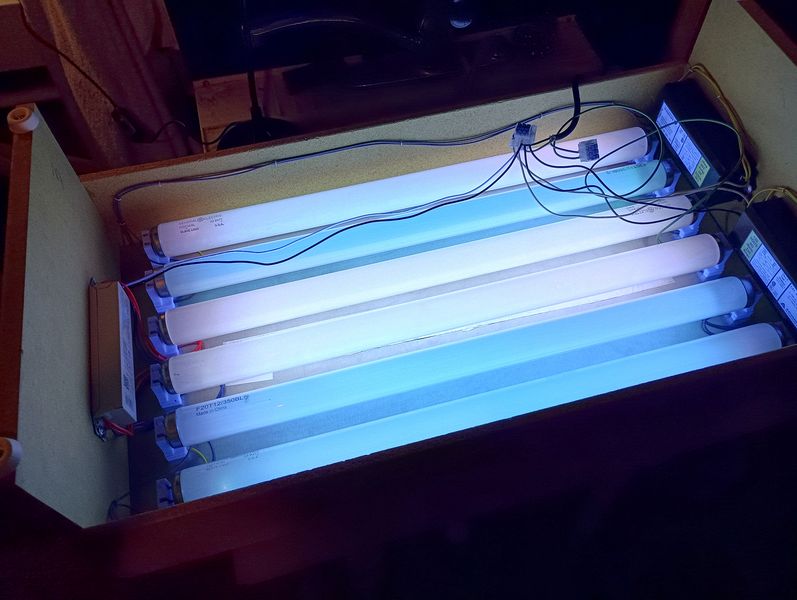
I hardwired the ballasts and did a test of the tubes. These tubes are difficult to source in the 18" size, the darker tubes are GE branded and the lighter ones are clones from who knows where...
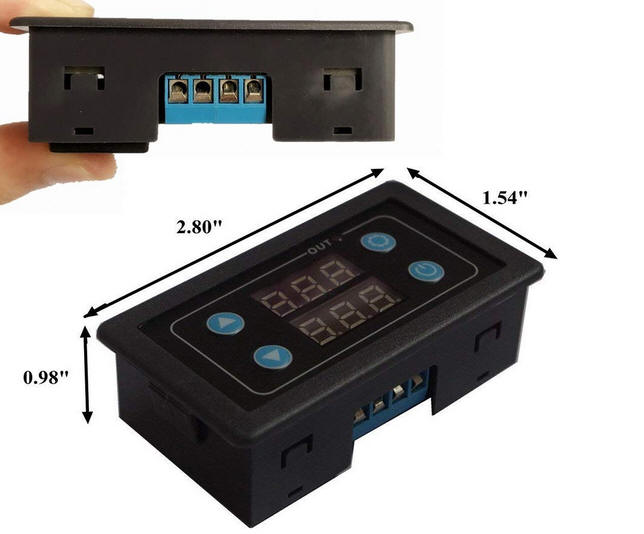
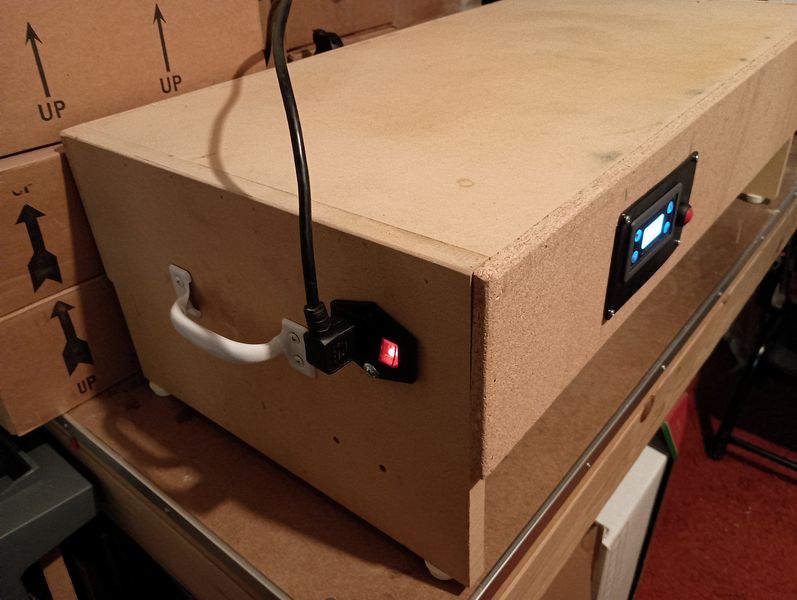
A timer module was sourced from Amazon. The timer can be set for a number of different modes. In this application it is set to be a countdown from a preset to zero. You set the desired time and when you click the "go button" it runs the lamps, shuts off and resets. The manual for the controller can be found here. A fused input panel with switch was also installed along with handles. The unit is fairly heavy.
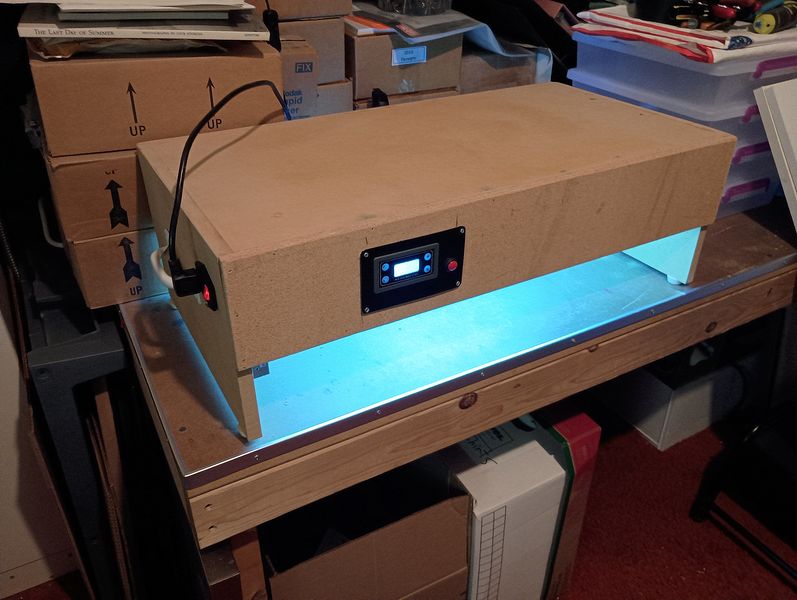
I found the flat face of the controller awkward to look at after a few sessions of use. If the unit was sitting on a countertop height table, or the changes to the settings only needed to be changed occasionally it would be a non-issue.
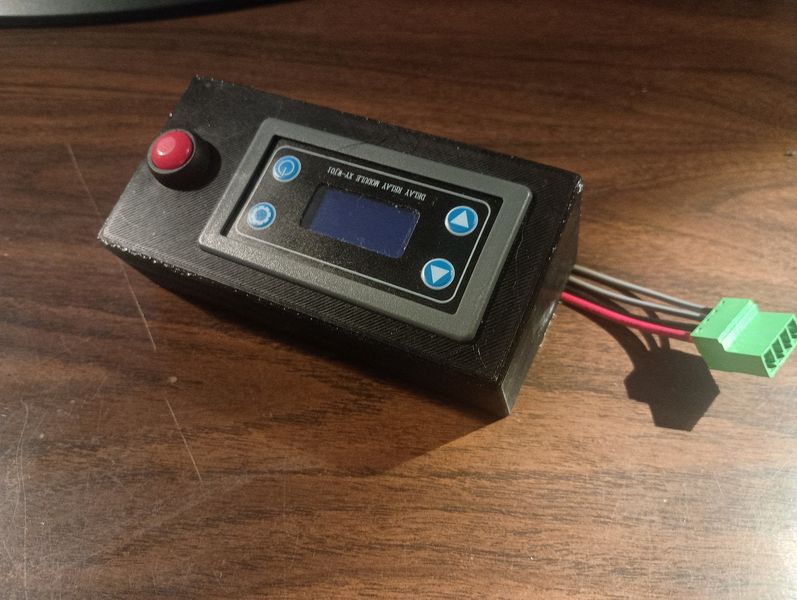
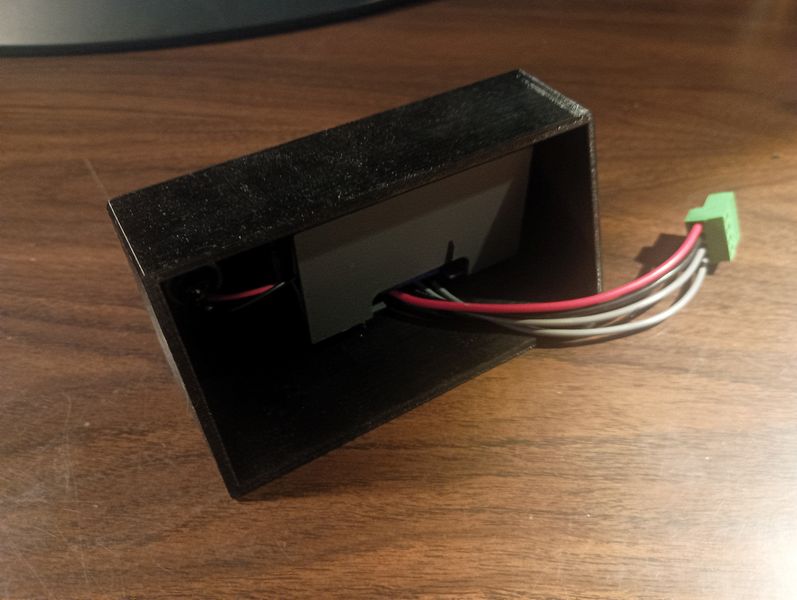
I fired up Fusion 360 and designed a housing to angle the face of the controller up to make viewing more pleasant. A disconnect plug was added to the wiring to make servicing easier. I then printed a flange to mount the assembly on the front of the unit. The flange was solvent welded to the housing the beauty of PETG filament which allowed a neater printing job to occur.
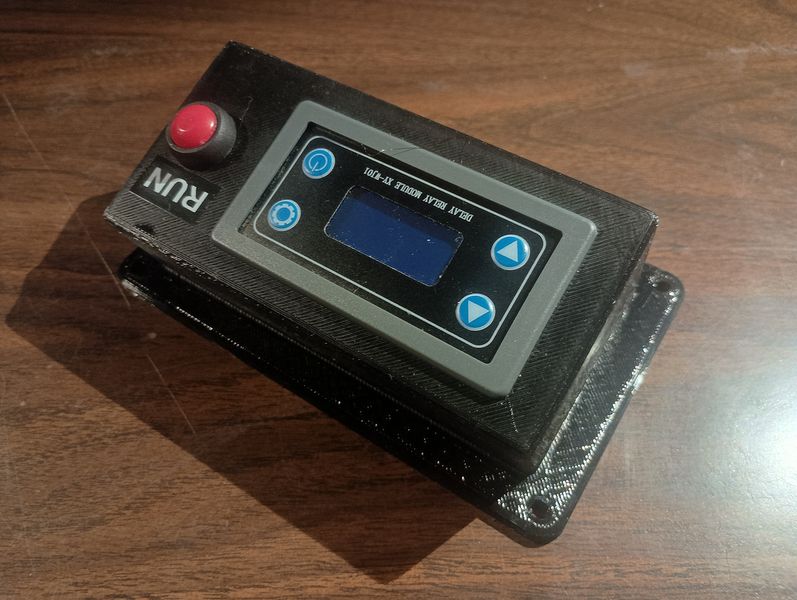
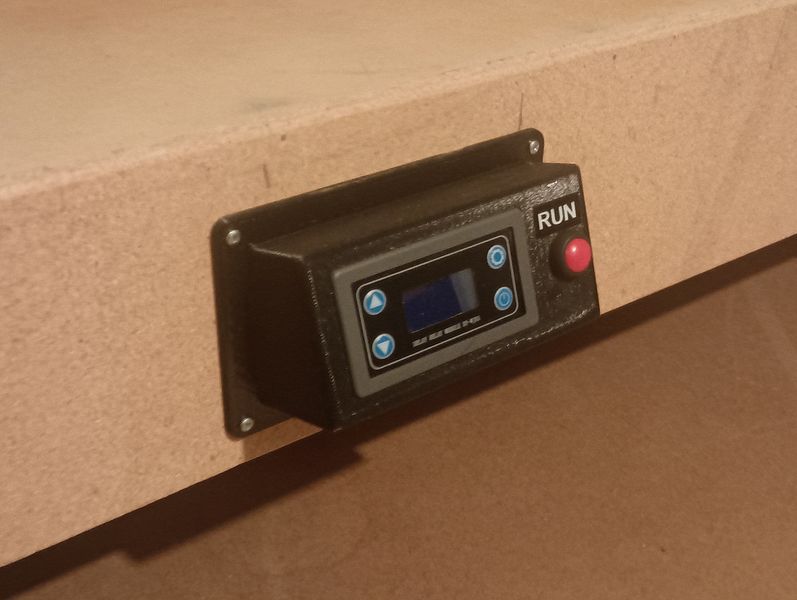
With the flange solvent welded to the new housing it was time to install it unit onto the exposure unit. The angle of the face is good and makes for easier adjustments.
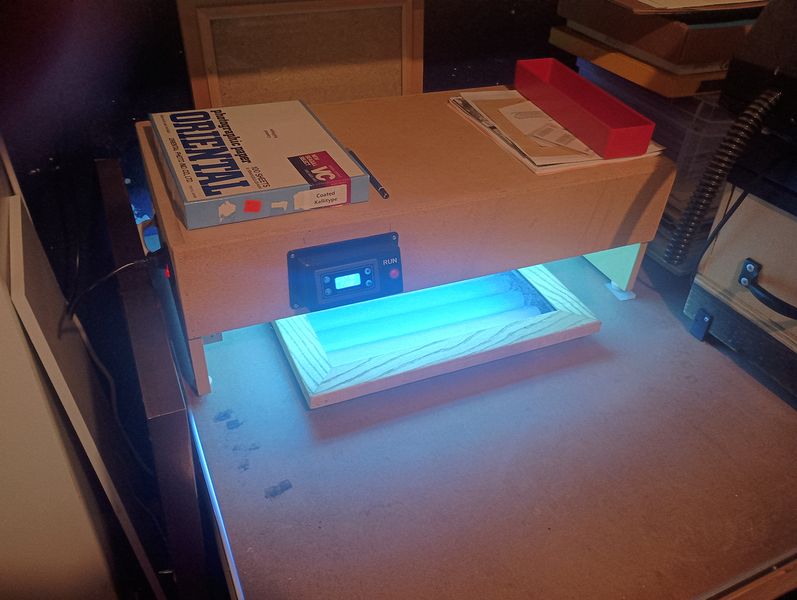
All ready to run! The face is at a much easier viewing angle.
I elected to treat myself to a Photographer's Formulary 11x14 Contact Print frame to replace my home brew unit that is clunky and at times difficult to use. The only knock I have on the Photographer's Formulary unit is the somewhat difficult to manipulate spring latches they now use. I will say the spring catches keep things tightly together and it works very well.
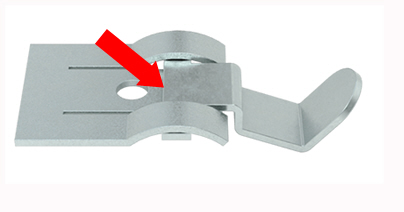
The fix is easy, A tiny drop of oil, and I mean TINY, is placed where the pointer indicates. This reduces the force needed to manageable levels and eliminates the need for some sort of tool to operate.