For many years I have been using a tried and true Wanhao D6 (aka Monoprice Ultimate IIIP 3D Printer. I survived having to replace the controller after a failed repair by Monoprice and it has been happily chugging away on a Smoothie Board controller.
This has been a real workhorse for me and I got to the point where I wanted to expand my abilities, specifically by having a two extruder machine. Having some spare change from a bonus, I started shopping with features being the #1 decision factor and then tempering it with the cost. Some of my criteria, include but were not limited to:
Dual Extruders
Enclosed Unit (have had problems with air temperature fluctuations)
Well known brand, not a rebadge. Wanhao was good about parts for the "Monoprice" printer
Interchangeable Build Plates
Some sort of Filament Management
Good support, Forums or direct
Last but not least, price. I would rather spend more up front than re-purchase after a poor decision. Learned this with Camera & Telescope optics
It boiled down to Bambu Lab or Prusa A friend spoke well of the Bambu Lab units as did a a contact on the Professional Auto Tech Forum I have been a member of for decades. A co-worker who used to manufacture electronics items for the Video Arcade restorers has one of their previous fairly high end units and had nothing bad to say about it as well.
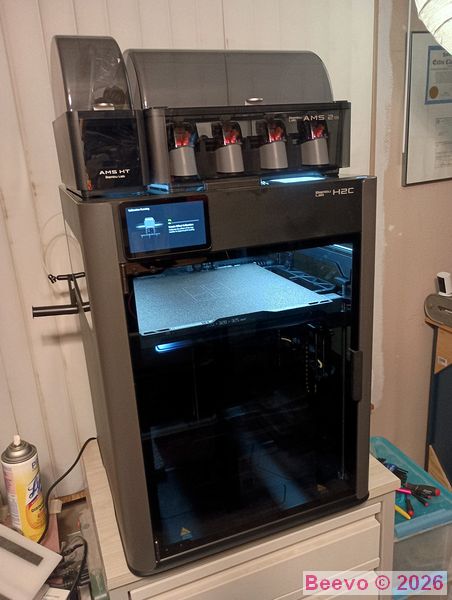
I settled on the Bambu Lab H2C model which appeared to have been out long enough to have the kinks worked out of it. This machine is approaching a industrial level of technology and was feature rich. It helped that it came with one AMS 2 Pro unit and the other accessories I might want were on sale and there was free shipping. The box weighs 80#, so the free shipping helped with the decision.
Ultimately I wound up with the unit (H2C and one of the 4 roll AMS 2 Pro Filament Management devices. I also ordered one of the AMS HT Filament management devices that is designed for High Temperature filament, as I had no idea if this would play into my future printing, but being on sale...
About a week later I ordered a second AMS 2 Pro and then a second AMS HT, as well as one of their Cool Plate Super Tack build plates. (the sale was still on...) I am ambivalent about the Super Tack as it is miserably difficult to remove the parts. I even bought their recommended scraper, which did little to improve the issue. The scraper is great though, and I bought a second for my printers at work. There are lots of complaints about removing parts from the plate and the best solution was to bring the bed backup to 50C and then pry them off. If i have a large flat part, like an electronics enclosure this would be great to combat lifting corners.
A trip to the Dark Moon site to get a Garolite G10 build plate was required. I have been using these for almost a year now and I can tell you this is the only way to go on a build surface. Nothing comes loose unless you don't periodically clean it with Dawn Dish soap. Wiping it down with IPA after each use keeps the washing to a minimum. When the plate comes back to ambient you can blow on the parts and they generally skitter across the plate, No prying required.
Took 2 days for the box to arrive and the FedEx guy was kind enough to put it on a small flat truck I have and help my wife roll it under cover as we were having sporadic rain storms. One thing that really helped me make the choice was the incredibly detailed documentation that Bambu Lab creates. I had downloaded a fair bit of it during the decision making process and this played heavily into my choice.
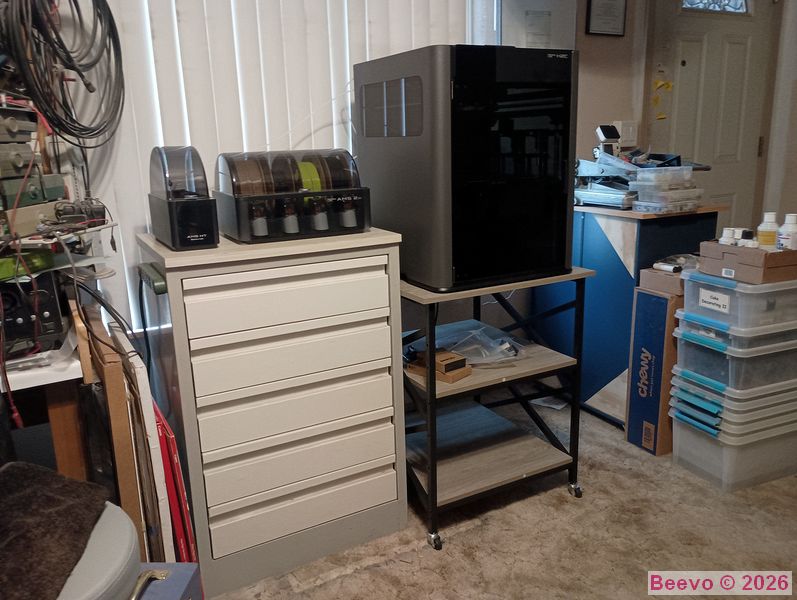
Once I got the machine unboxed, but not unpacked (the AMS 2 Pro is stored inside) I conned Cary the woman who lives across the street to help me lift the machine from the floor to the sturdy stand I purchased from Amazon on which to put the machine. I purposefully lessened, but was honest that it was heavy, however she was still sorta dubious. We got the unit up on the stand with no lower back issues. LOL
Removing the "stuff" from the inside of the machine and getting it ready to run took about an hour. the incredibly detailed (pictures and all) setup instructions were fabulous. Only was to fail was to skip a step or go out of order. Like I said the documentation from these people is top notch.
Amazon took their sweet time delivering the stand I bought so the printer got placed on the heavy duty drawer cabinet on which I had my Epson P900 stored. The printer shakes enough that i elected to tie it to the drawer cabinet as teh stand has casters as an option. I had no idea if I would be moving the stand so I left the casters in place.
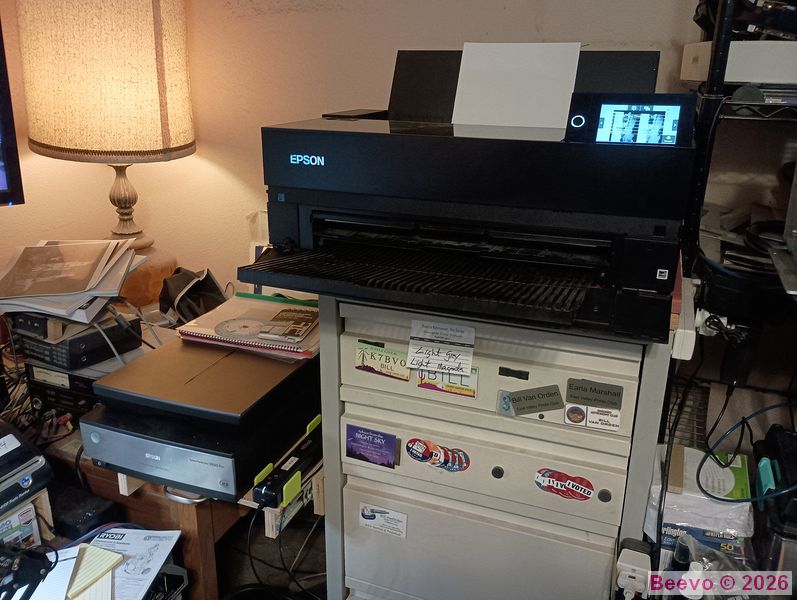
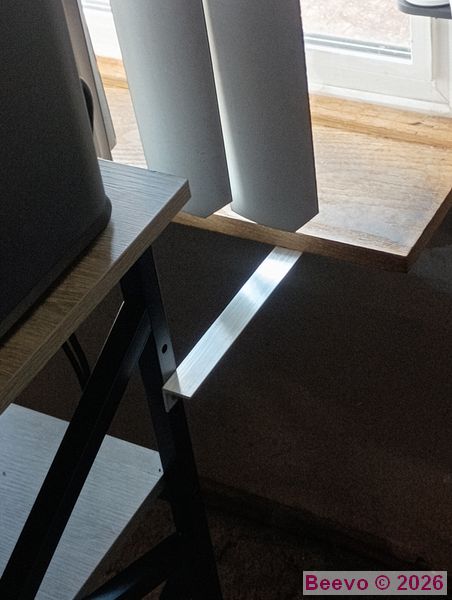
The Epson P900 was evicted to the other heavy duty drawer set and is actually in a better location. After one test print it was obvious the stand needed to be tied to the wall (via the Cat TV shelf in the front window) to prevent fore and aft movement. Tying to the drawer cabinet cured the side to side movement. The print head as a fair bit of mass and it moves REALLY fast.
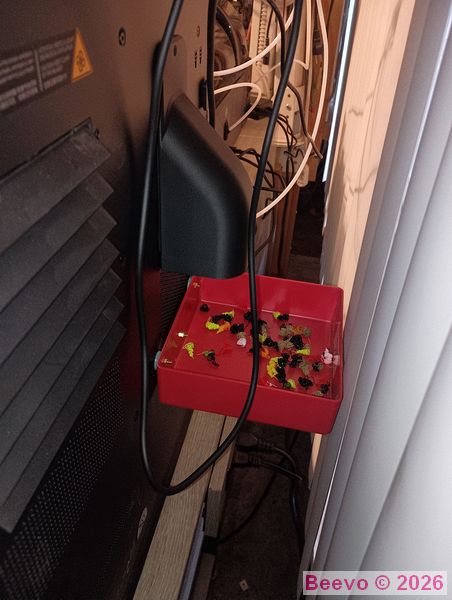
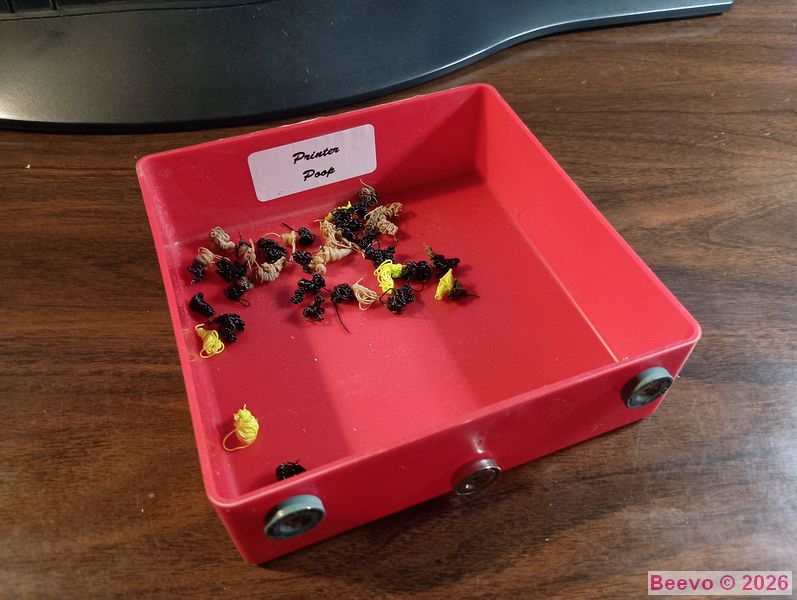
Next issue to deal with is a place to collect the "printer poop". The machine purges the extruders during color changes and the little "bits" drop out of the port in the back. Bambu's suggestion was to use a filament reel box to catch the debris. I was thinking to myself, "I just spent close to $3k on a printer and accessories and you can't provide a simple plastic part? THEN I got to thinking after I followed the link on the instructions to some files to print a duct to deflect the printer poop into a receptacle. Yup, clever people, have you make the part to learn the machine. Makes sense now. I dug out a Schaller Drawer bit and mounted some small magnets to it to hold it on the back of the machine and still be easy to remove to empty.
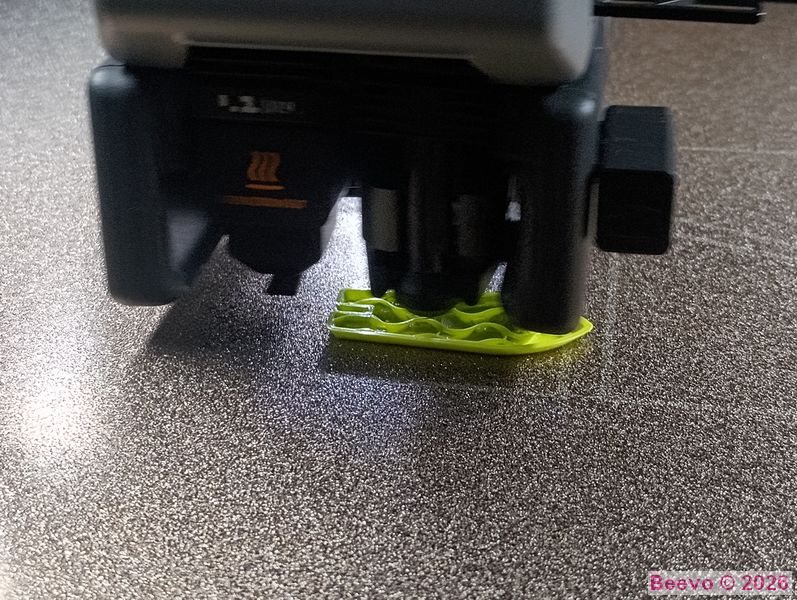
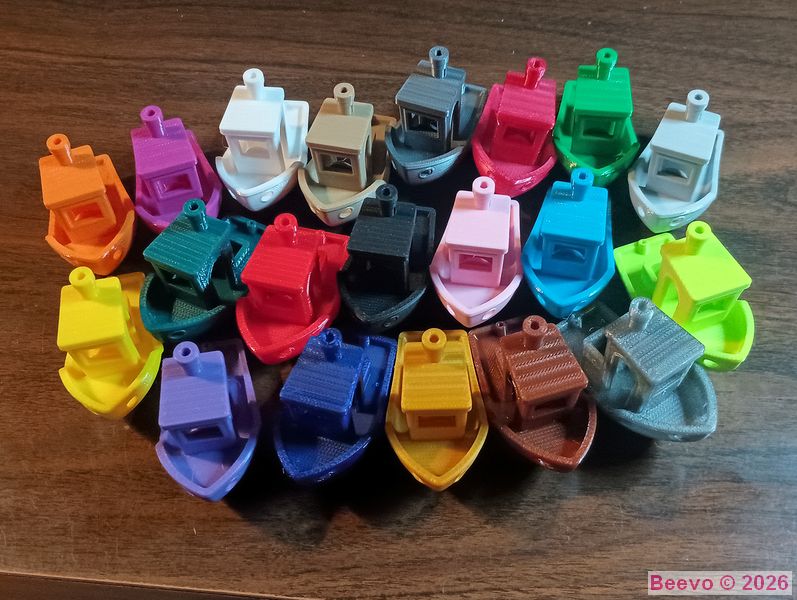
First thing I printed after the poop duct was the sample tugboat. We liked it so much I decided to re-create my sample swatch collection as a fleet of Boaty McBoatfaces.
Some current projects:
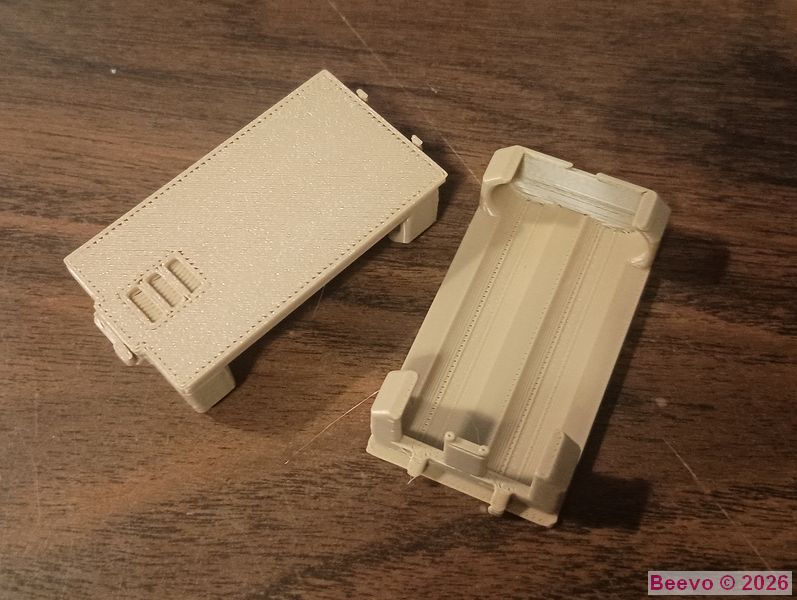
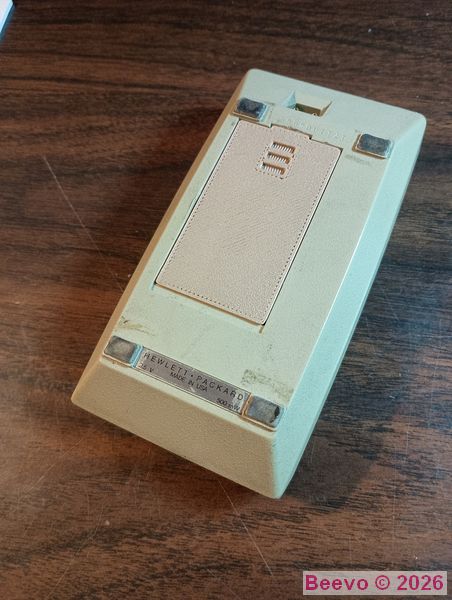
One of the first things I printed that was NOT a Boaty McBoatface were some battery holders for a few of my old Hewlett Packard RPN calculators. The precision of the printing was exceptional.
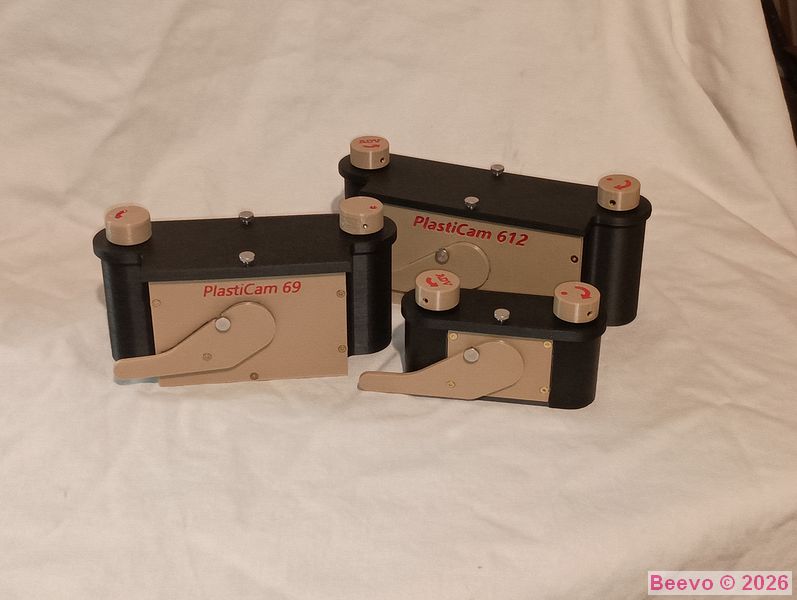
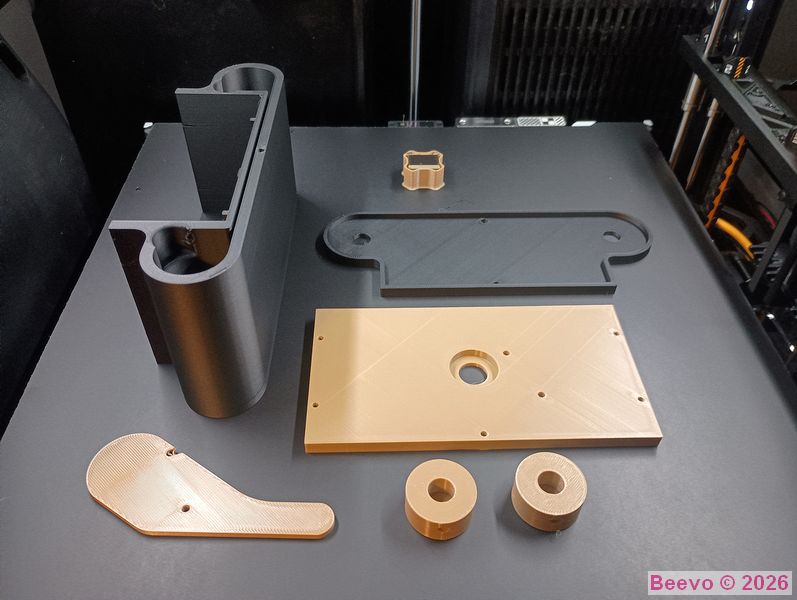
Shown at left, the 35mm, 6x9 and the completed 6x12 cameras. Right side shows the results of taking advantage of the dual extruder function. The funny part at the back is the priming pillar that is used to cleanly change filaments. The knobs have a red logo printed into them (bottom face in this image) so thre was a little color changing going on.
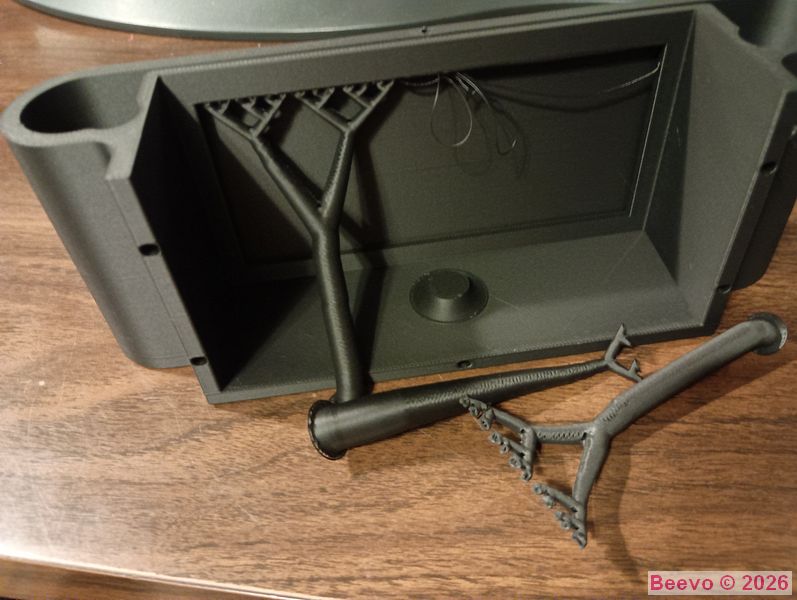
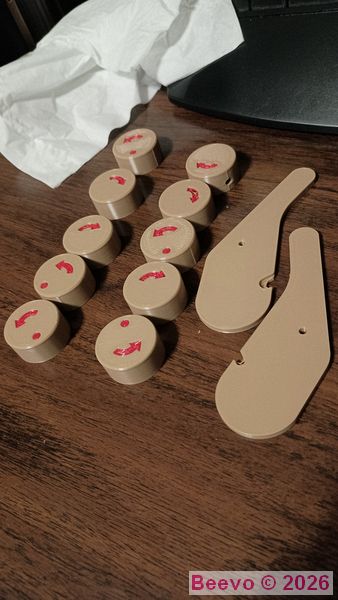
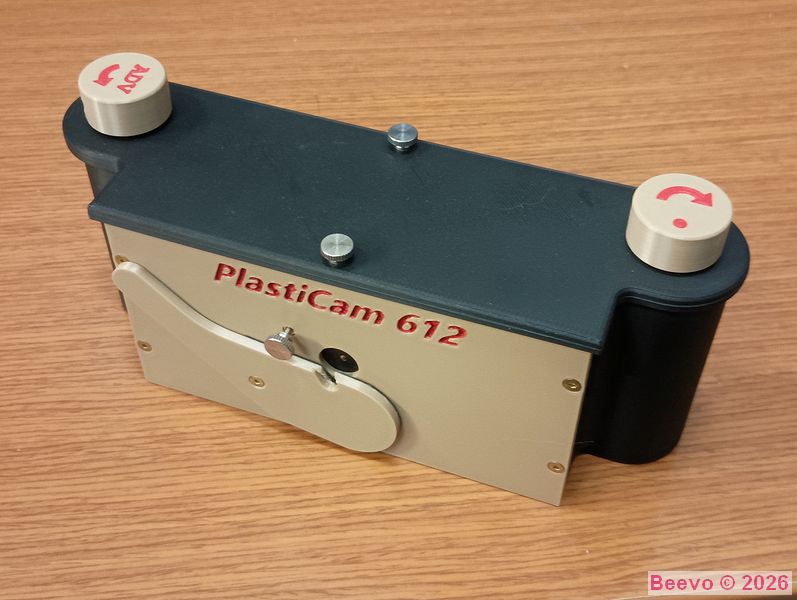
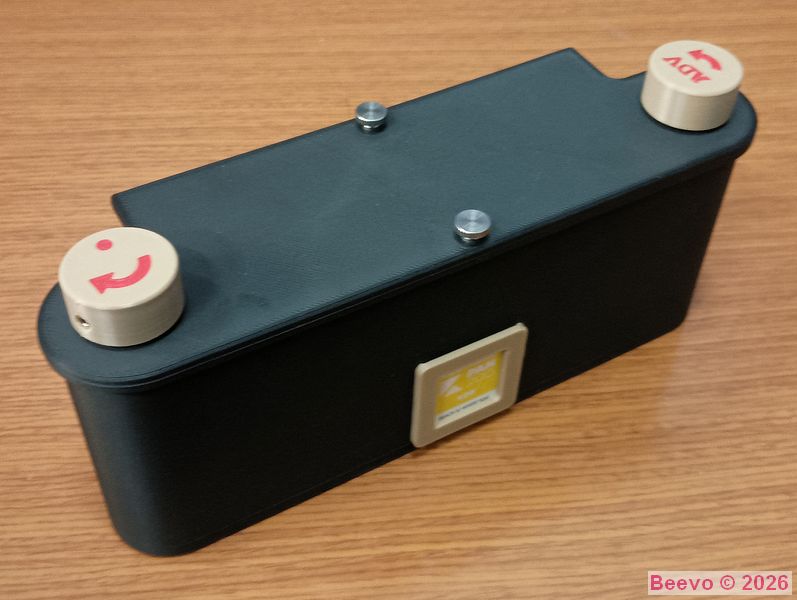
The second project was to print the parts for the latest rendition to my PlastiCam Camera Project. I had previously made a 35mm format and 6x9 roll film version. The newest version is a 6x12 "wide body" version. Shown on the lower left is how Bambu Suite handled the film window opening. Previously I had made an insert as part of the body that could be removed when four corner supports were cut away. The tree type supports made it far easier, though the footprint of the supports should have had a brim or been larger, two came loose and there was a certain amount of droopy strings. The red logos on the knobs and front face are printed into the tan plastic.
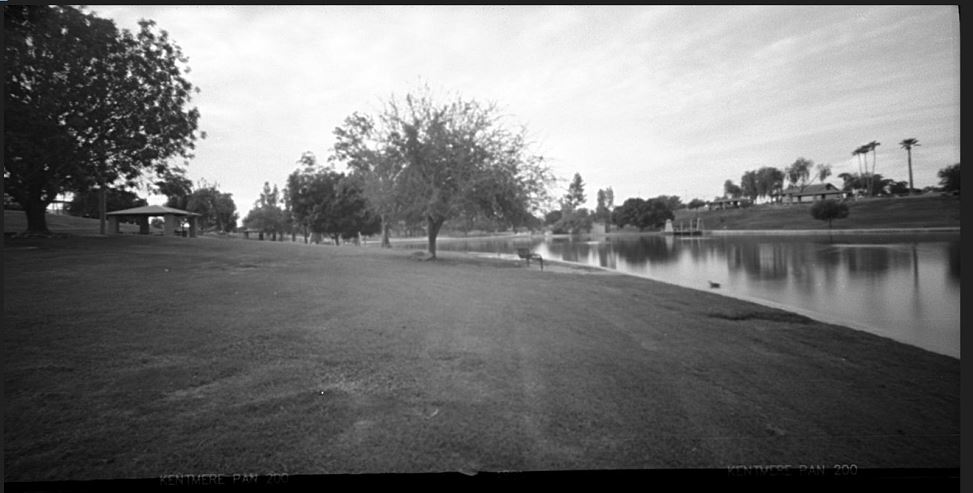
Kiwanis Park, Tempe, Arizona. Kentmere Pan200 developed in Rodinal 1:25