Axis Drive Couplers
First step was to remove the motor, I started with the X Axis as it was much easier to get to and I had no idea what to expect in the way of bits & pieces tumbling to the floor. It was actually pretty straight forward.
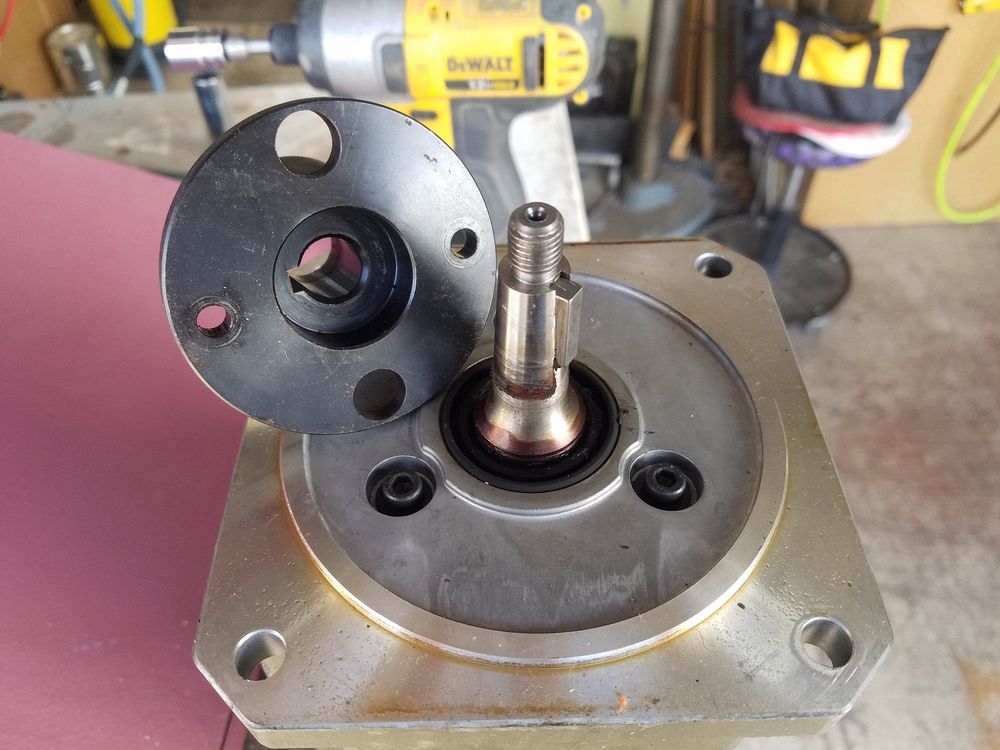
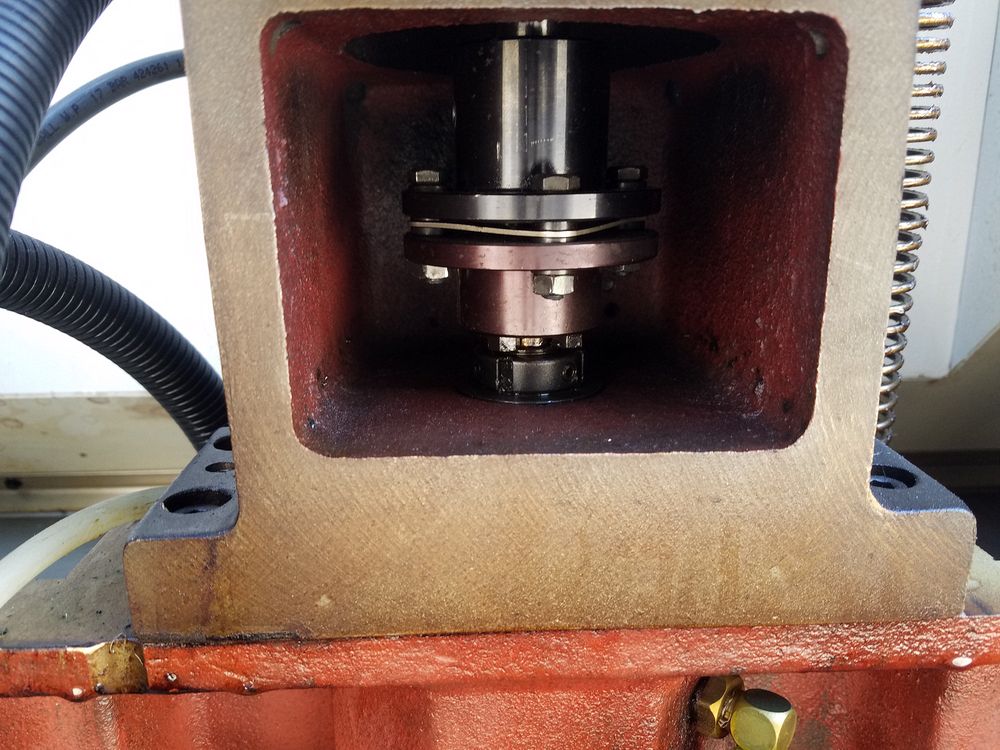
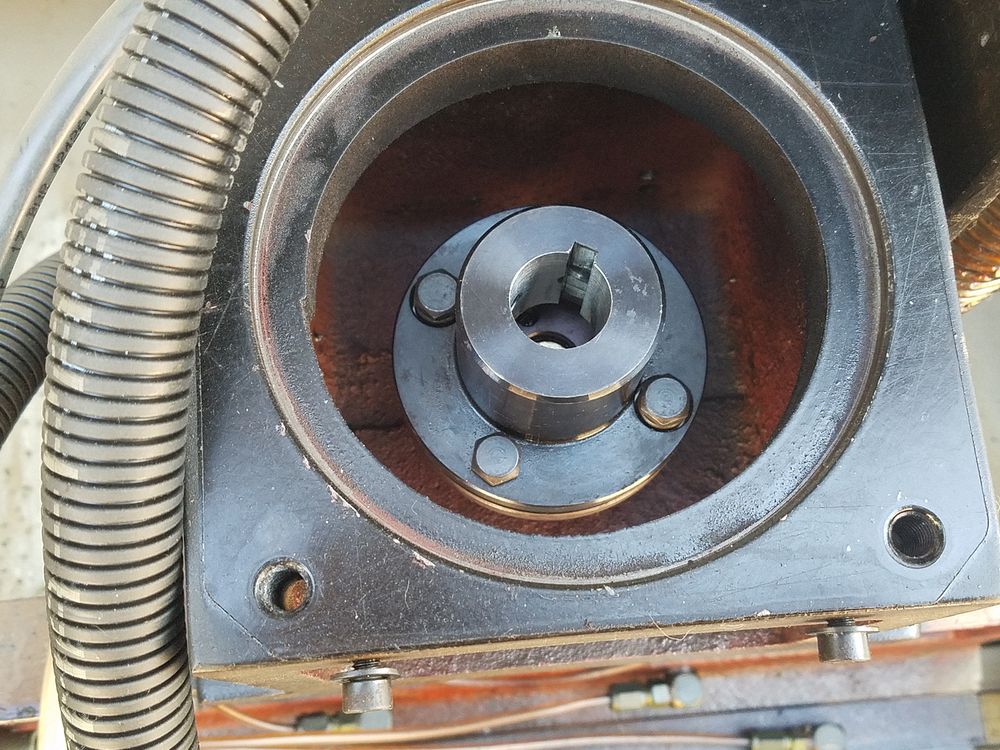
Here is the center section of the coupler. The motor as I suspected had a tapered/keyed shaft, so a new flange or a modification would be needed.
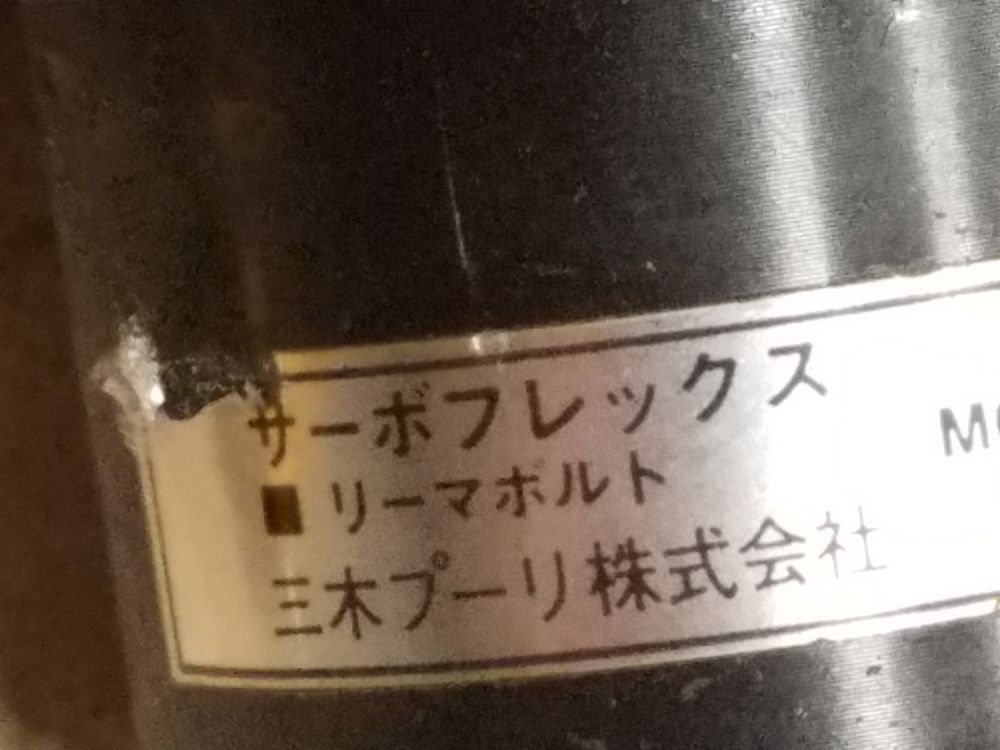
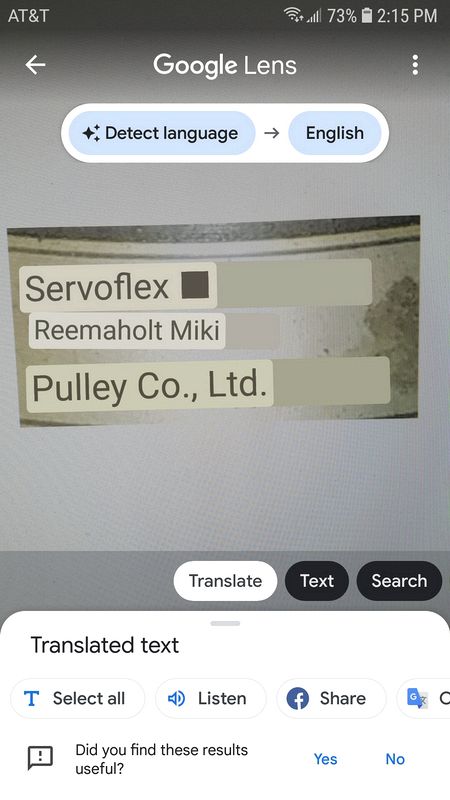
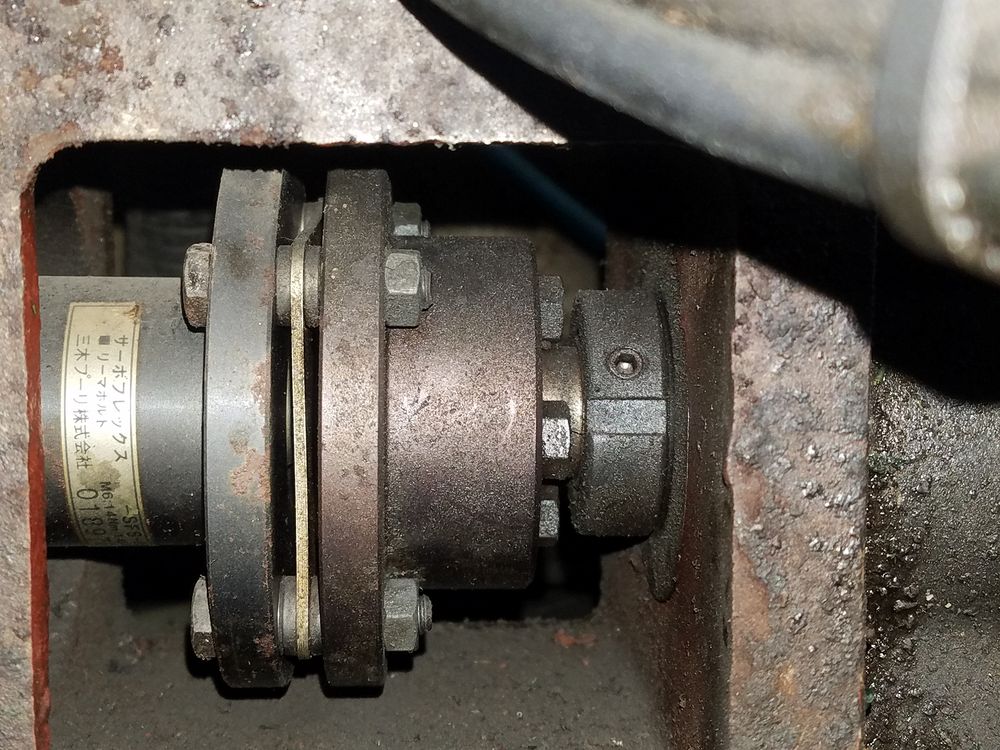
The company that made the coupler is still in business and I found a supplier. While the part number was readable, the manufacturer name was not. A very clever program called Google Lens allowed me to decode it in real time. My initial thought was to buy a complete coupler with 19mm bores on each end and use one half for each axis.
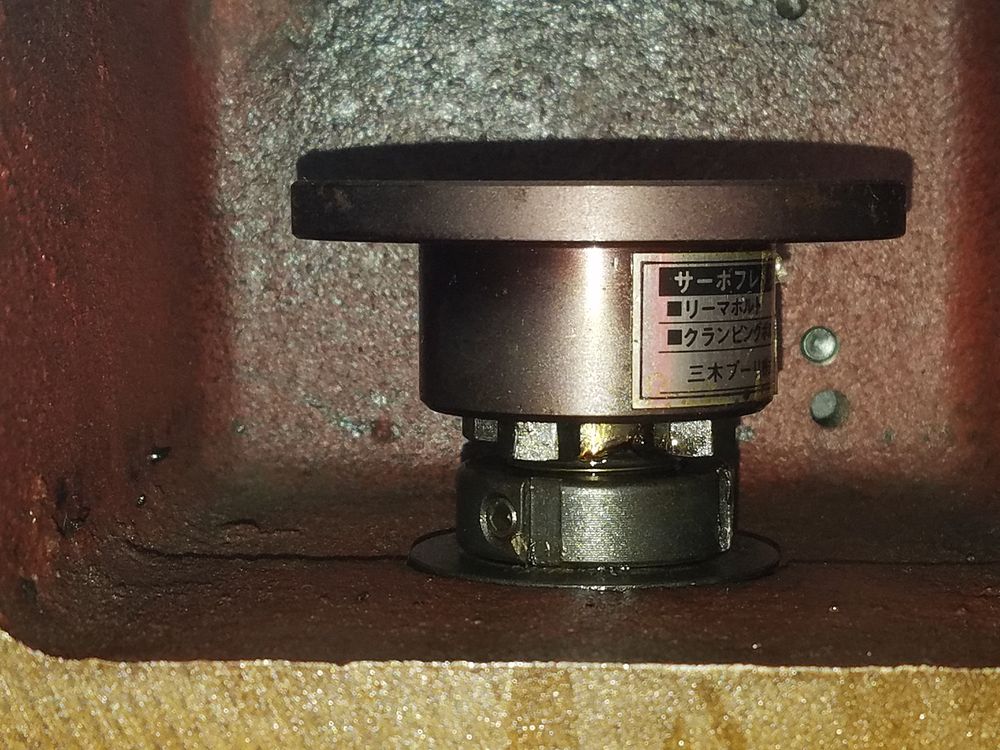
Good thing I had not ordered a coupler. I removed the Z Axis motor after getting the machine home and found the Z axis coupler was the next larger flange size...
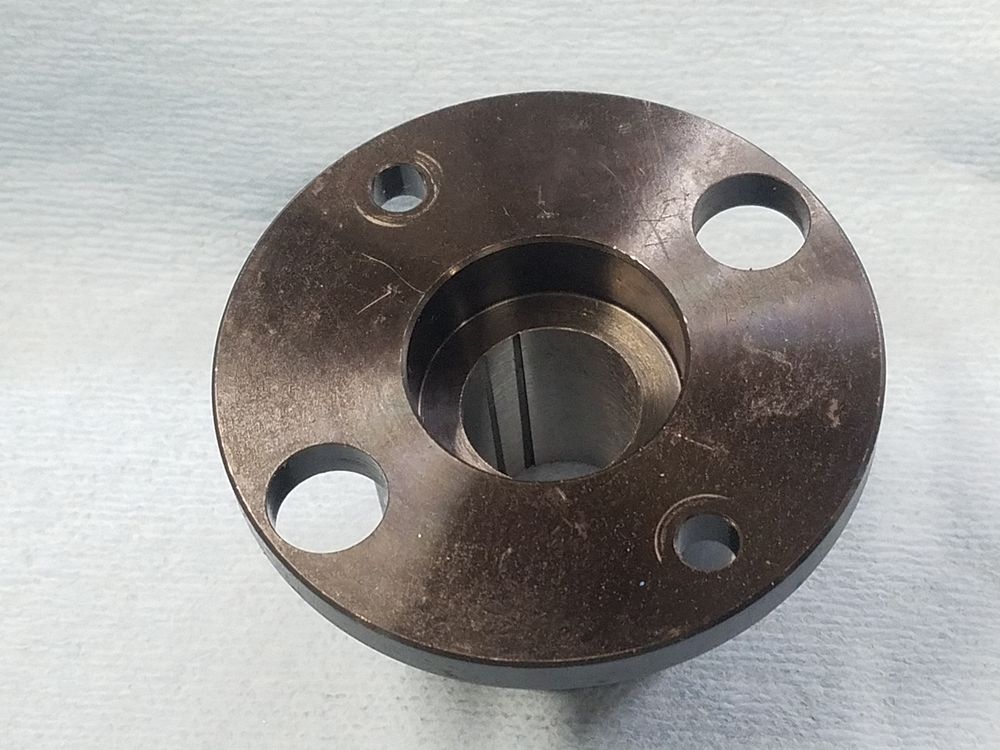
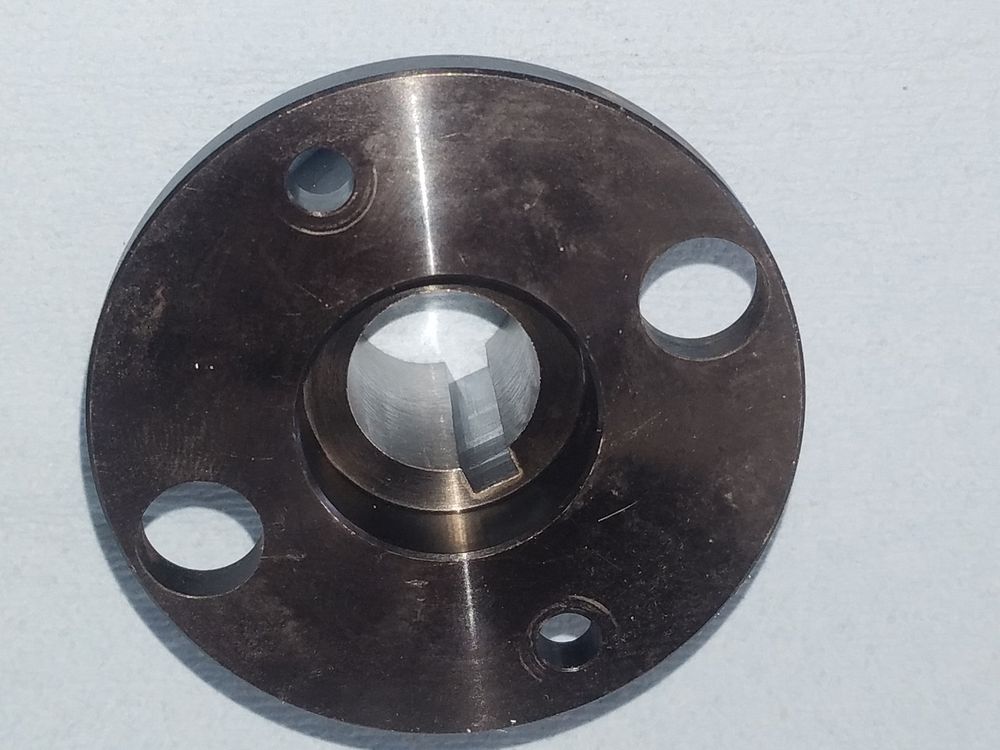
I carefully bored the X Axis flange out to 0.735" and then using a chucking reamer finished the job. The motor shaft is 19mm. I already had a 19mm B1 keyway broach bushing but the import branded 5mm B1 broach was not sized correctly. Couldn't even get the nose of the broach started through the bore. I ordered a Dumont broach and then cut the keyway using my 12 ton press. Next step is to drill and tap some setscrew holes.
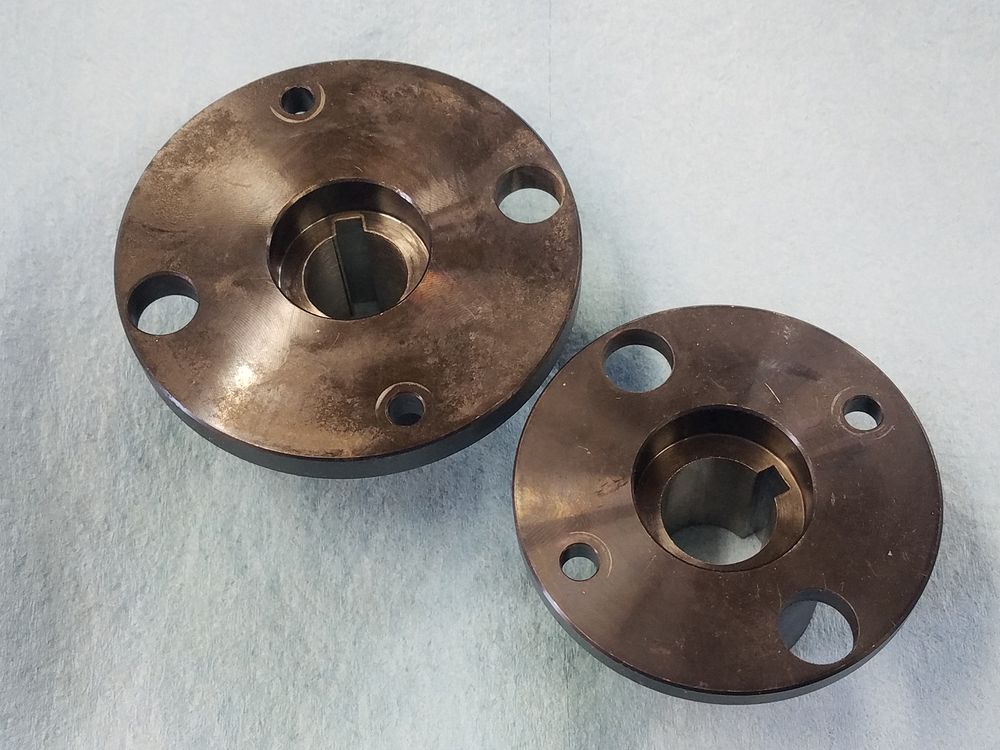
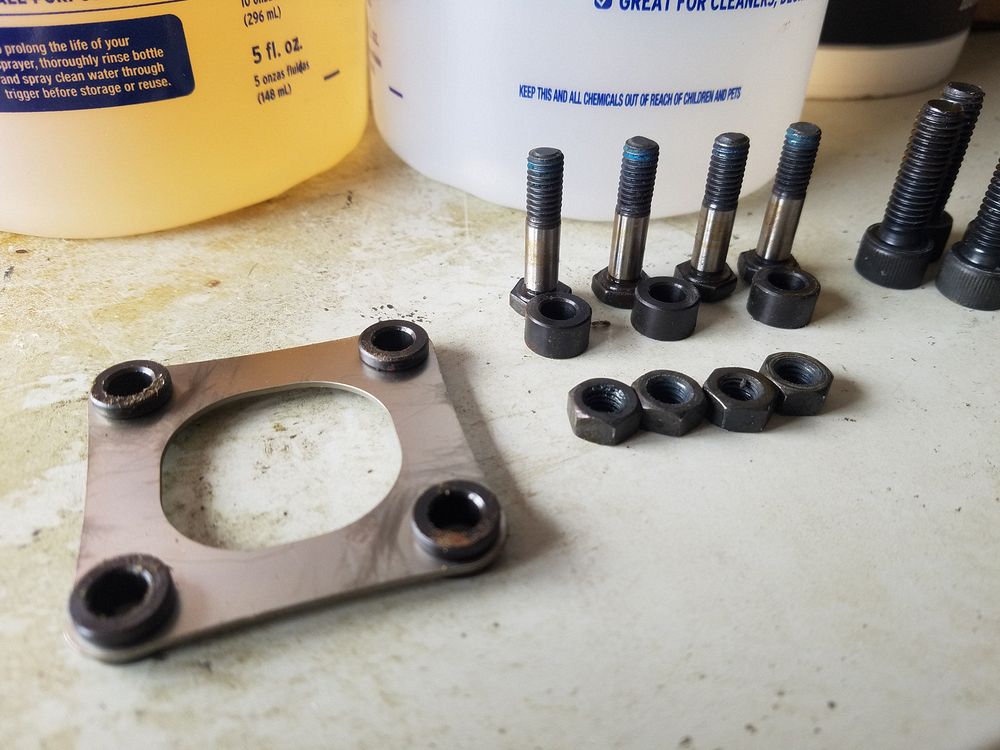
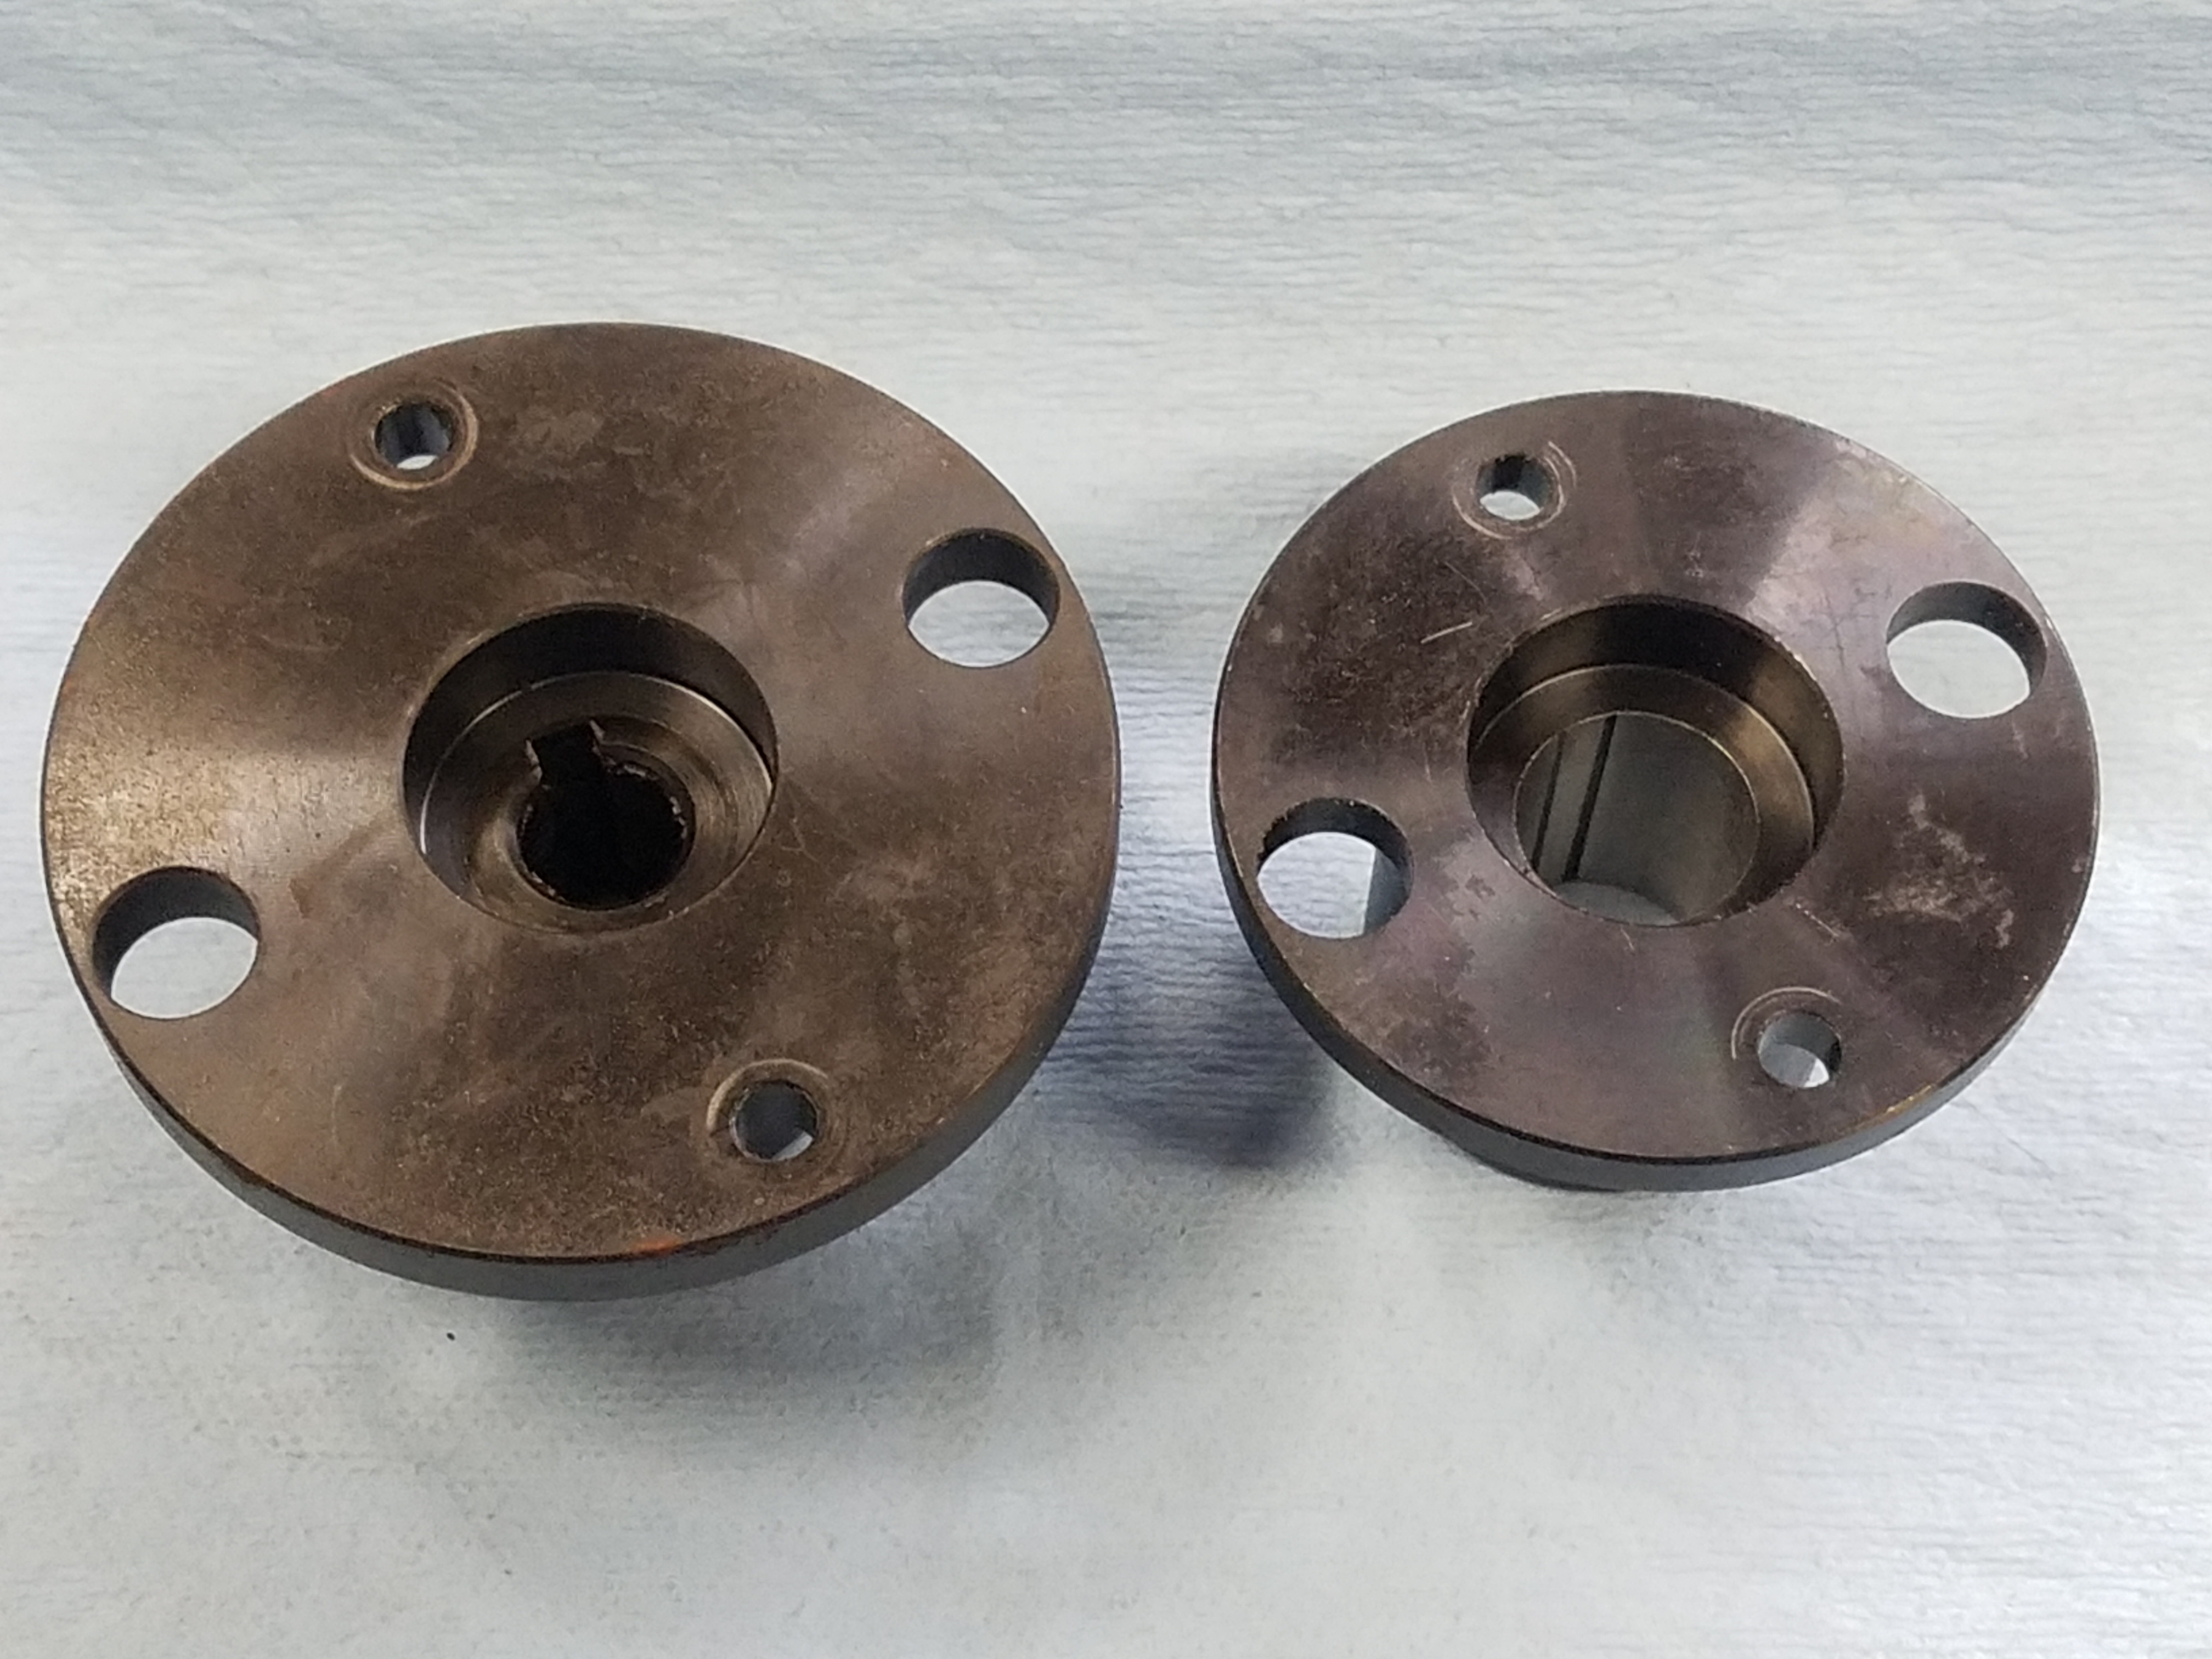
Here are the flanges prior to drilling and tapping the setscrew holes. On the right is the modified flange installed on the new DMM Servo Motor
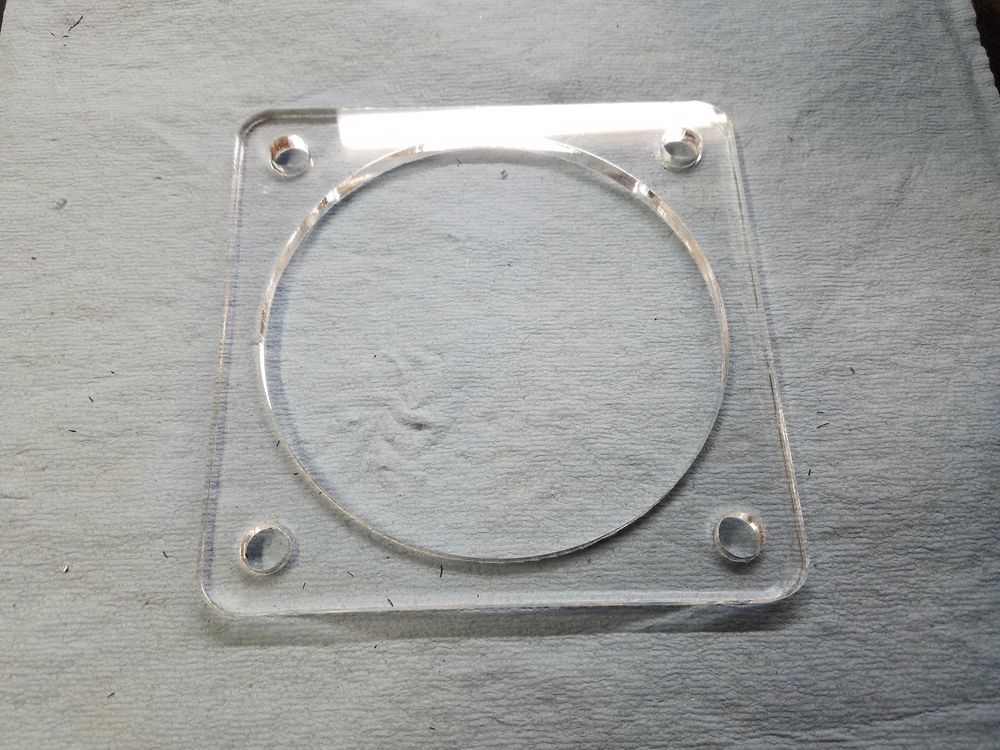
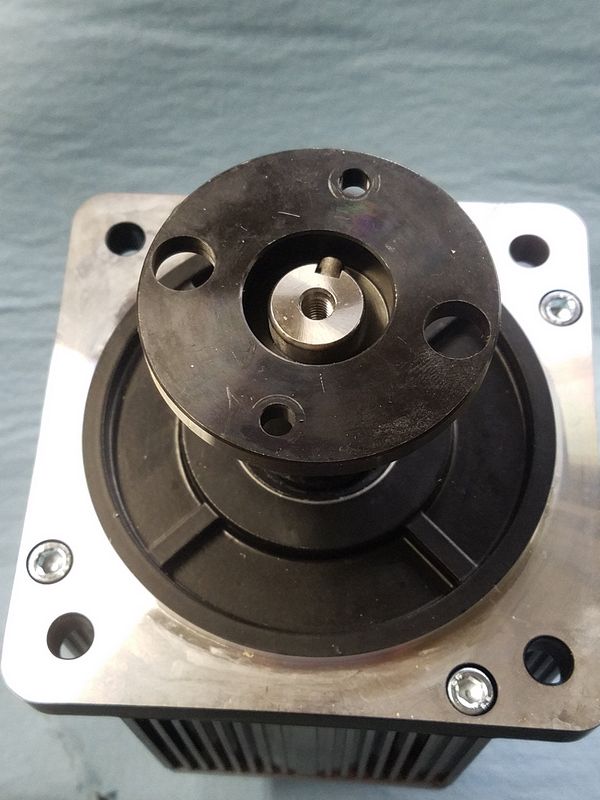
Two shots of the installed coupler. Due to the length of the motor shaft a 1/4" spacer will be required. I laser cut one from Plexiglas