Quill Drive Cover
Last thing to do is cover up all my handiwork. As the drive belt is at scalp level I had to be very careful during testing with no enclosure.
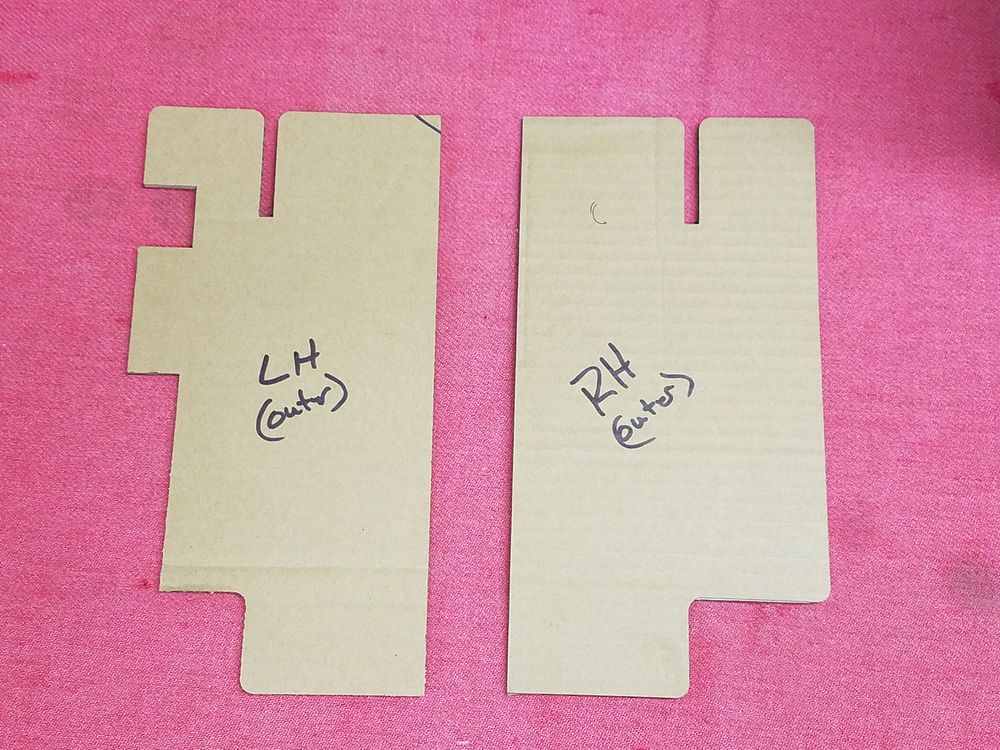
My preference would be to make them from metal and I may still do this, but Lexan and the laser made it so much easier to play with the design. I may use the plastic parts to make metal parts, but for now these will do.
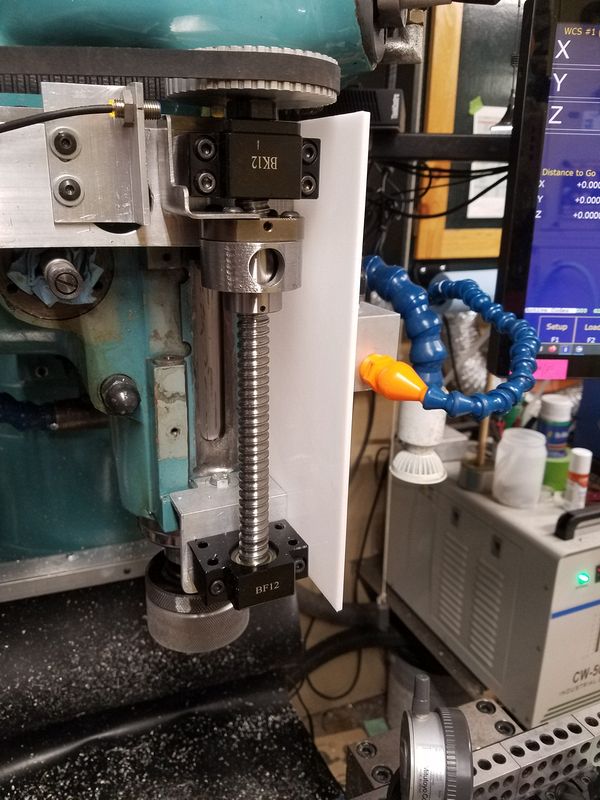
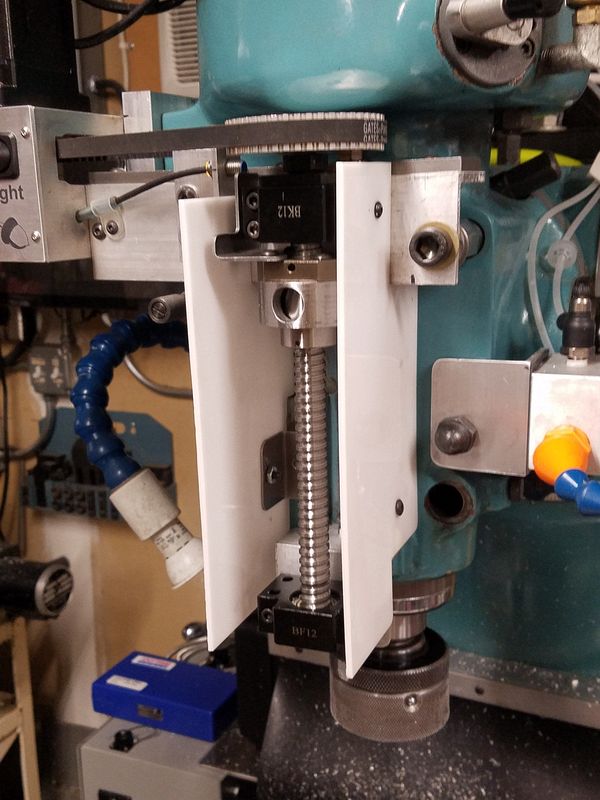
Lexan parts in place.

Bottom plate added and then the front cover. Next comes the belt cover which I will construct in a similar manner. Very little sealing will be required.
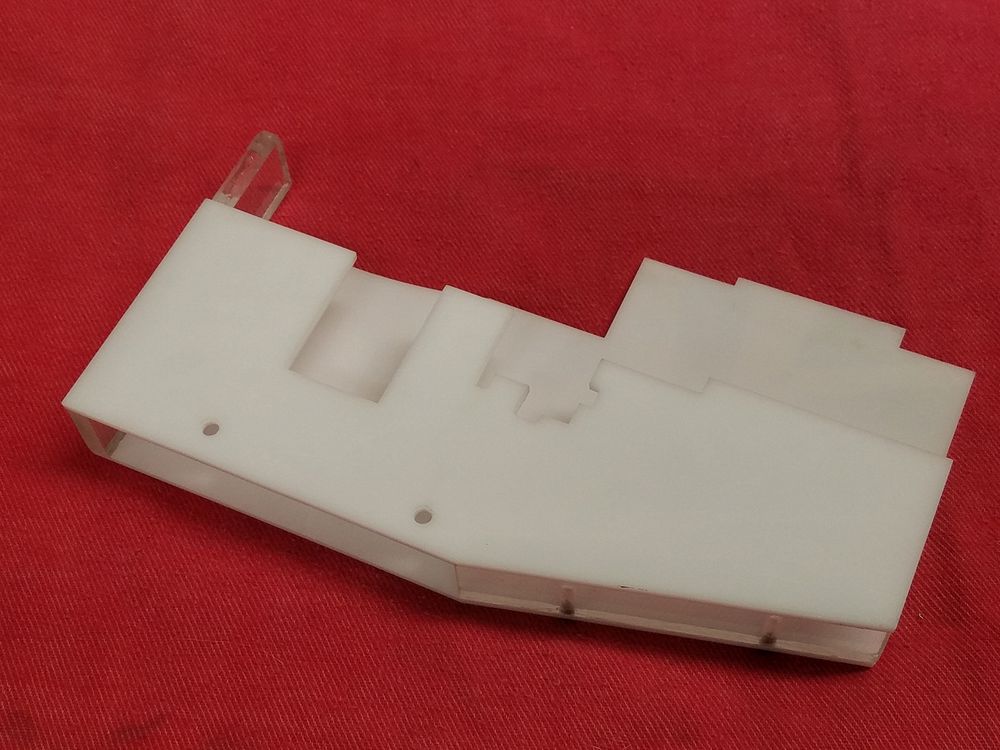
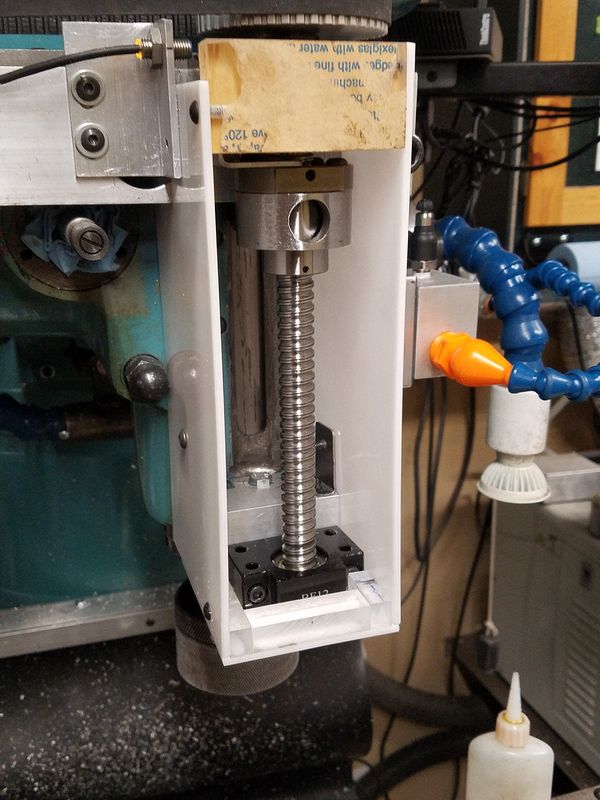
Underside of the upper cover showing cuts to fit the contour of the head casting

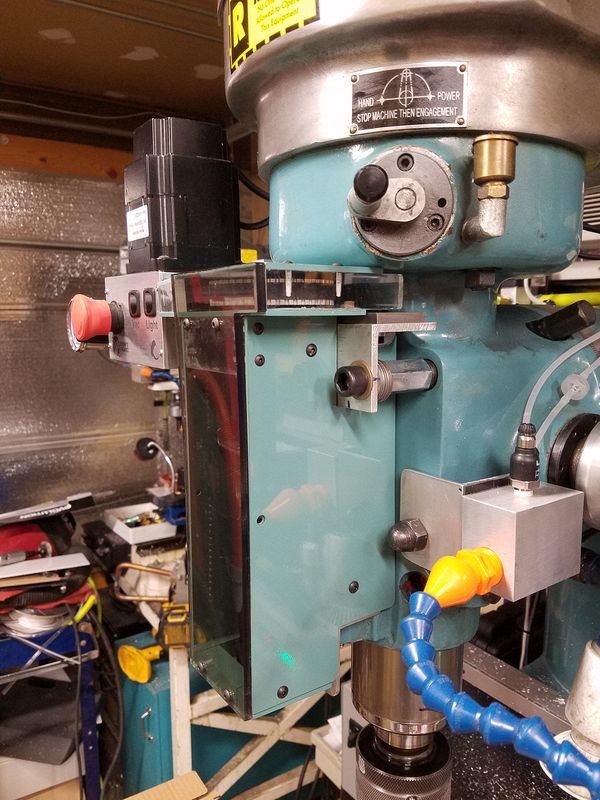
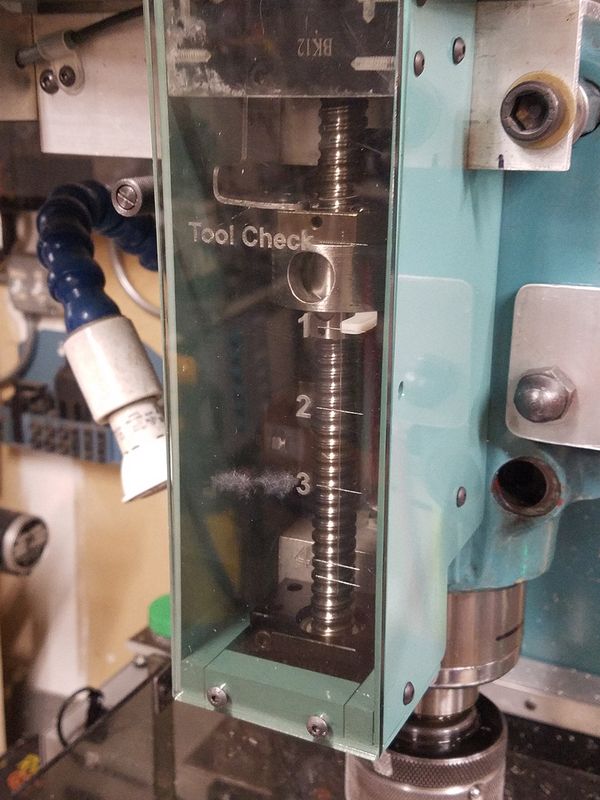
Finished cover, painted with the color matched acrylic enamel paint. A Lexan clear cover was used to facilitate seeing the quill position.

I decided to spiff it up and add a pointer and a scale.
The pointer was laser cut from white Lexan and bolts to the underside of the
quill adapter.
All done and ready to use.....
Other covers and plugs.
I couldn't think of any other place to put these images. There were some openings left by the removal of certain mechanical parts that needed to be covered over. The Z Axis motor bracket was mounted where the gear selector for the original mechanical quill feed was located.
Right below it was the opening for the trip mechanism and I turned a metal cover to seal that up. I sprayed it with some of the Space Age paint.

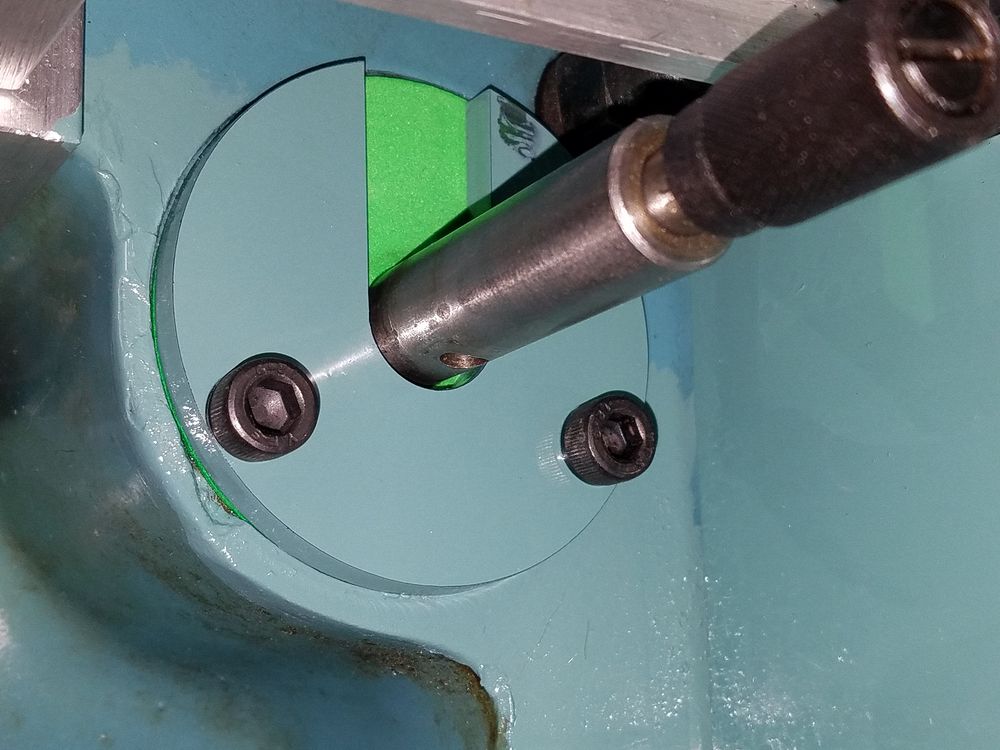
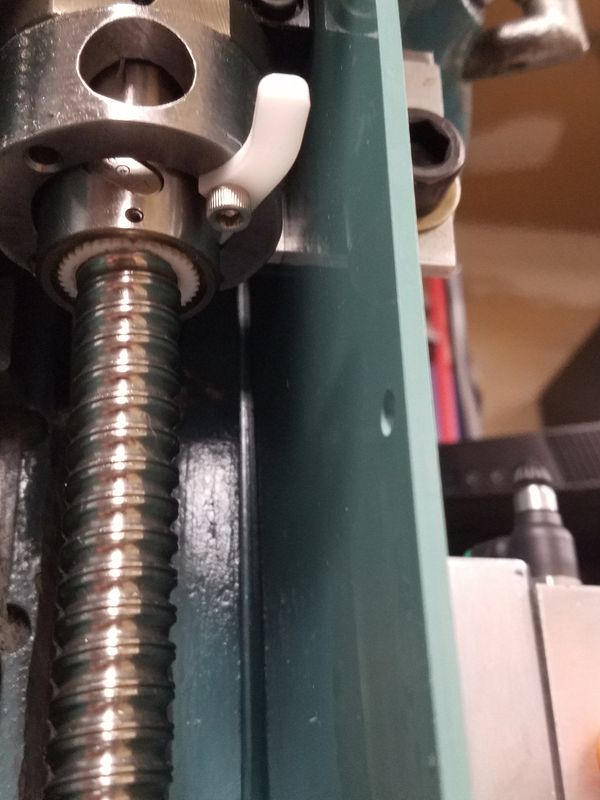
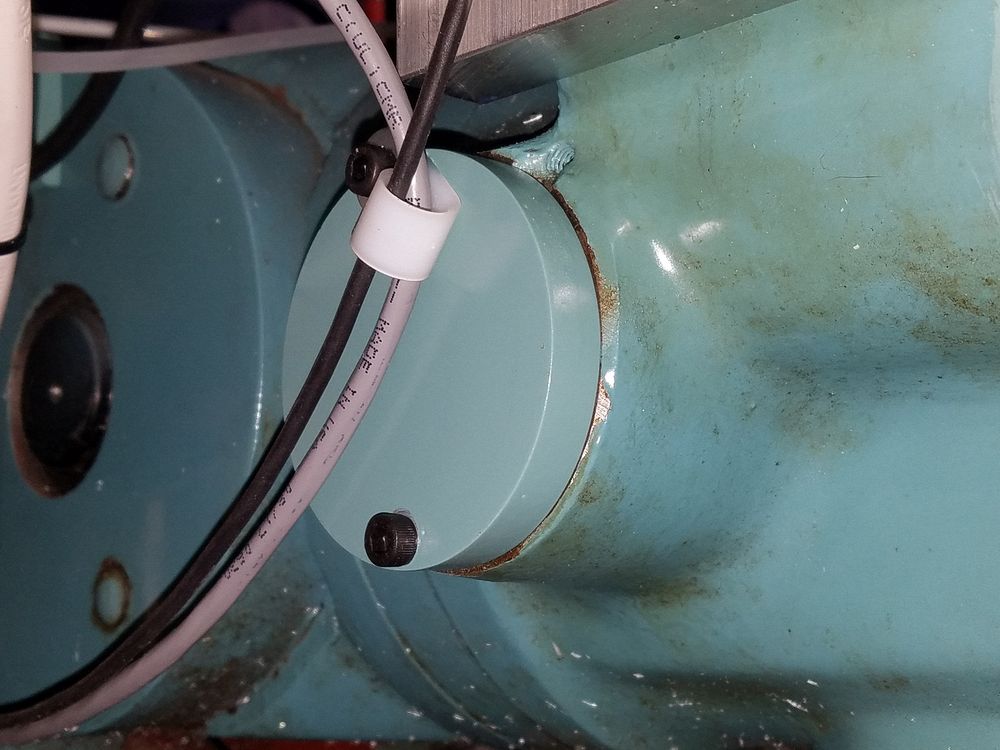
I elected to not cut off the shaft for the old quill feed as I was not sure what could come free inside if I did, so I elected to seal the area with a flange and a gasket. Due to the complete disassembly of the Quill drive motor bracket being required to install a full circle cover, I decided to slot the retainer. The laser made short work of the plate which was cut from 3/16 Lexan and then painted Enco green. I also made a filler block with the intention of gluing it into place after the plate was in position, but given you have to crane your neck and look up behind the brackets to see it, I left the filler part out. I also did not bother to find some black craft foam for the gasket either.
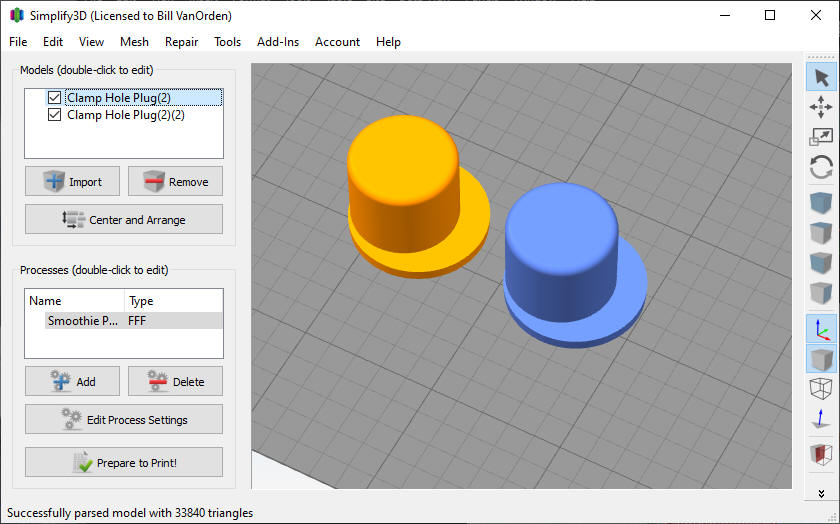
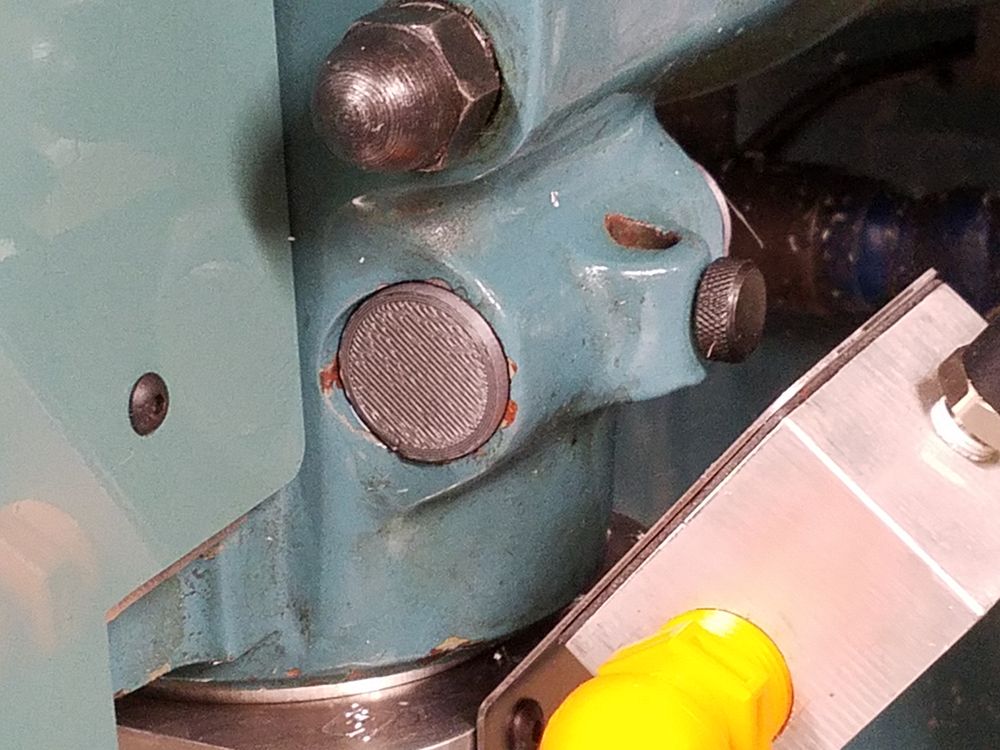
I 3D printed a couple of plugs to seal up where the Quill Lock was originally located. I just spotted the plug with a little Gorilla Glue to keep them in place.