Y Axis Drive
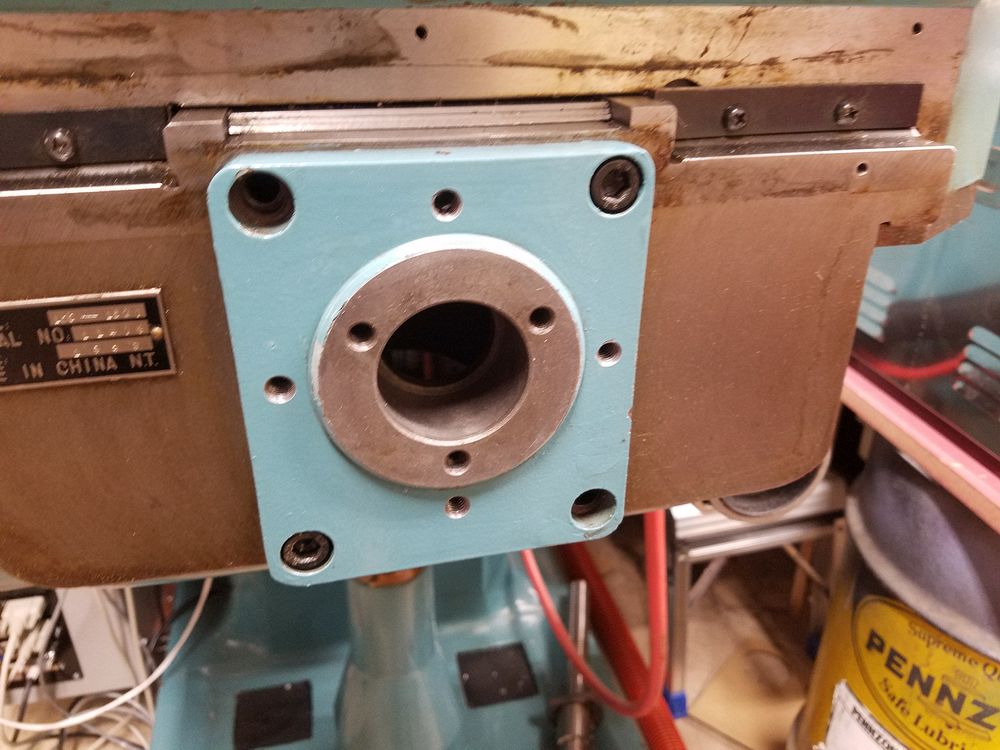
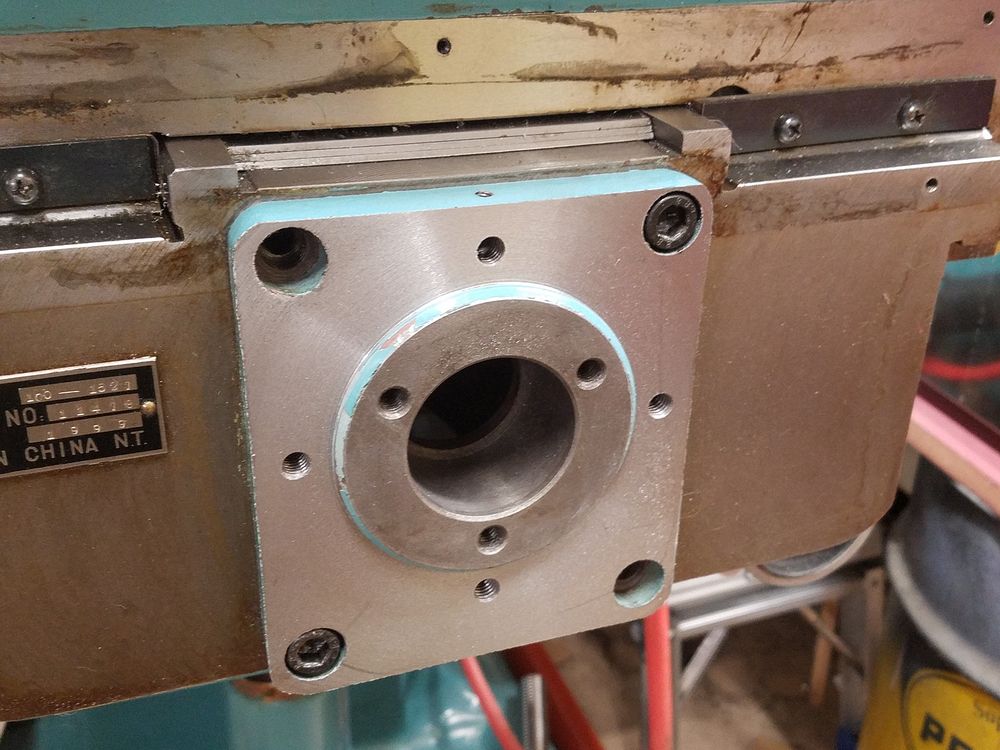
First order of business was to face off the bearing housing and add some mounting bolt holes for the motor bracket. I have seen a couple of conversions where the bracket was attached using the housing mounting bolts. I think this method gives more flexibility to the design.
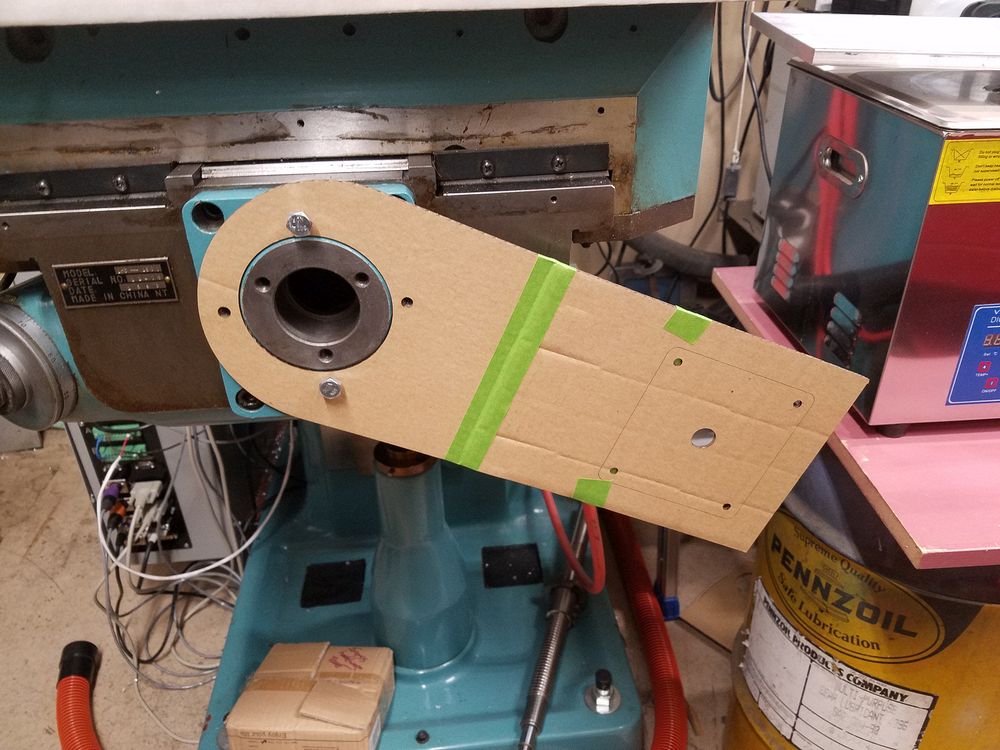
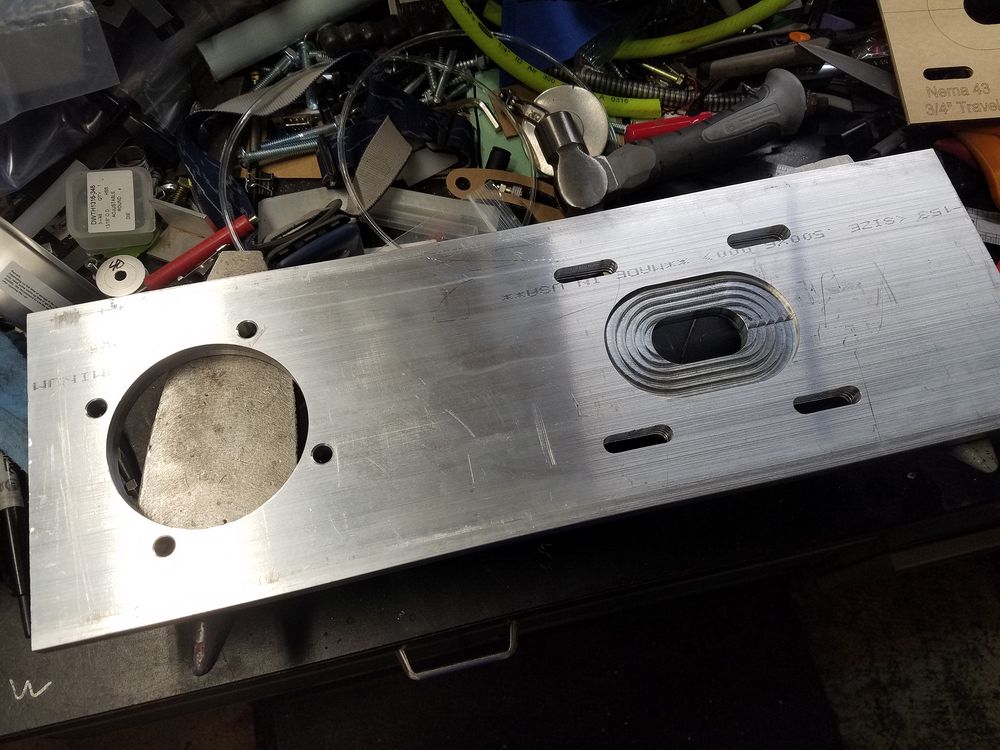
I mocked up the mounting using cardboard that was cut with the Laser. The laser is really handy for these types of projects. On the right is the finished bracket which was cut from a 6" wide plate of 1/2 inch aluminum.
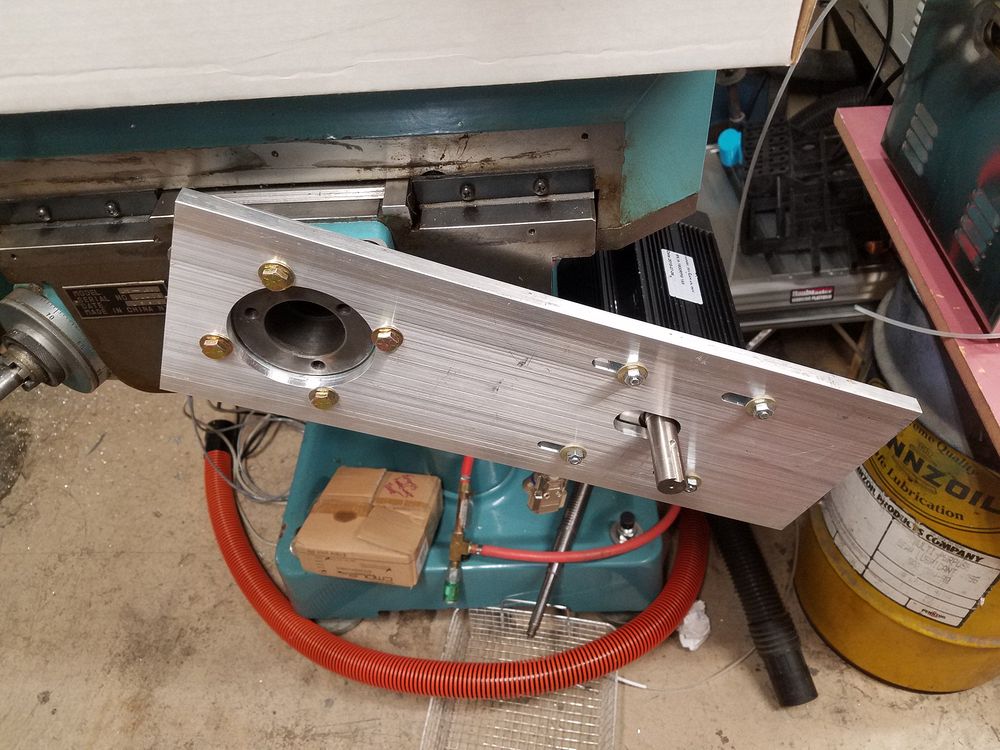
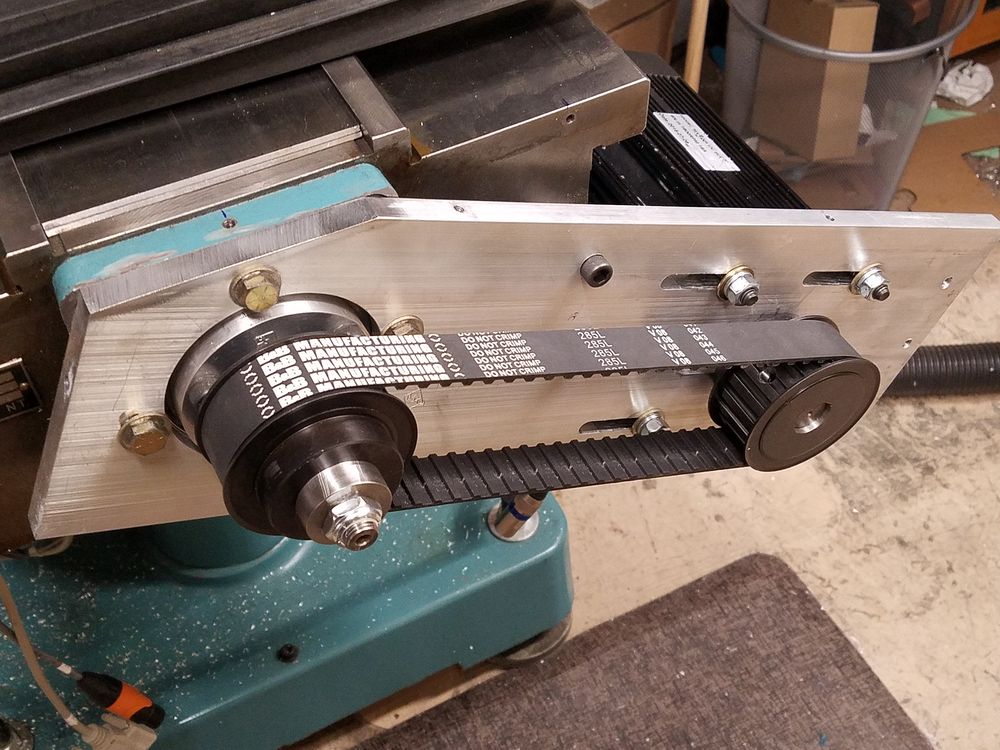
The mounting and motor installed on the front of the saddle. The ball screw was mounted on a wooden stand on the work table and the mounting plate and motor added. The pulleys being used are 22 tooth for a 1" wide L type timing belt. The bearing retainer has not been installed in this view. The two holes in the plate right above the belt are for the stiffening bolts. They will bolt into the face of the saddle and have spacers made to fit between the plate and saddle. Right side shows initial mockup, I had to extend the slots on the mounting plate as the desired belt did not exist commonly. I missed the spacing between the motor and the knee and had to go up one jump in belt.

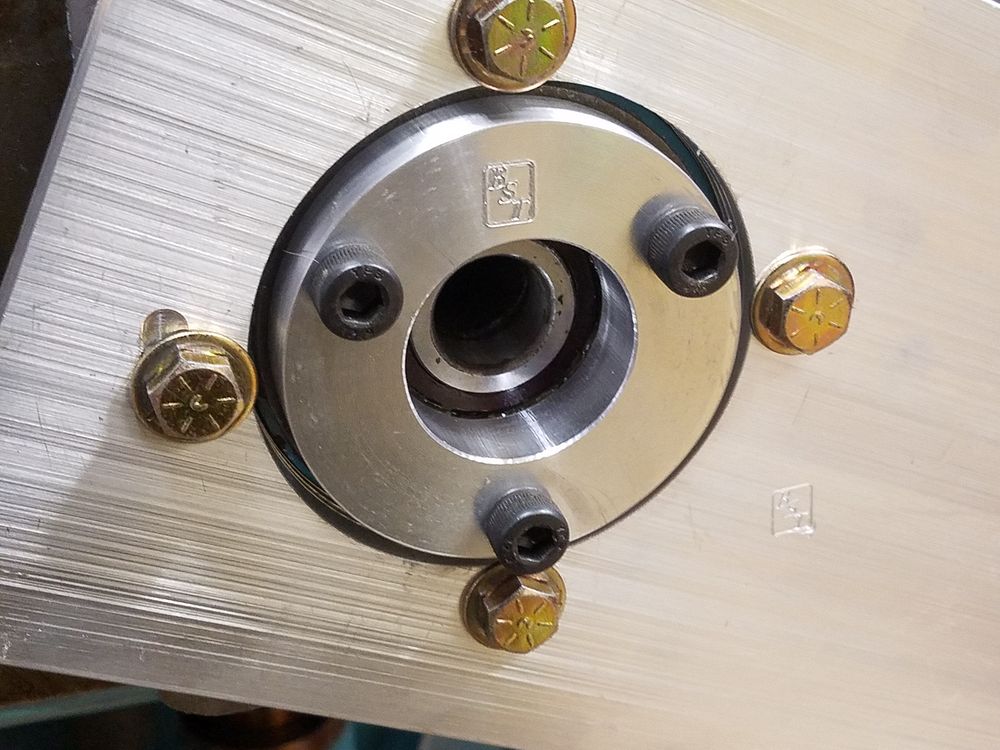
The original bearing retainer was discarded when the power feeds were installed by Enco when the mill was sold new. The one on the left is the adapter from the power feed. I had to replicate it as this one needs to go with the power feed when I dispose of it.
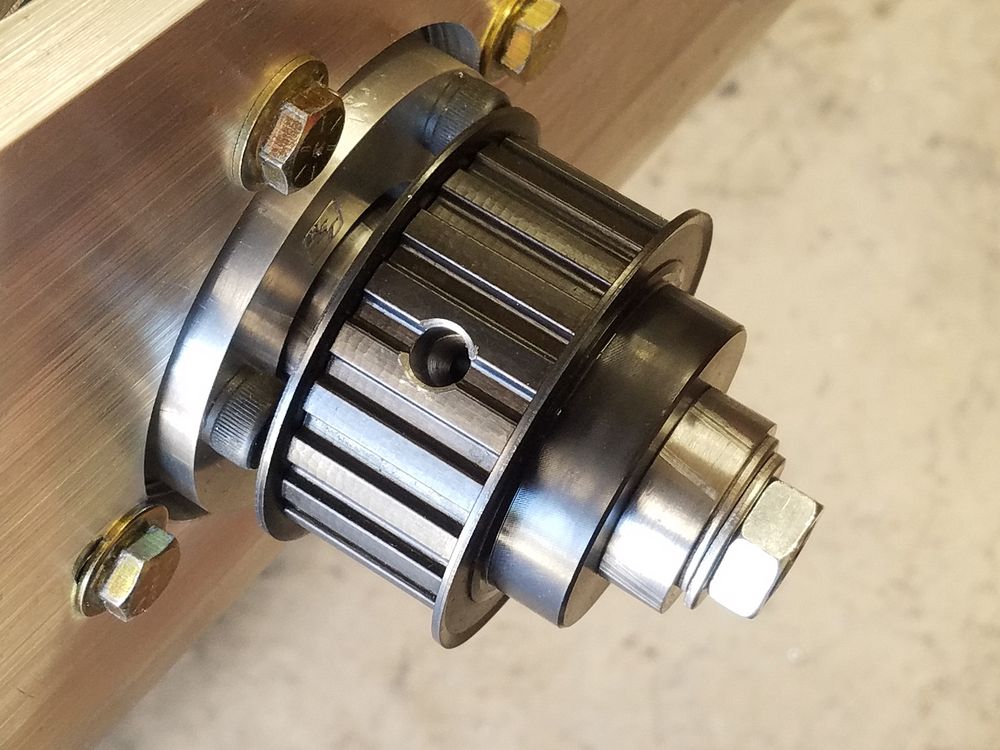
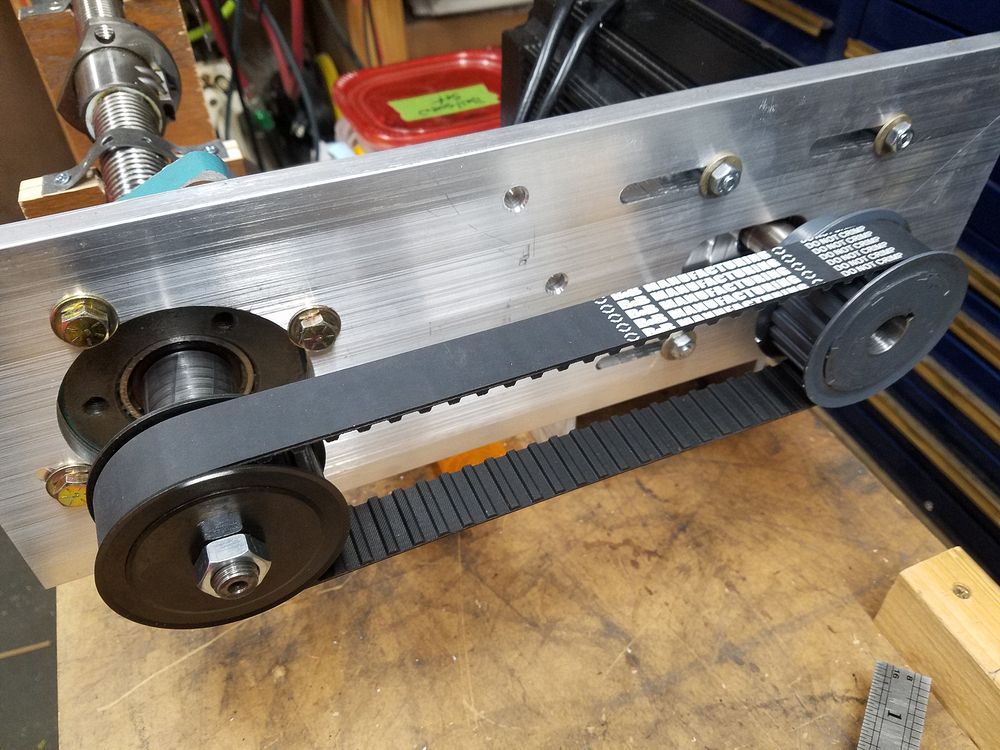
This shot shows the pulley and spacer detail. The inner spacer was turned from a piece of leaded steel. The outer spacer will be one piece, eliminating the two washers used for testing. The pulleys were supplied with a plain bore. I bored the ball screw pulley (shown above) to fit the 5/8" shaft and cut the 1/8" keyway, The motor pulley was a bit different as it had to fit a 19mm shaft with a 3/16" key. Fortunately Dumont makes the correct broach bushing.
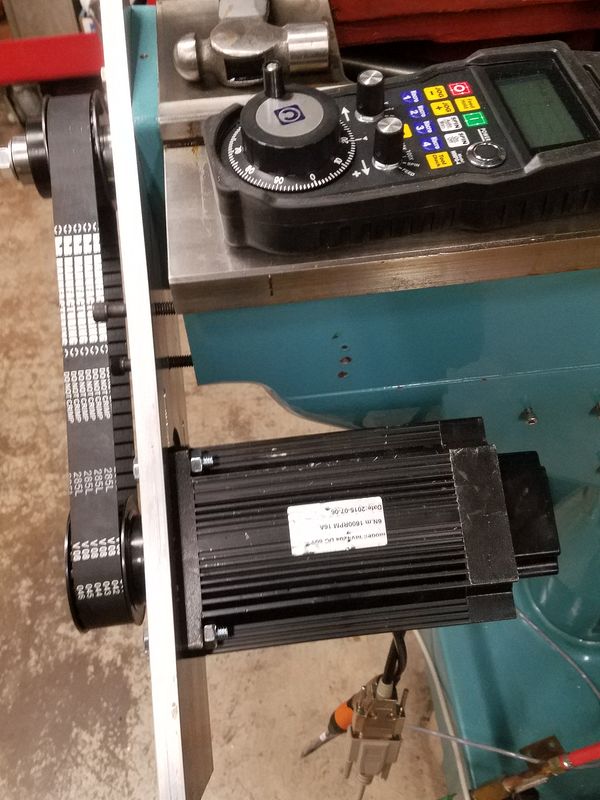
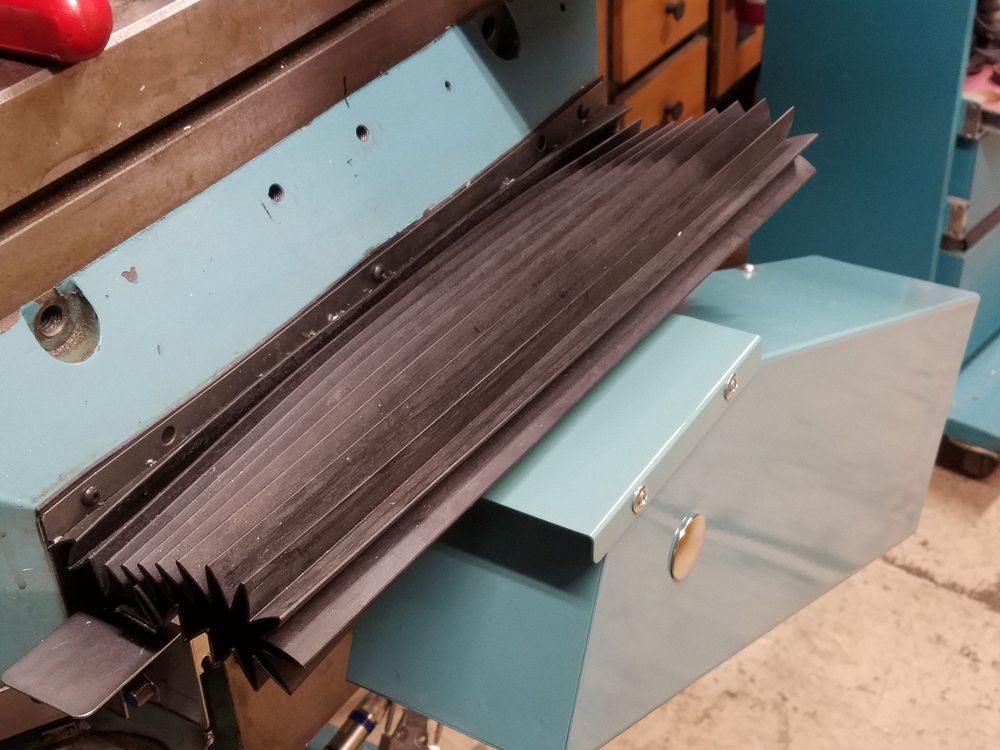
The basically completed Y axis drive. A painted sheet metal cover will be forthcoming. Clearance between the motor and the knee is 3/4 inch. Spacers have not been added at the time this picture was taken. A test run of the drive was made on 6/6/2020, the video link is below. I had to exercise some restraint as there were no keys or set screws on the ball screw shaft and no set screws (but there was a key) on the motor shaft.
6/20/2020
Next step is to fabricate a metal cover. Plan is to build it up out of 14g mild steel and then paint it to match the mill. I dropped the knee handle at Space Age Paint to have Janet (center at the back) work her magic on a match. She did the teal for the Quorn grinder, doing a spot on match of both the color and the gloss of a sample powder coat part that I supplied. I have yet to work up the ambition to take it all apart and paint or powder coat the various pieces.
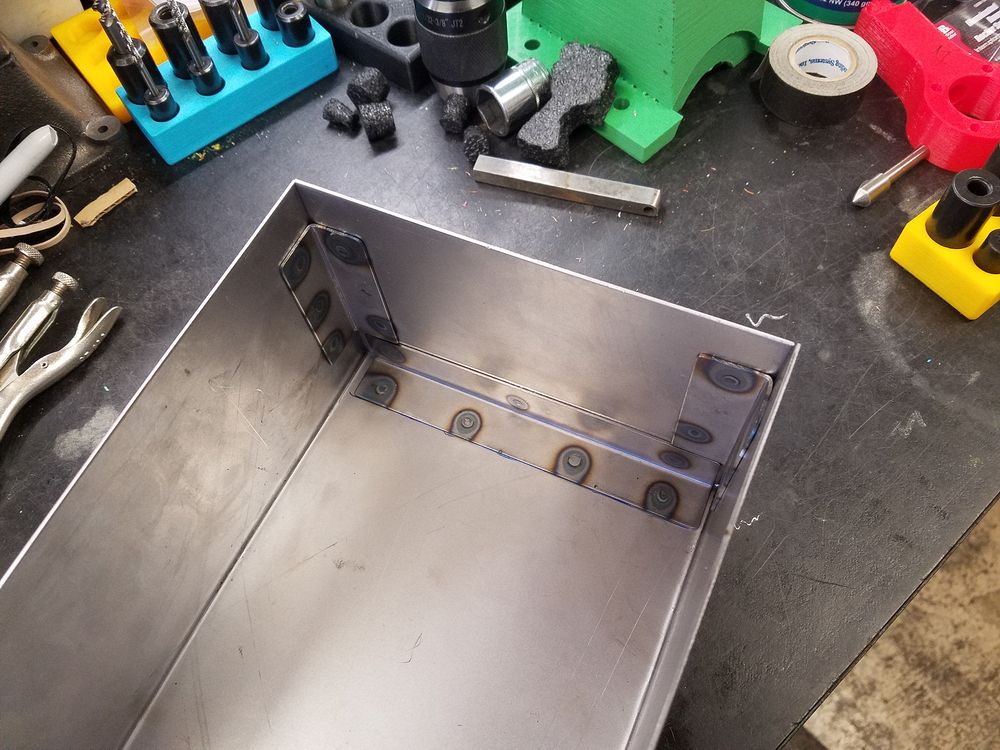
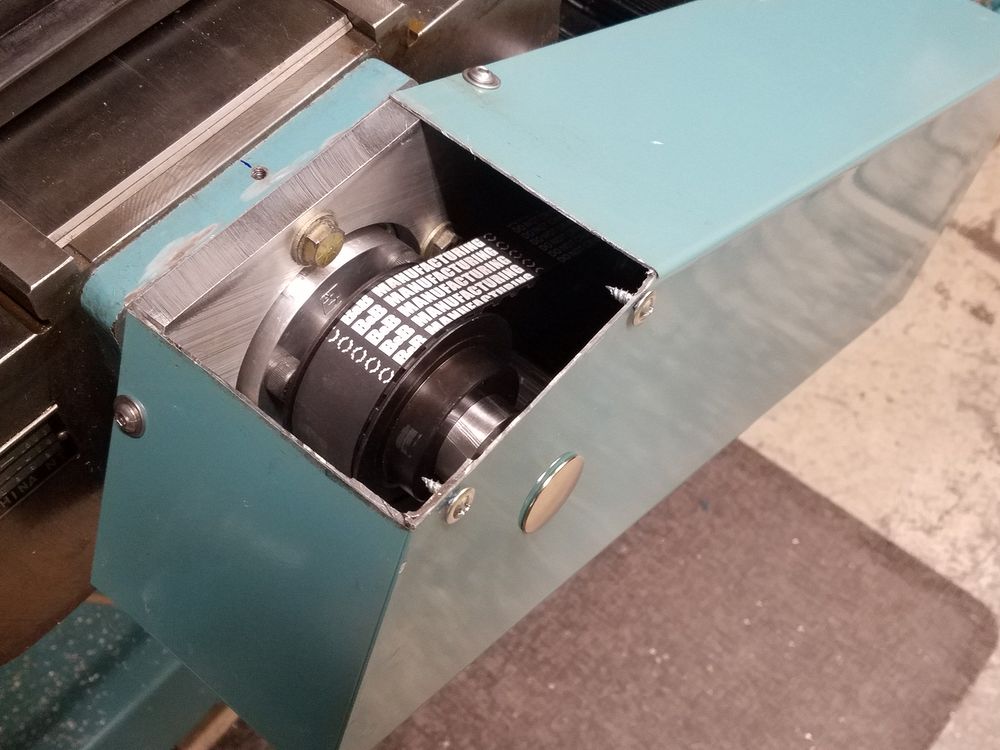
I got some 18ga mild steel sheet metal to make the drive covers. Knowing my skills with calculating bends on sheet metal (and electrical conduit), I elected to pay AZ Metals to bend the cover body with the proviso that the inside flange to flange must be 6" on the money. It was and no change left over! I cut the endplates to fit and then started spot welding. The fit and overall look of the joints is exceptional.
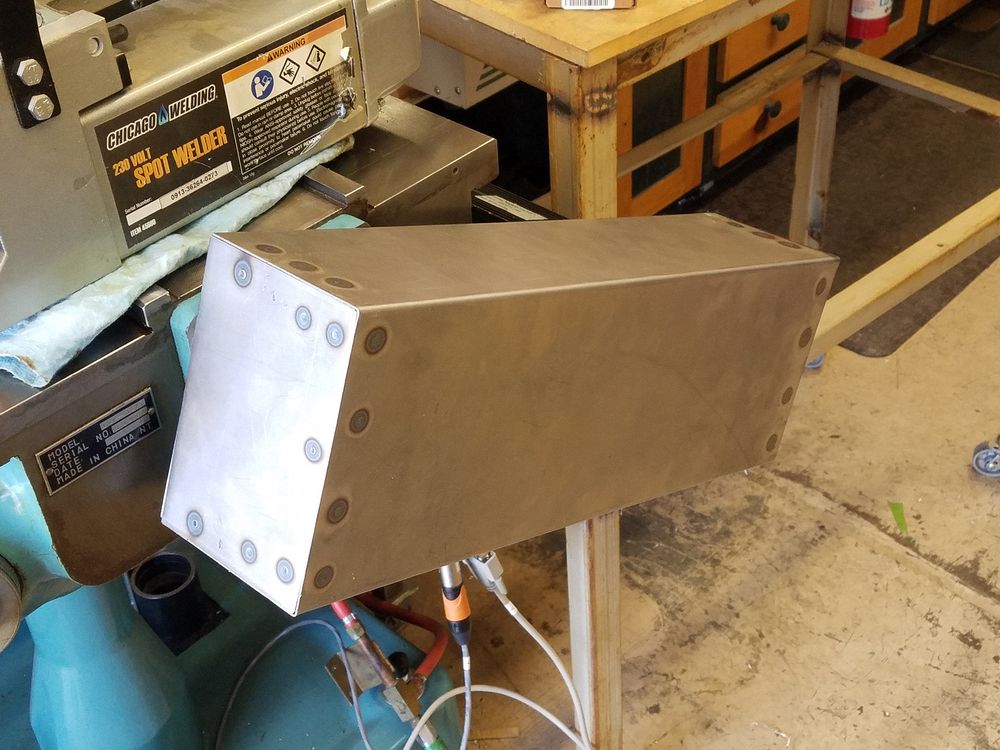
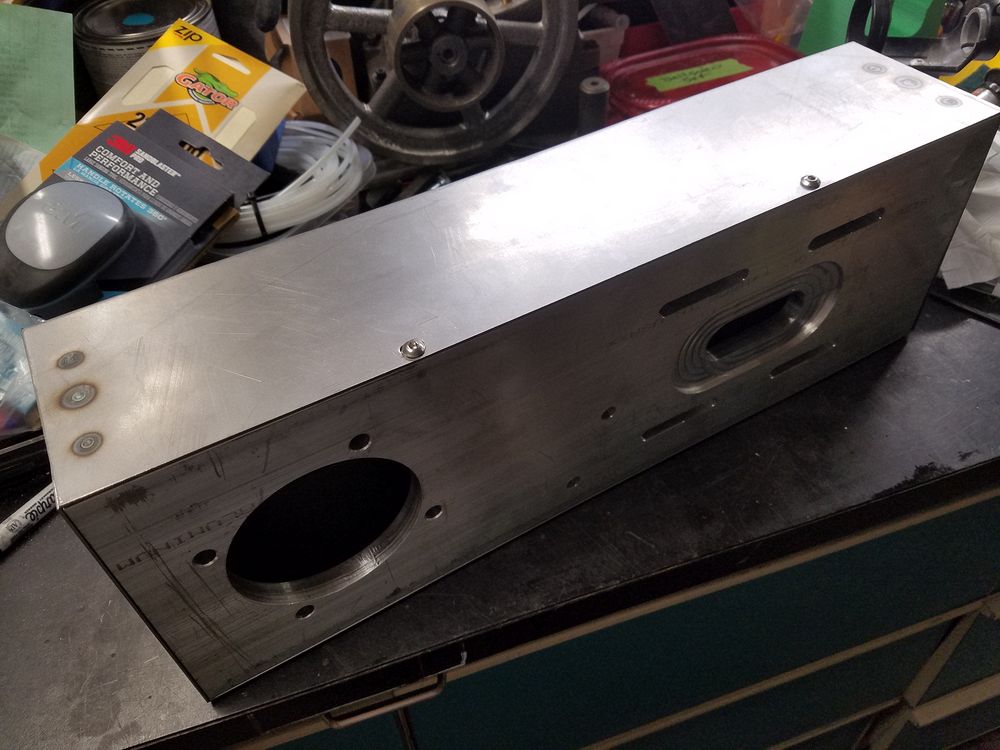
Believe it or not a slight tapping with a plastic hammer was required to get the cover installed. The fit was excellent. Tugging was required to remove the cover. Can't wait to get my paint from Space Age Paint and see what it looks like painted to match. Bolt holes in the bracket and cover are next.
6/26/2020
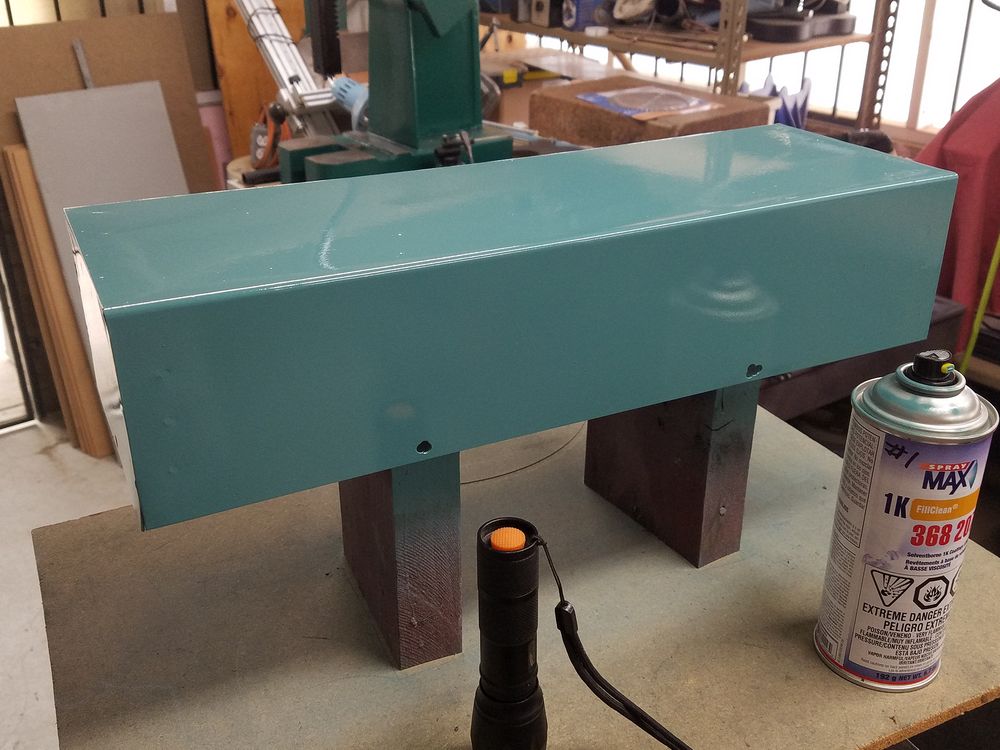
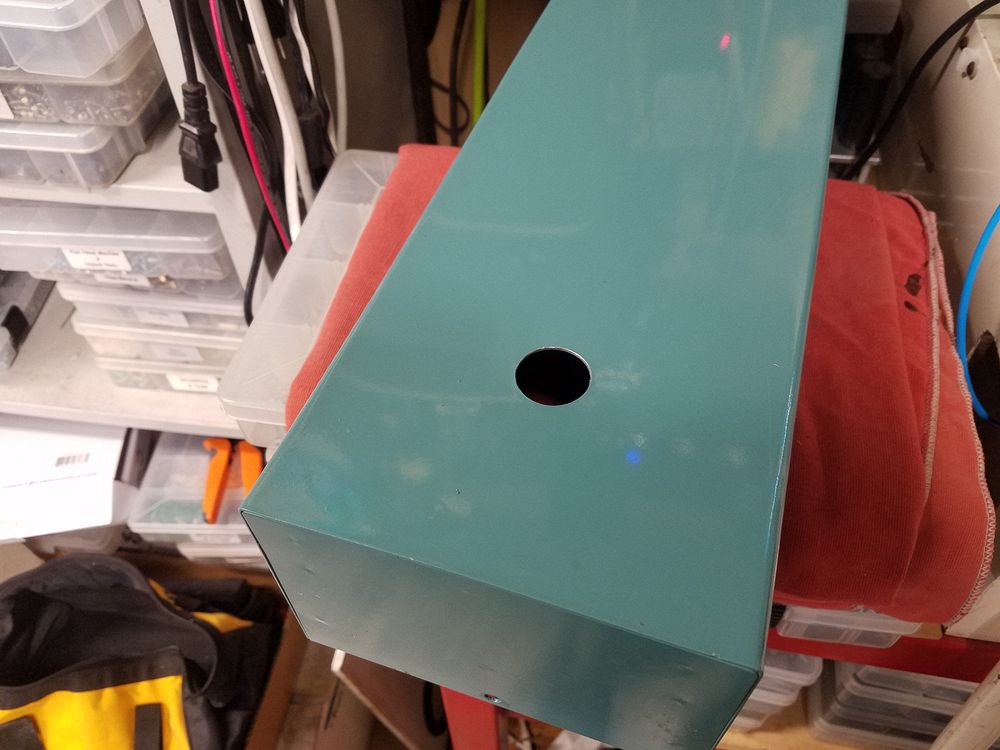
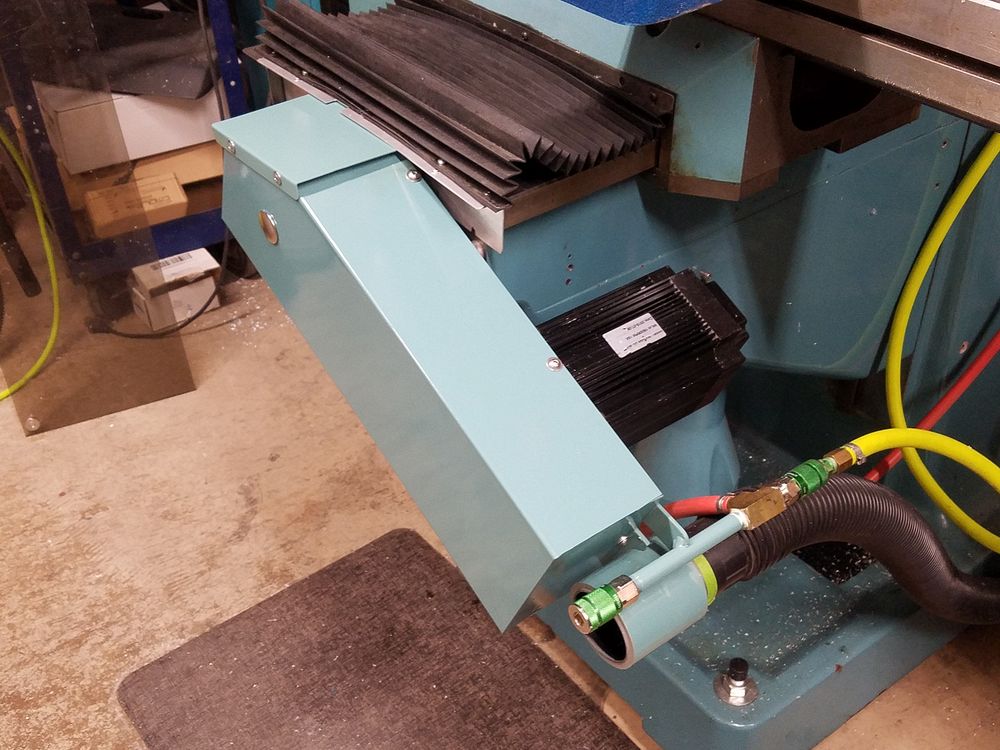
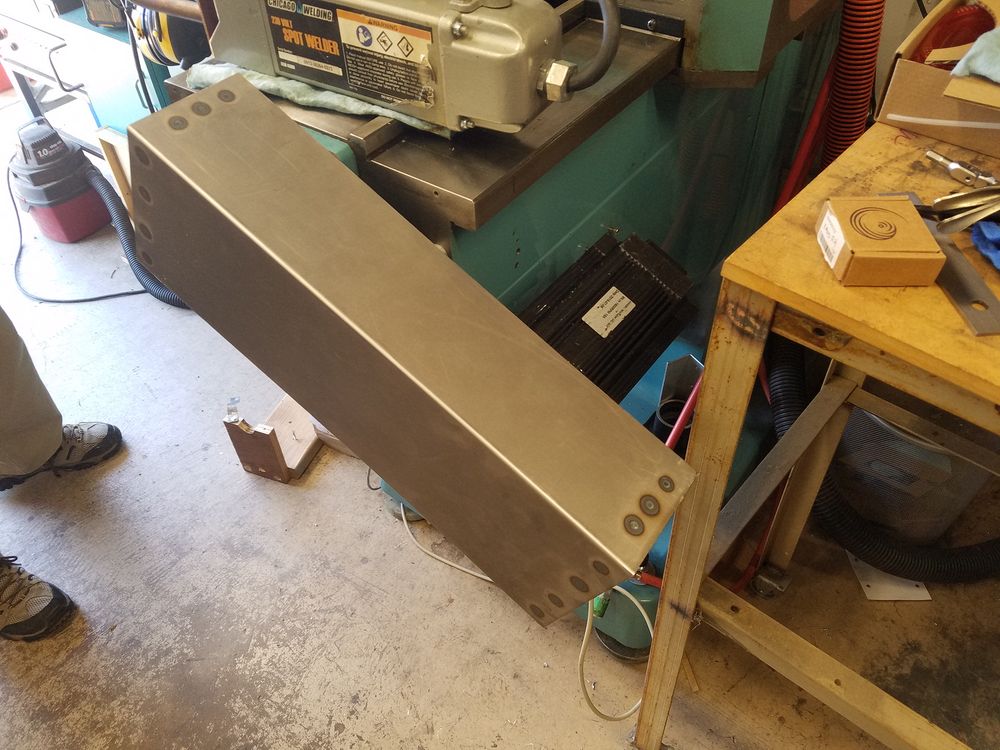
Painted cover! The color and gloss match that Janet from Space Age Paint did was spot on perfect. I scuffed the steel cover, hit it with some Rustoleum Professional Grey primer and then three coats of color using the spray can supplied by Space Age. I have been "baking" the finish out on the back porch for 24 hours before use. Daytime highs have been in the 110° range lately, perfect for curing paint. The paint is dust free in 45 minutes or so and can be lightly handled in 2 hours. Overnight cure gives me a durable glossy finish.
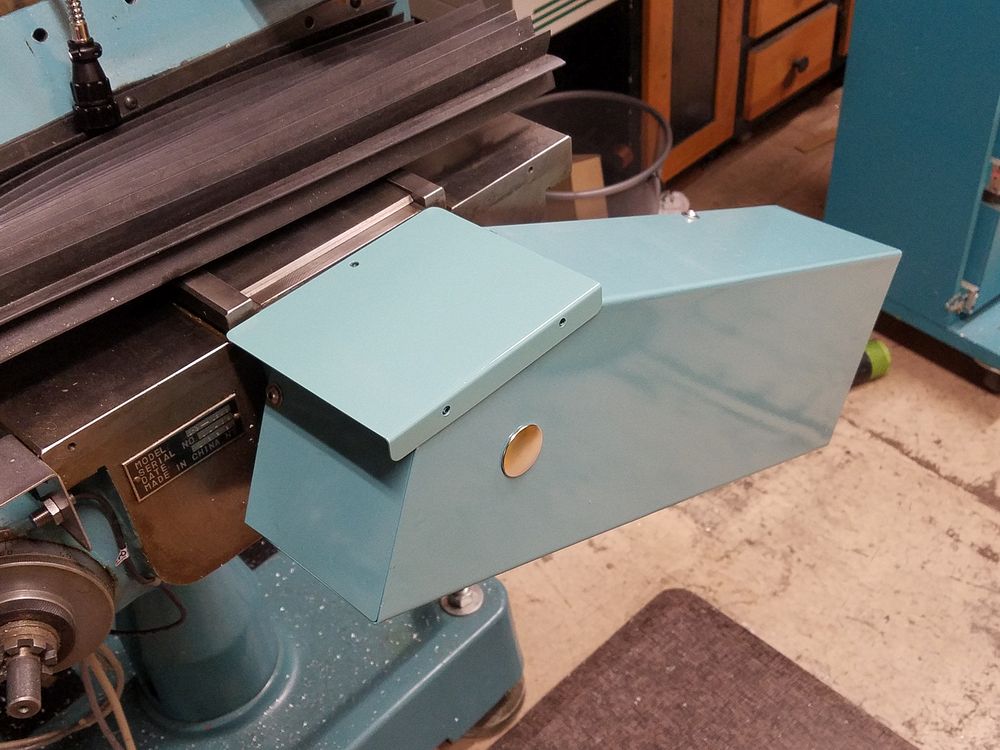
The protruding corner of the housing and motor bracket was removed so the apron would not get pinched when the axis was in the home position