Omega D2 Lens Turret
1/29/2026
I have a number of lenses for the D2, and generally switch between three of the group. The turret seemed like a nice idea, but the available units were for the newer enlargers.
I decided that having a machine shop, Laser cutter and several 3D printers I could adapt the easy to find units to my D2. So here we go...
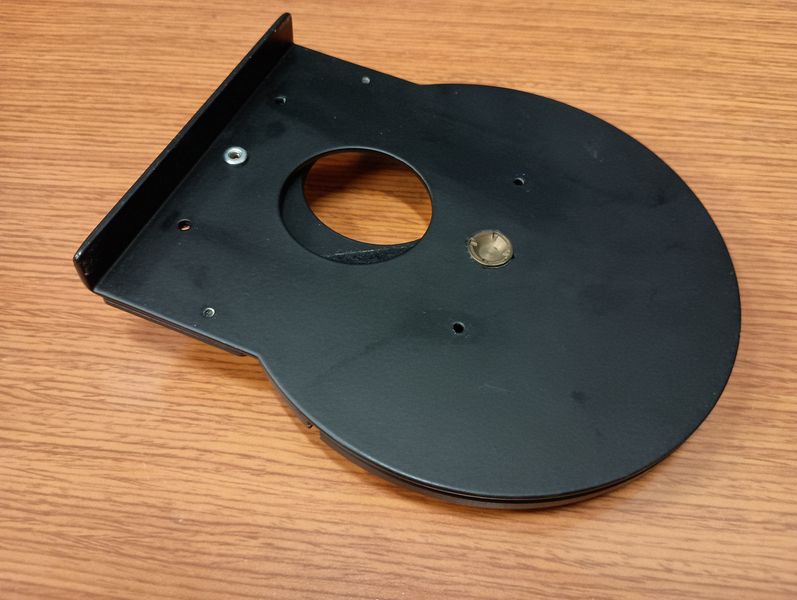
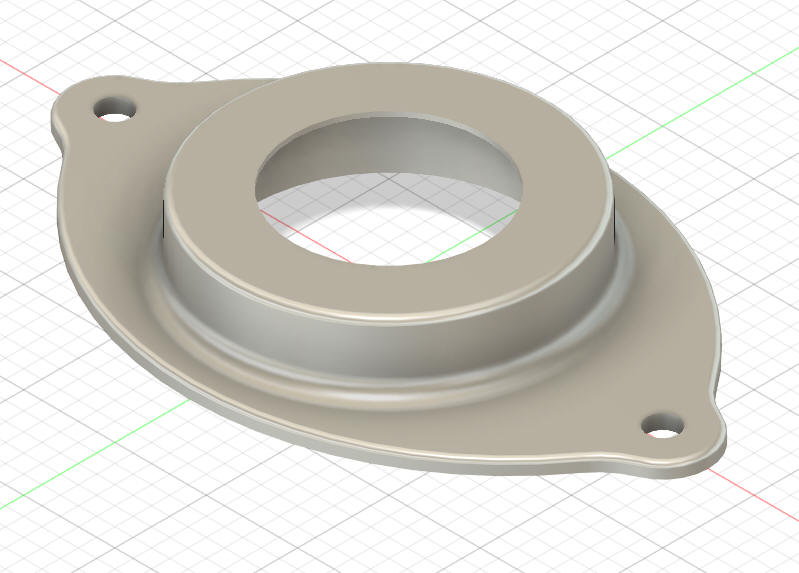
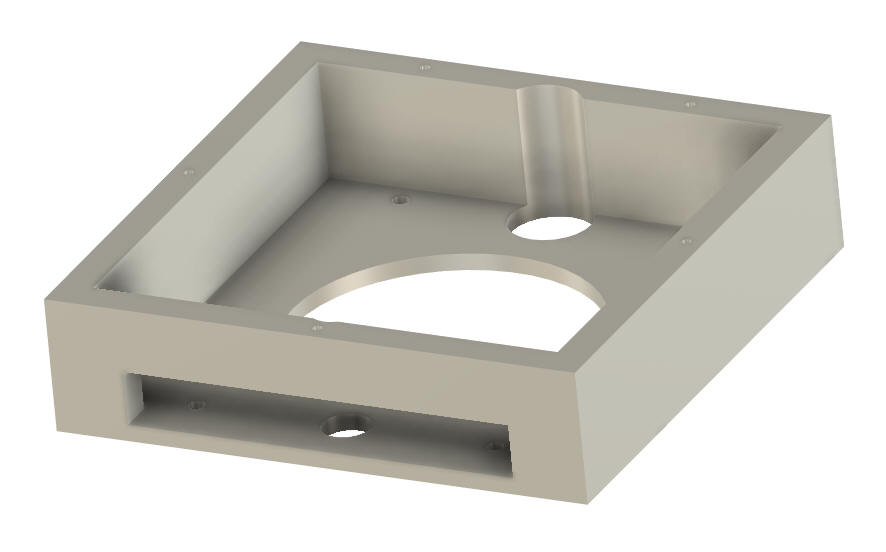
First step was to remove the two mounting rails as I elected to design a housing. The smaller hole is a relief to clear the boss for the center pivot. I elected to go with a through hole instead of a pocket as it 3D prints cleaner.
Mounting the housing body is done with the original screws that held the mounting rails to the turret. You can see the relief for the pivot boss. The design of the flange is shown at the right.
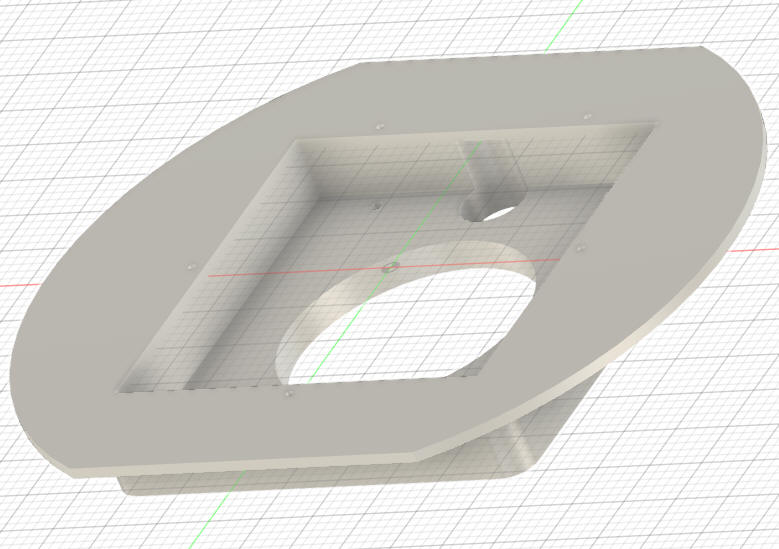
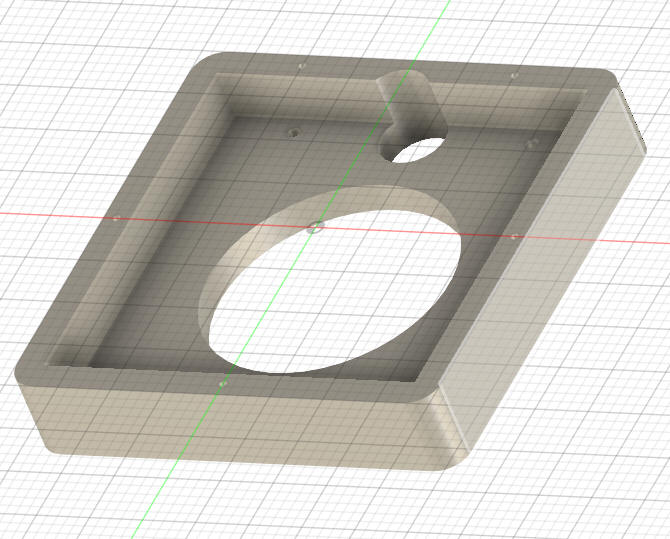
Shown is the CAD of the assembly. I solvent welded the two parts together after printing them in PETG. I decided I did not want to fight removing supports. The solvent weld joints are quite strong and makes for a much cleaner part. I elected to add screws to hold the two parts together for added insurance.
The next step was to make some lens mounts. To measure the center to center distance of the mounting holes I used tape and a awl.
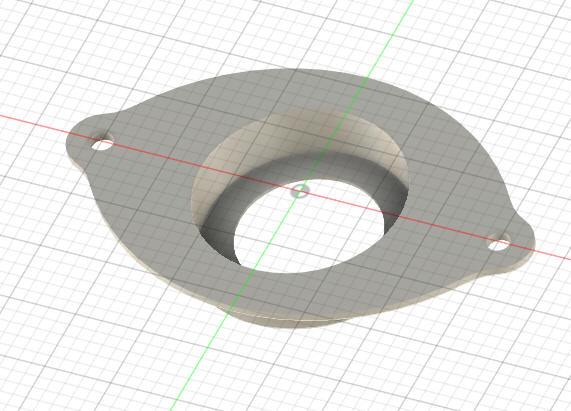
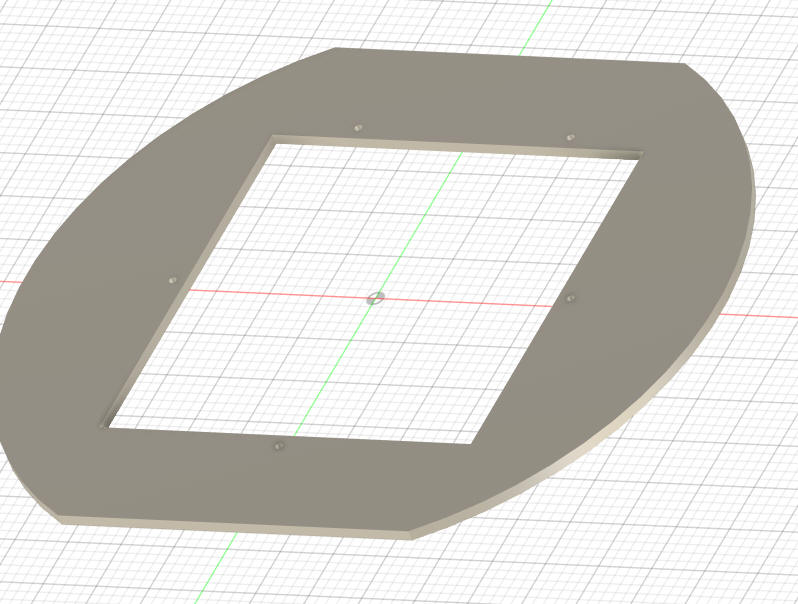
Here is the CAD for the basic lens mount flange. The drawing is done in a way that making different sized mounts is quite easy.

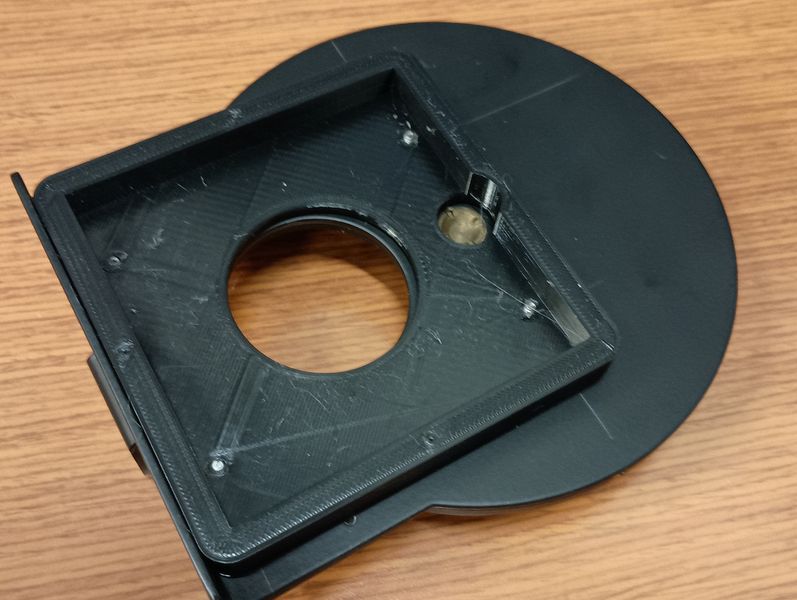
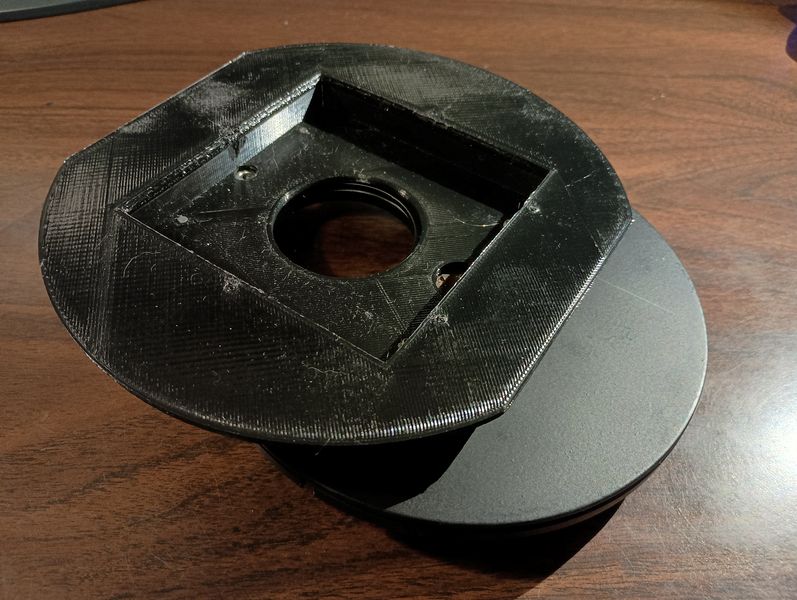
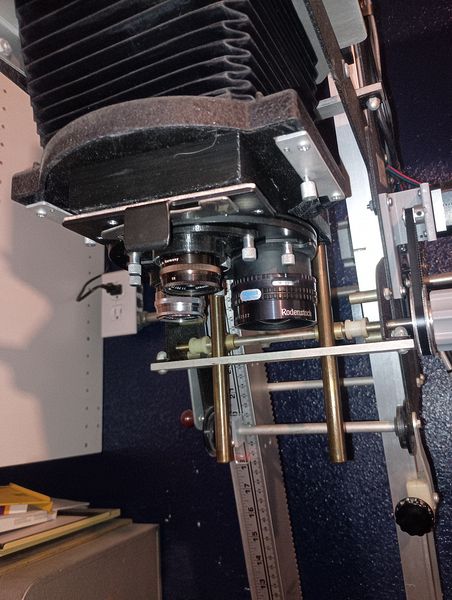
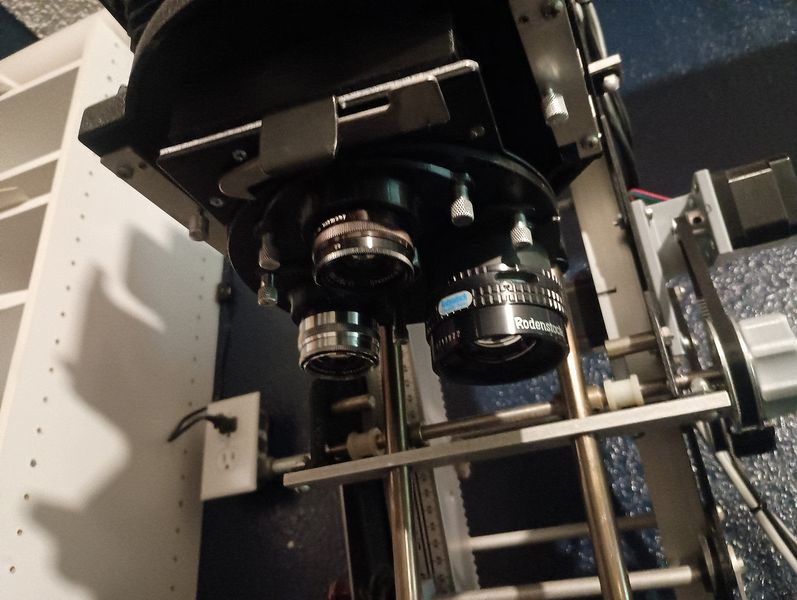
Shown is a finished lens mount and that lens mount installed on the Turret.
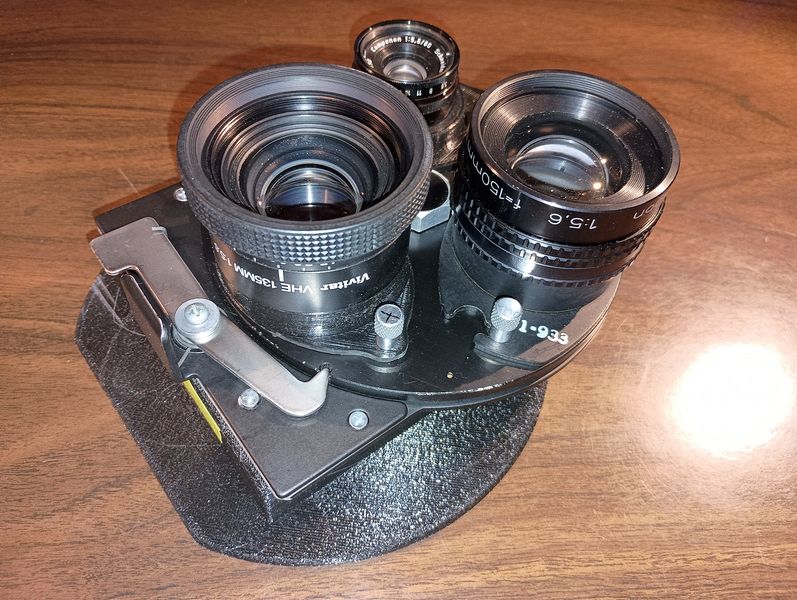
Test fit of my150mm lens for 4X5. My three
main lenses, 105mm, 135mm and 150mm mounted. Turret installs just fine,
the only issue is the two thumb screws that clamp the Lens Board or Turret to
the enlarger housing need to be removed entirely to allow the assembly to turn
90°
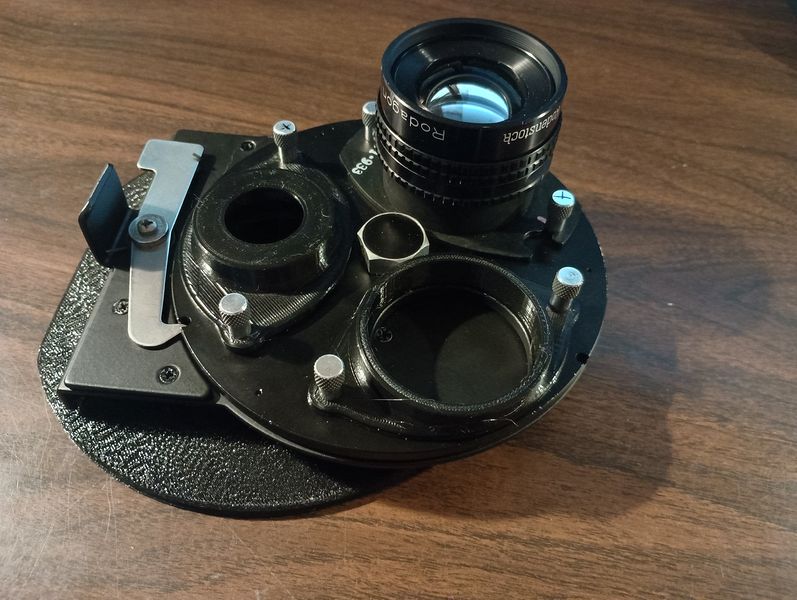
Turret with lenses installed on the Omega D2!
Turret Adapter Mk II
I decided to make a Mk II version that incorporates a filter drawer to hold Kodak Poly Contrast Filters and to also make filter frames to hold the various Roscoe Cinegels I use with the Zone VI Cold Light.
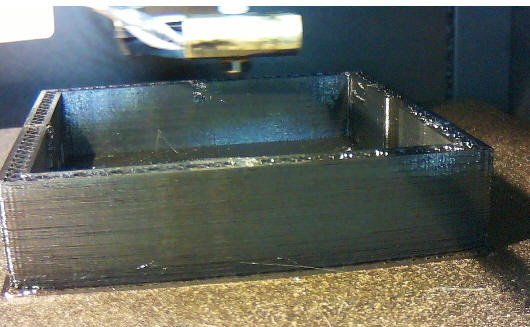
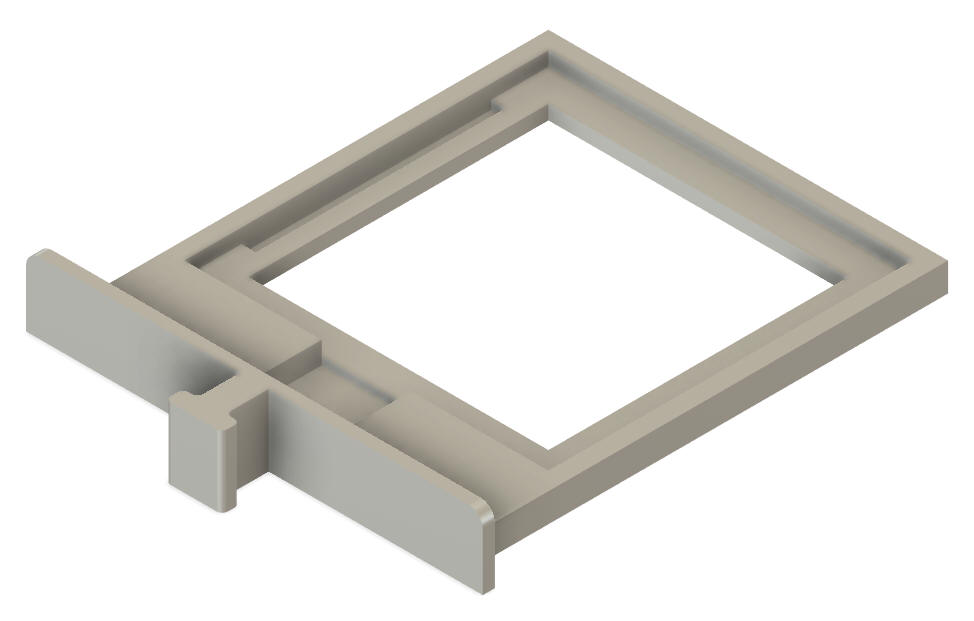
The modifications to my original design were simple. An opening measuring 2.850" wide and 0.400" tall was made in the front face of the body with the bottom of the opening flush with the floor of the housing. We will take a brief intermission while the part is 3D printed in PETG filament.
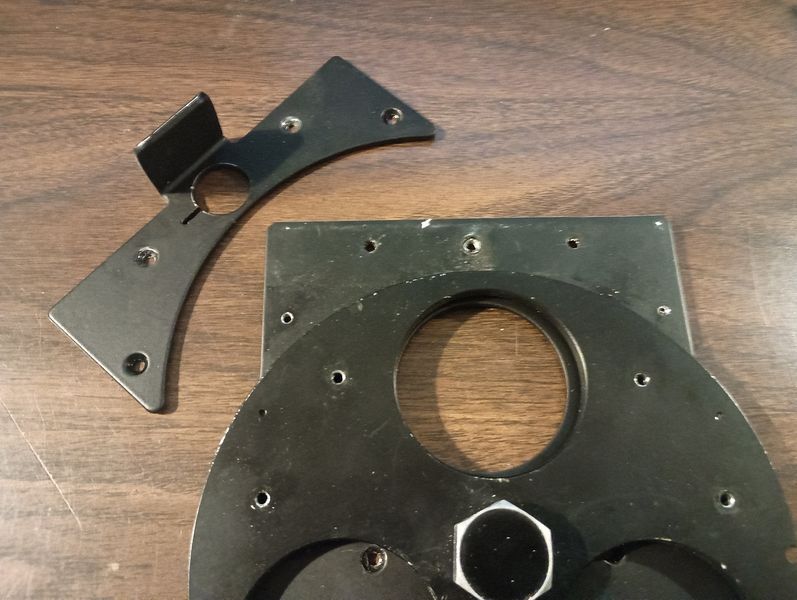
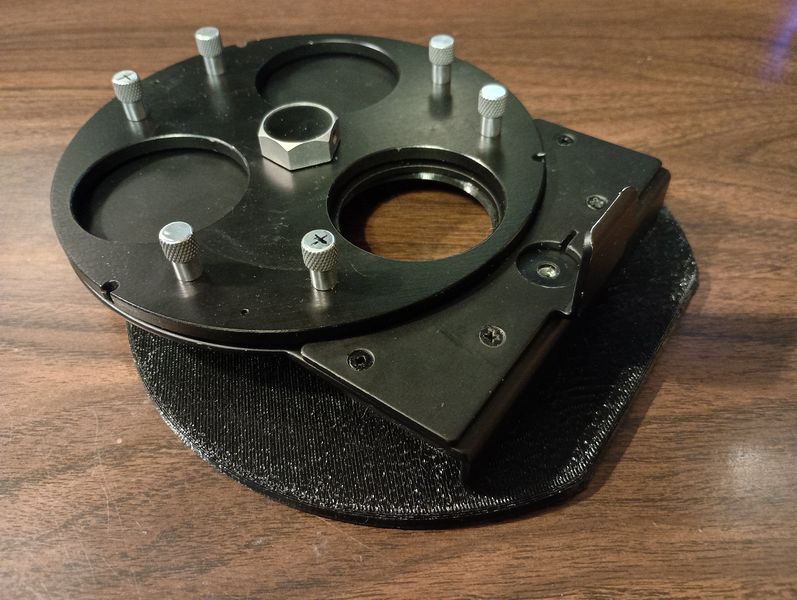
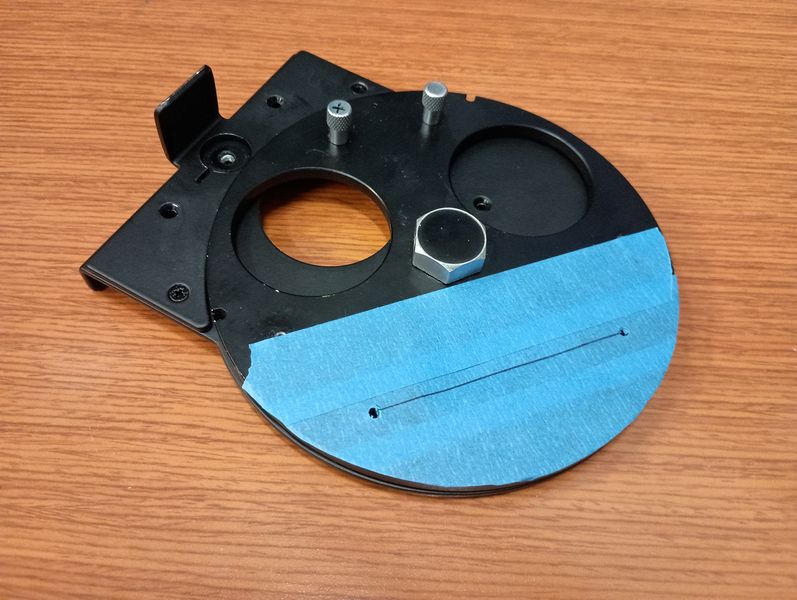
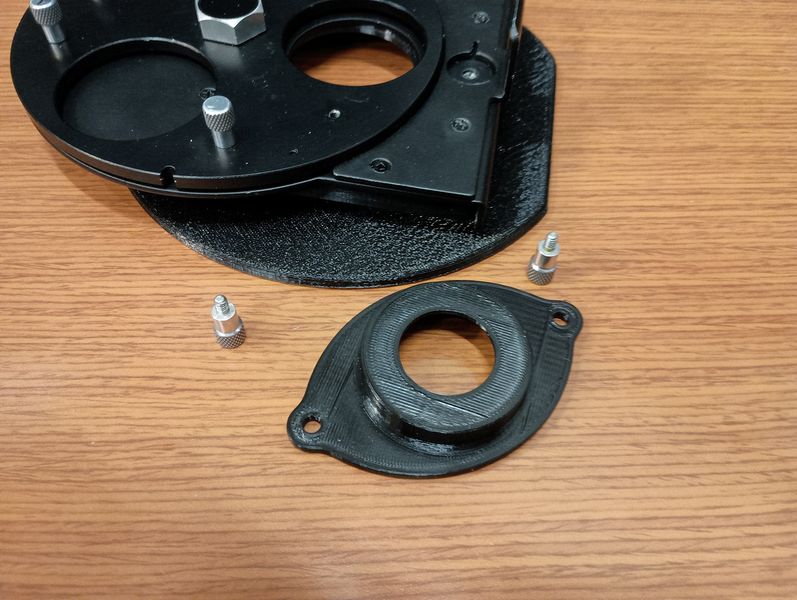
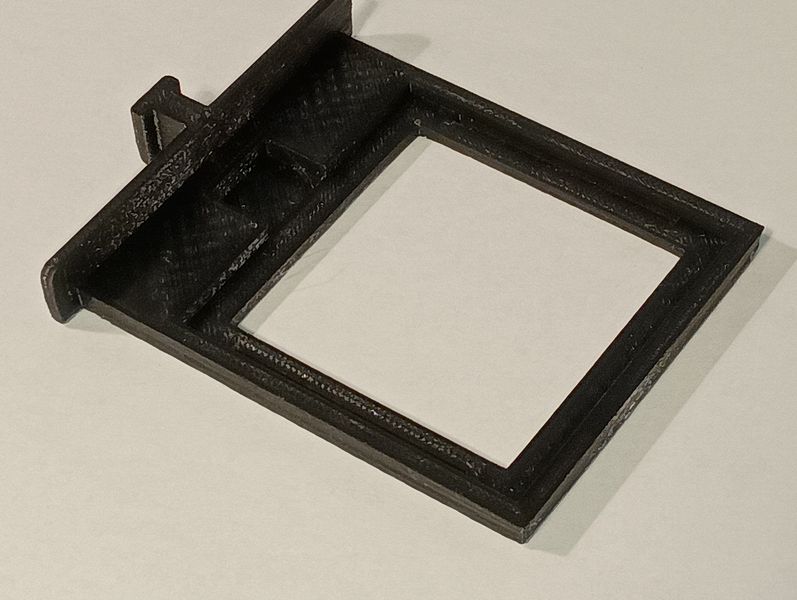
To add the filter drawer, I needed to cut off the flange on the main plate of the Omega Turret assembly. Step one was to remove the plate that holds the locking arm as I did not want to cut off the tab (LH). You can see the tab I wan to remove in the RH image.
Another shot of the tab I want to remove (LH). I just propped the assembly up on a couple of sticks of wood and ran the metal band saw down the face of the tab, this made a nice straight cut and the scarring on the part cut off was a non-issue as it went right in the trash. The plates were reassembled and reinstalled on the Turret Housing Body that I made. This is the original housing that does not have the opening in it. That's coming soon.
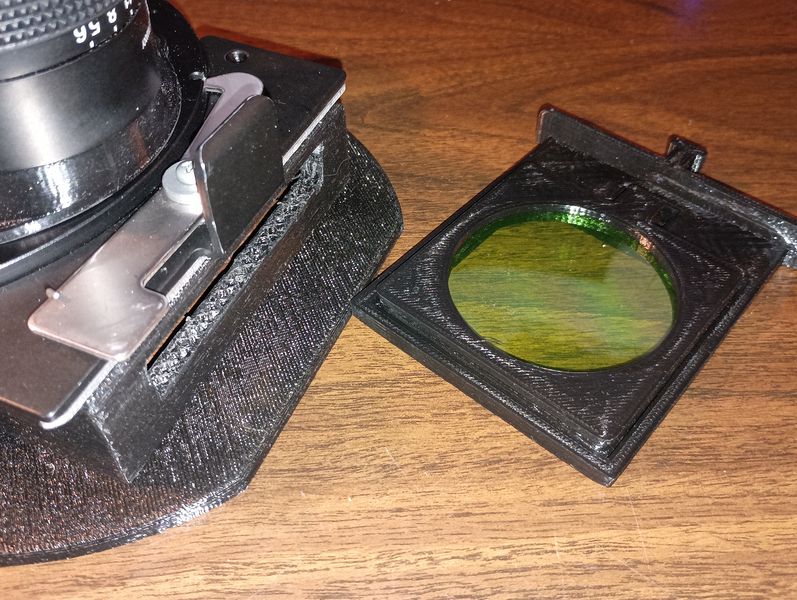
Then I needed to make a filter drawer. I modeled the filter drawer to fit the ubiquitous Kodak Poly Contrast filters that are in a plastic frame. The magic of 3D printing produced the results you see at the right.

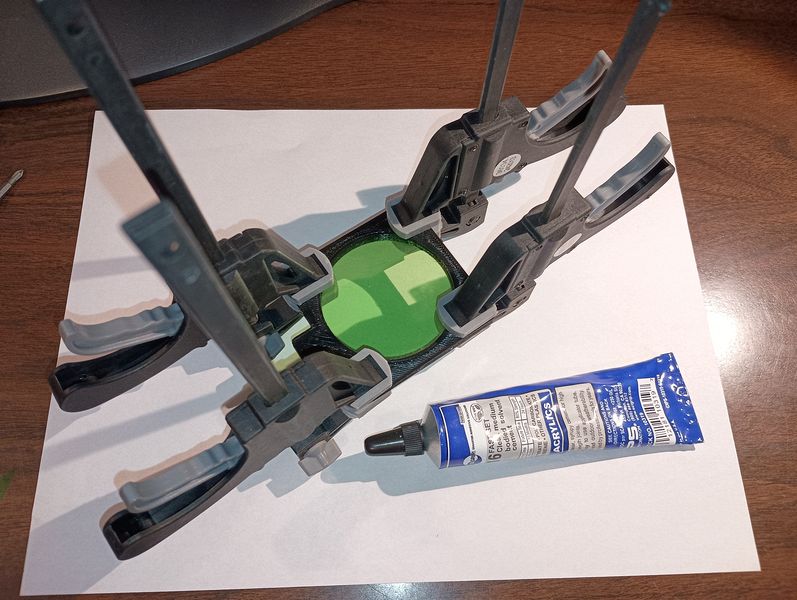
The next step was to make a filter frame to hold my Cinegel filters. Here they are modeled in Simplify 3D and ready to 3D print using PETG filament. I can cut a square of filter material and lay it between the two halves and then solvent weld the halves together.

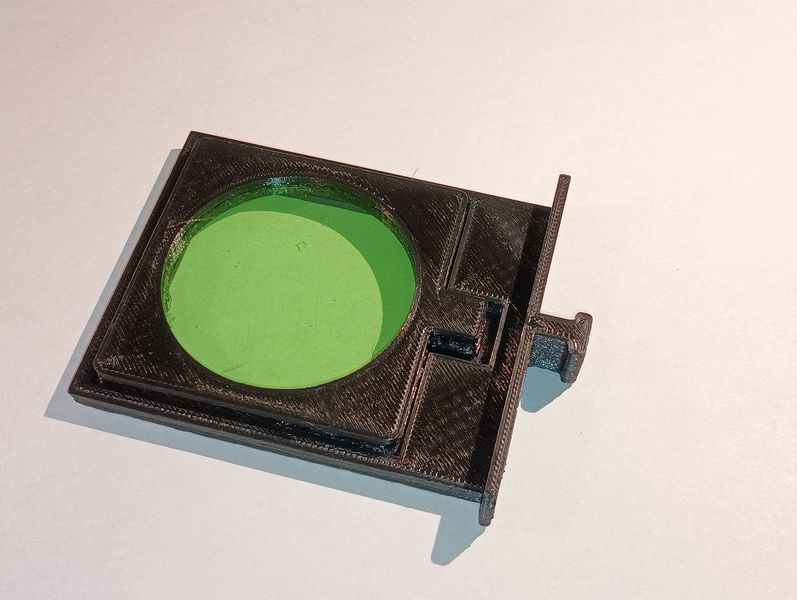
Assembled and labeled filters after acrylic glue has set (LH). Home made filter in tray (RH).
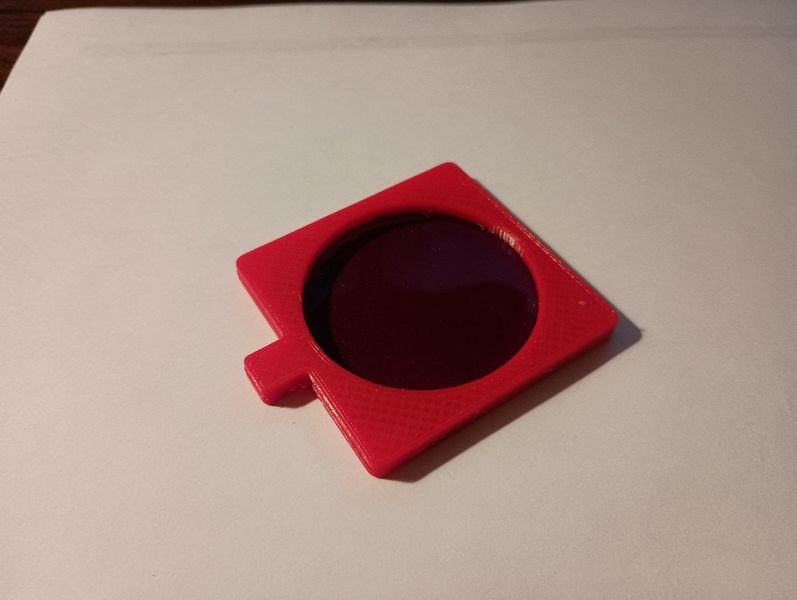
I( could not resist and printed the frame for the dark red filter in red PETG and may print a new set of filters with Green and Magenta frames for those filters. Doesn't make a difference, especially in the dark but it DOES look cool when the lights are on...
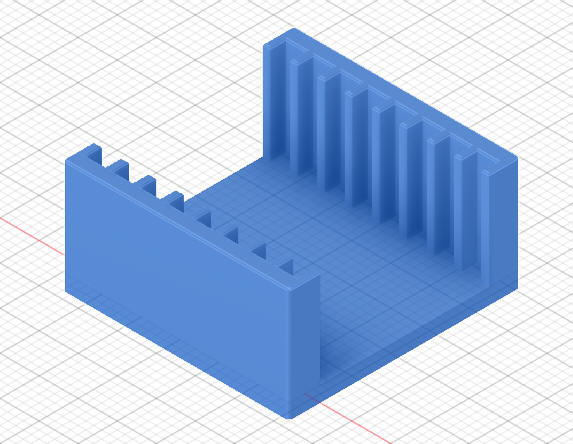
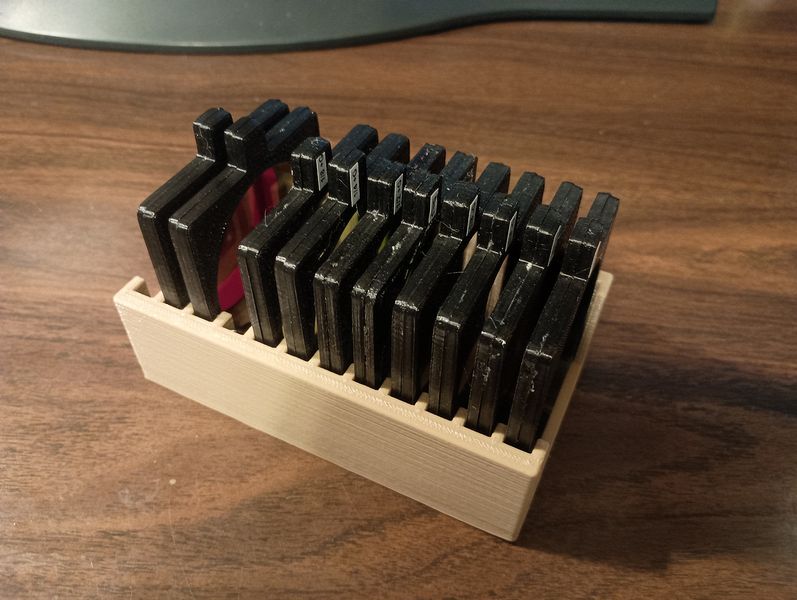
A tray to hold the filters was the next project. Design (LH) and finished tray (RH)
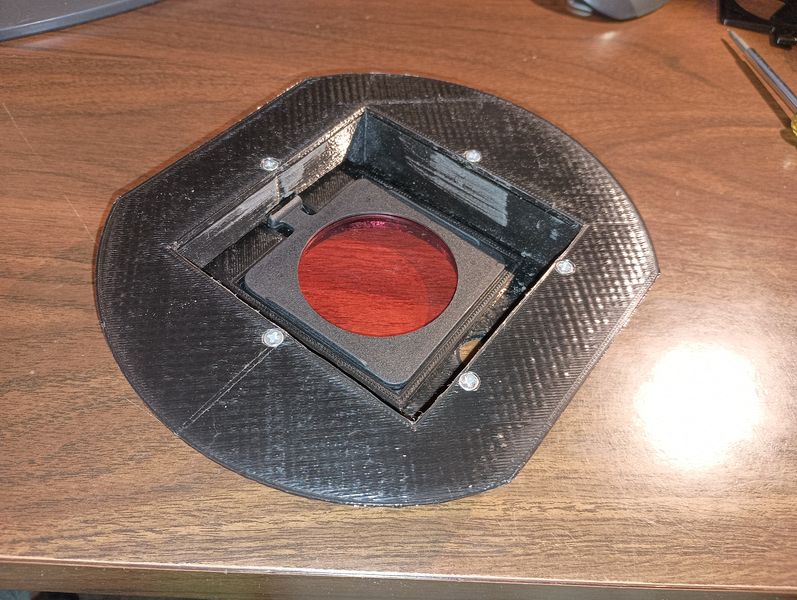
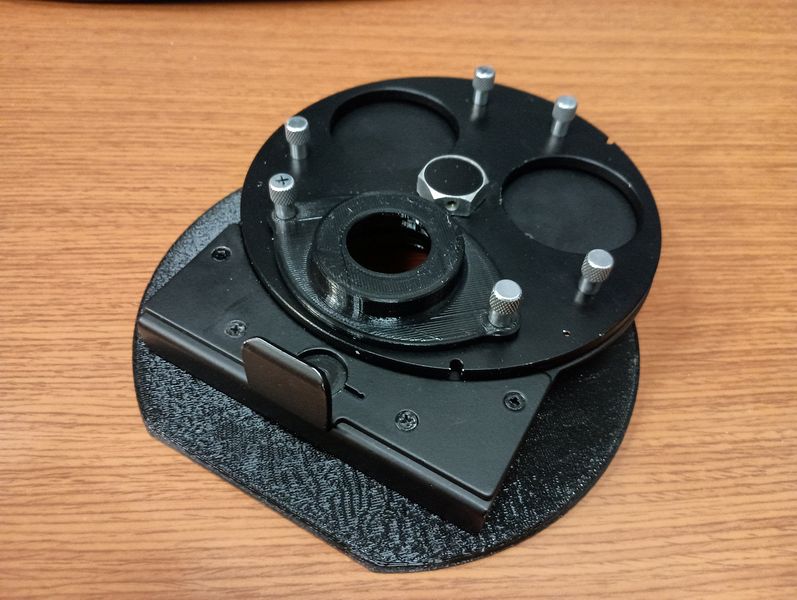
Kodak Filter in tray (LH) inserted into the housing and finished Turret Adapter and Filter Tray (RH).
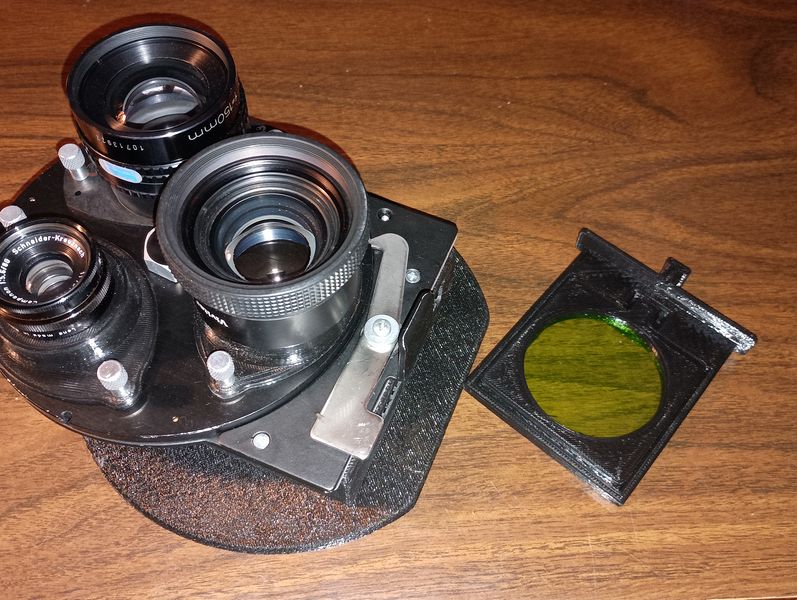
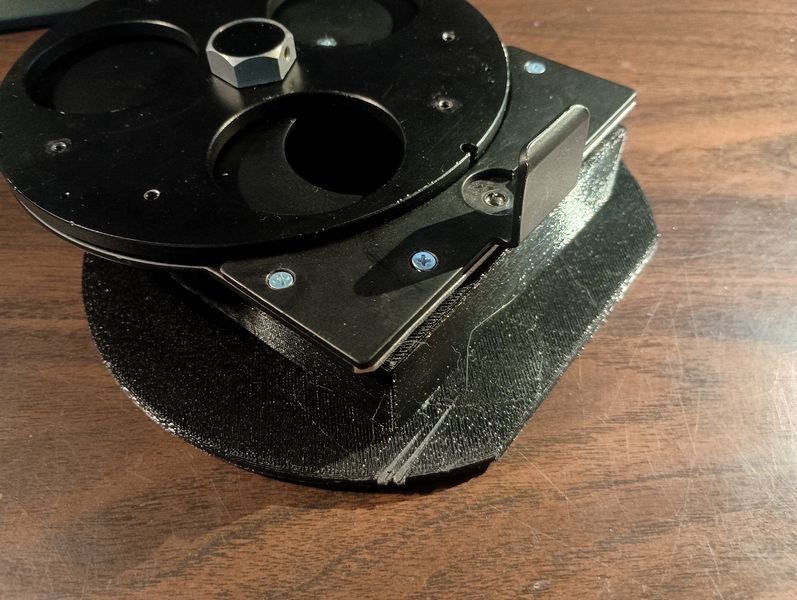
Completed Lens Turret Adapter Mk II with Filter and Tray