Photographic Tray Rocker
I have decided that standing at the darkroom sink rocking a tray to move the Kallitype developer for up to eight minutes at a time is not the best use of my time. A gizmo to gently rock the tray was in order.
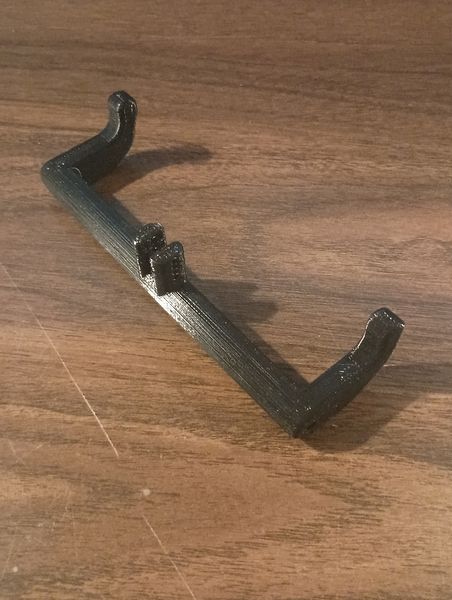
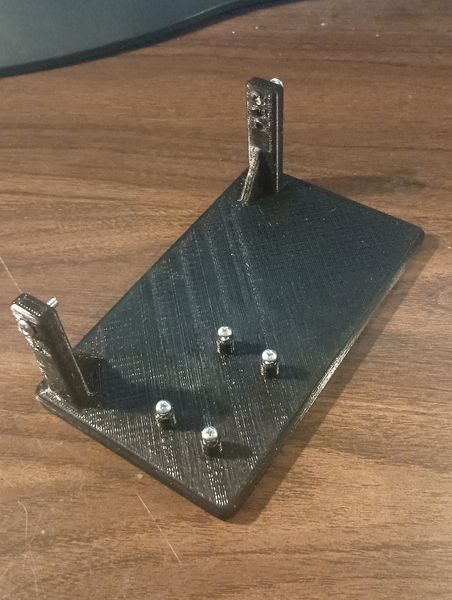
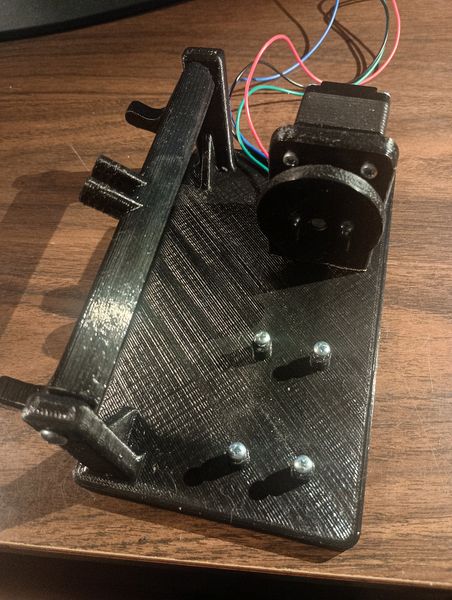
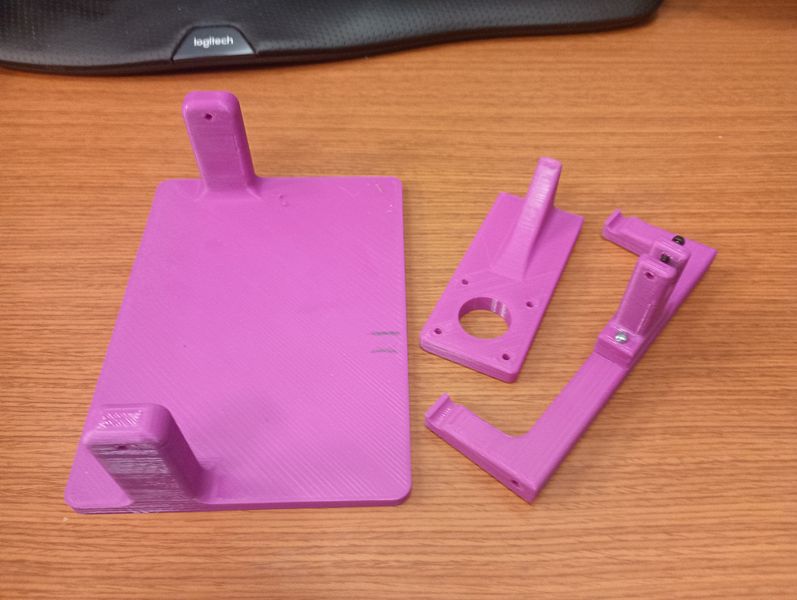
Preliminary parts, the Lift Arm and the Base. The upswept fingers proved to be an undesirable design. The four mounting posts are for the Stepper Controller that will be used to control the NEMA 11 motor.
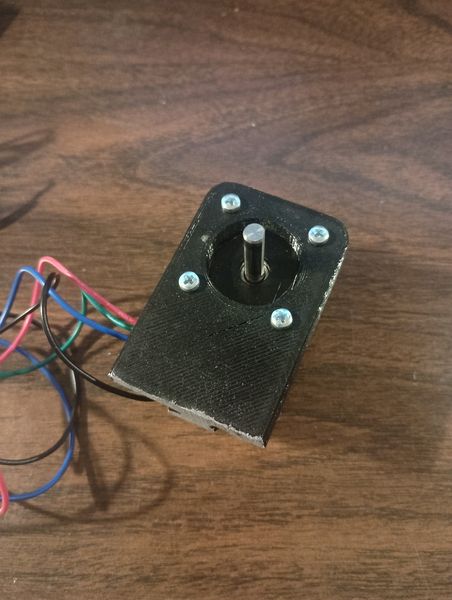
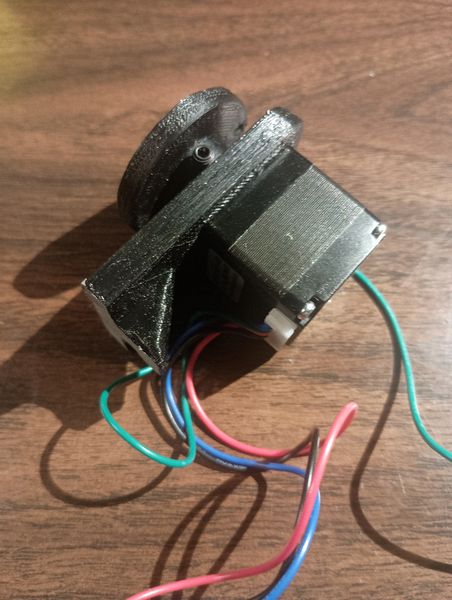
I 3D printed a motor bracket which will be solvent welded to the base once the height and position are finalized. I also 3D printed a drive hub, shown in the RH picture.
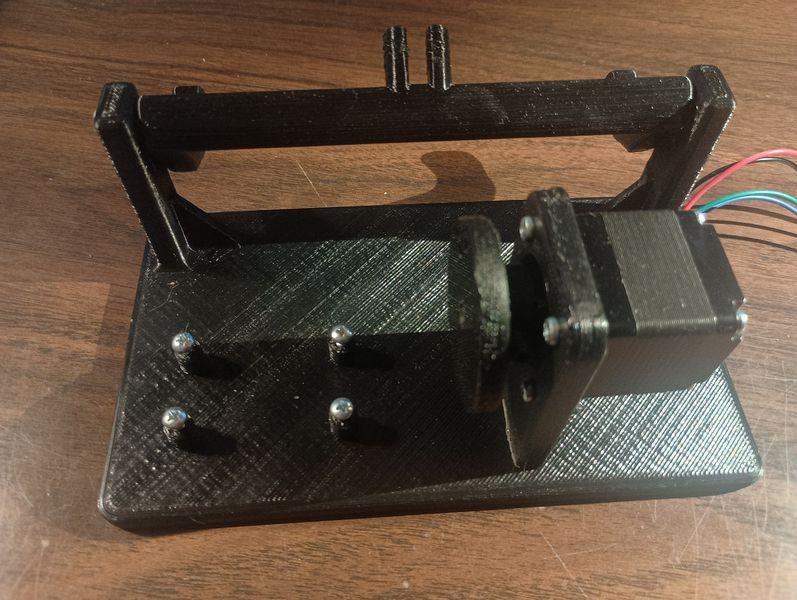
Here is a mockup of the base and motor installation. This is with the original one piece lift arm assembly. Nothing is welded together at this point.
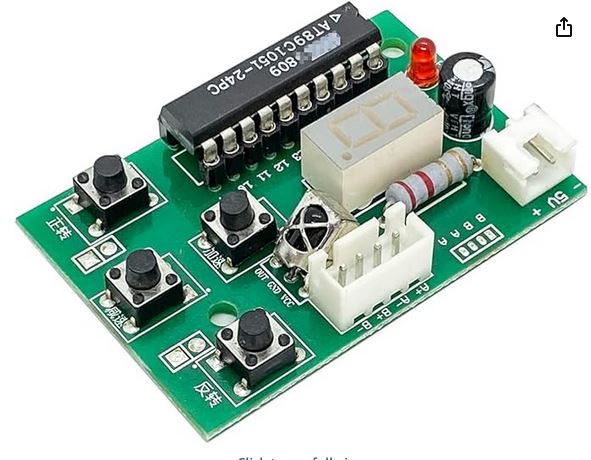

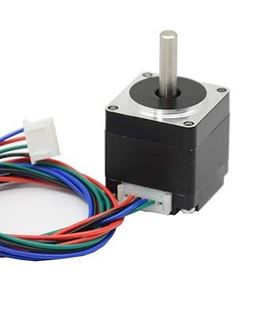
I had used one of these to make a gag gift Powered Marshmallow Roaster for a good friend's daughter. This controller was ideal for the tray rocker. I sourced the controller from Amazon Stepper Motor Controller The stepper motor came from Amazon Stepper Motor as well.

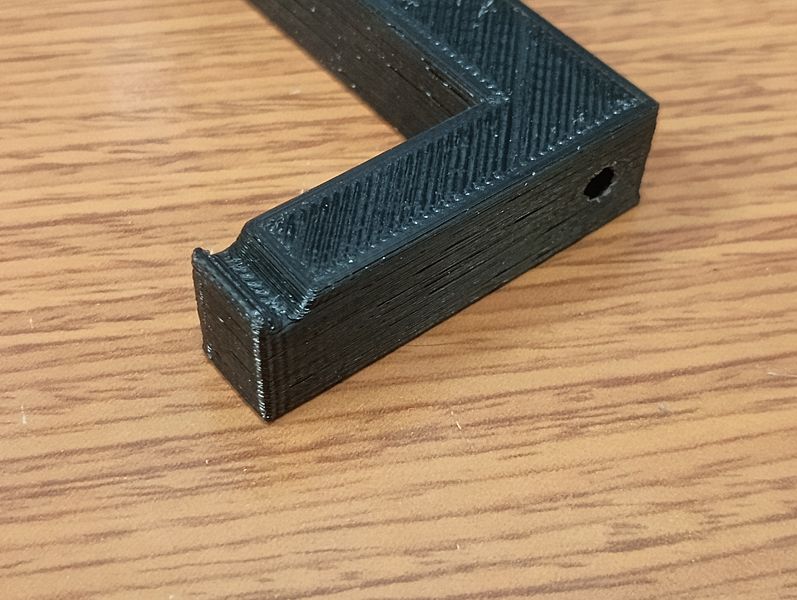
The final version of the lift arm used a solvent welded actuator arm. Trying to make it in one piece resulted in a flimsy design. The ends of the arm were changed to a small notch.
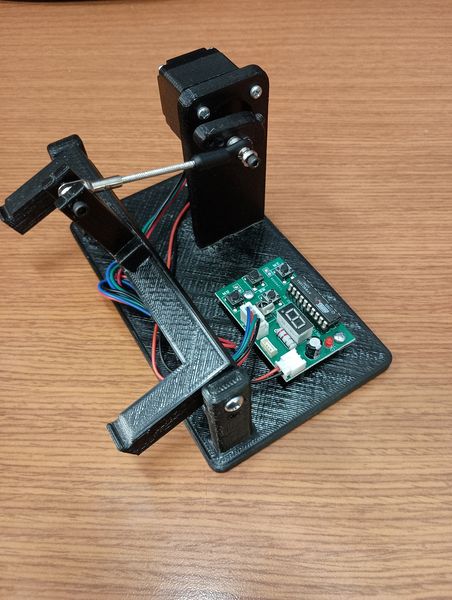
Original arm design had upward swept fingers, This altered the geometry and caused the tray to slide back and forth a little on the counter. I lengthened the arms and removed the fingers, leaving a small notch to catch the underside of the tray lip.
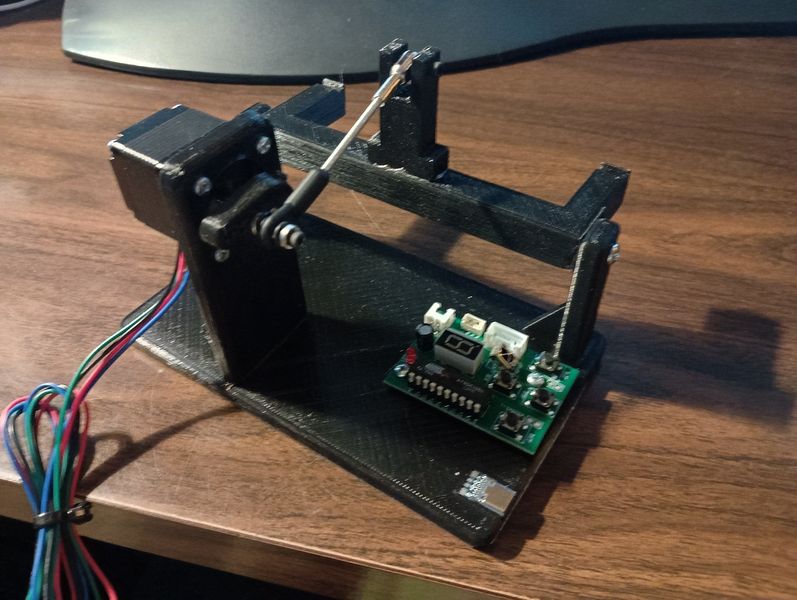
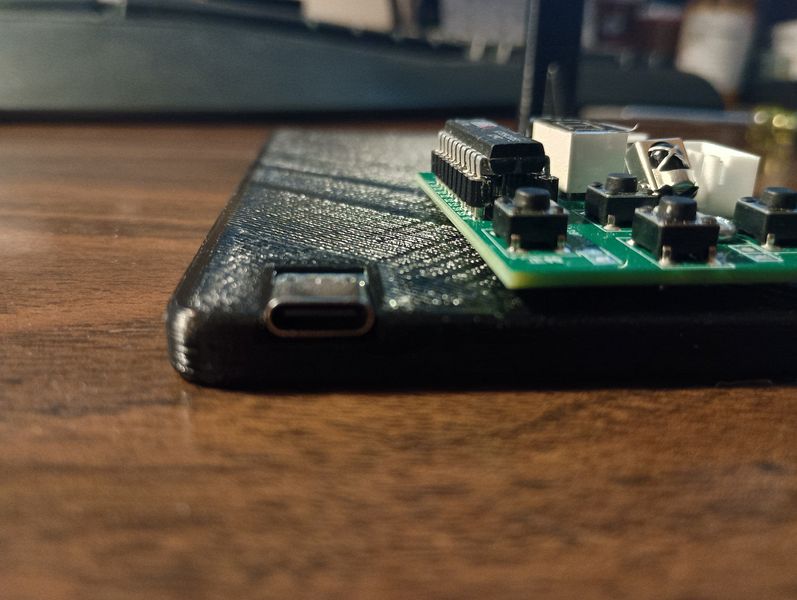
Tray Rocker Mk II layout. I did this so the IR port on the controller was not shadowed by the motor and it mount. I made a pocket to hold the USB socket
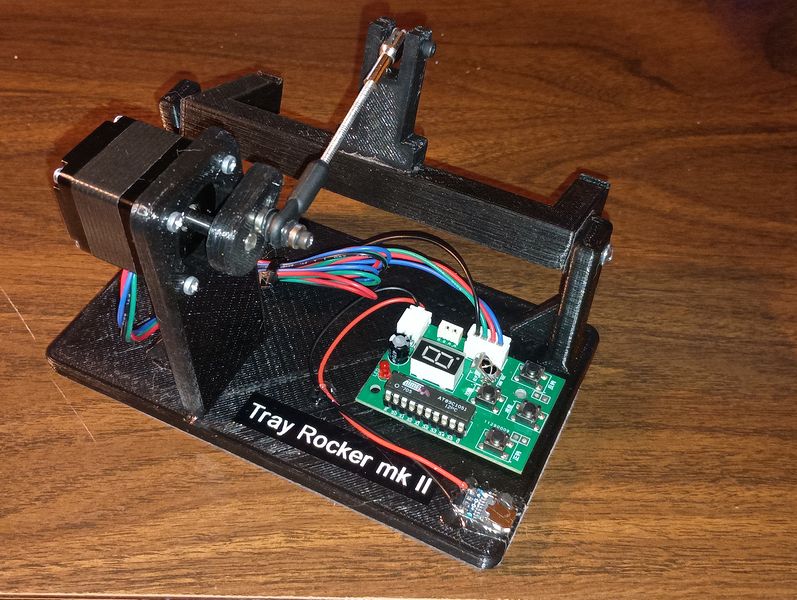
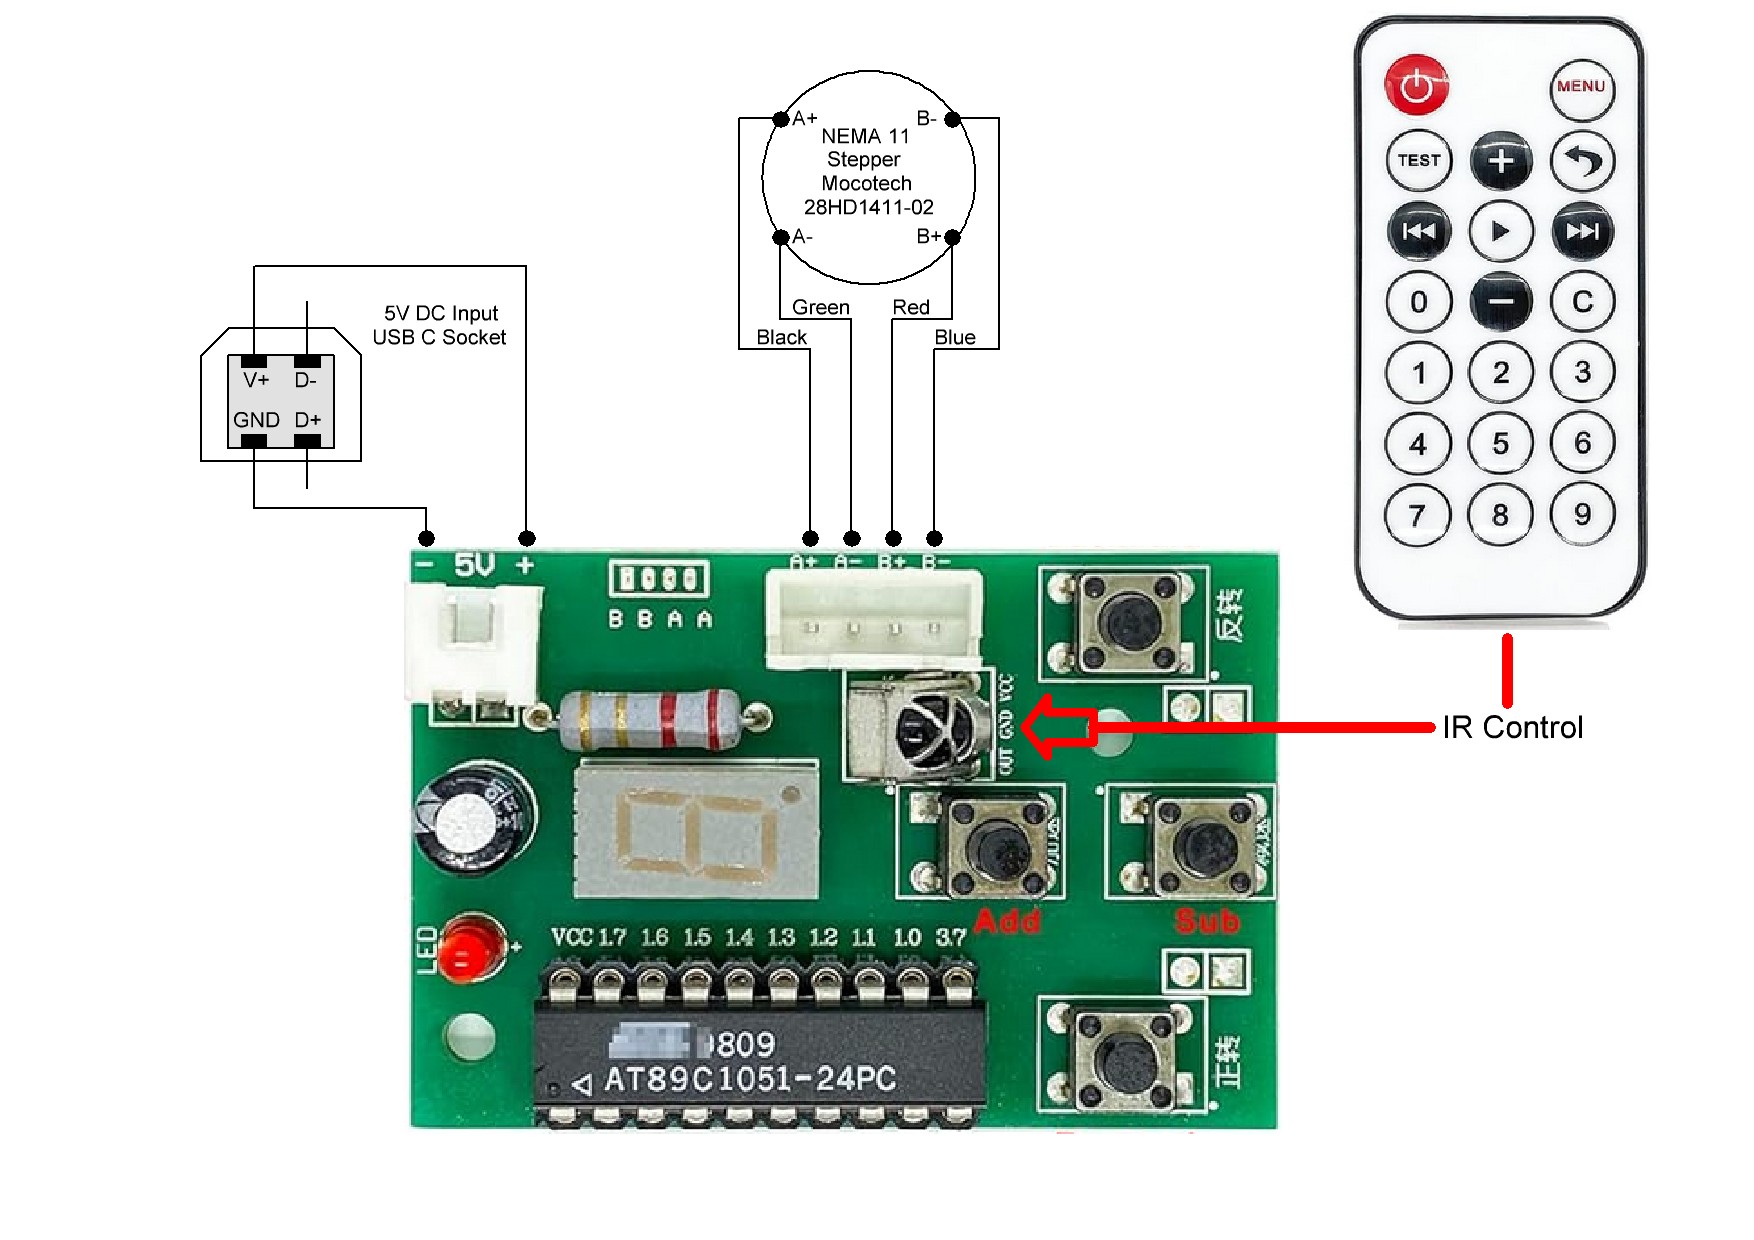
Completed unit and the wiring diagram.
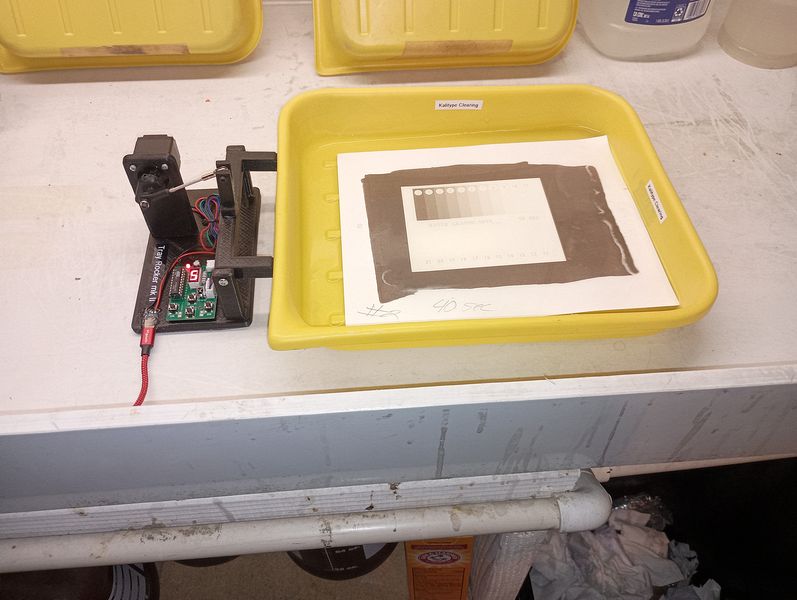
Action Video of Finished Machine
The Adventure Continues...
Big Tray Rocker (Mk V)
Even with a larger NEMA 11 stepper motor, lifting an 8X10 tray with more than a 1/2 inch of liquid was problematic and noisy. I embarked on a subsequent re-design that uses a NEMA 17 Bi-polar stepper motor. Other than scaling the hardware larger, the design is basically unchanged so I will spare you a series of images detailing the construction.
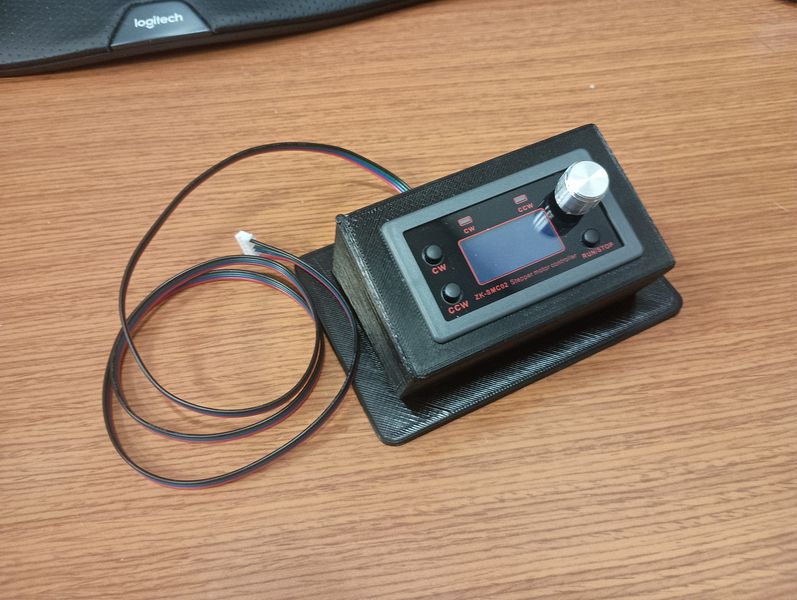
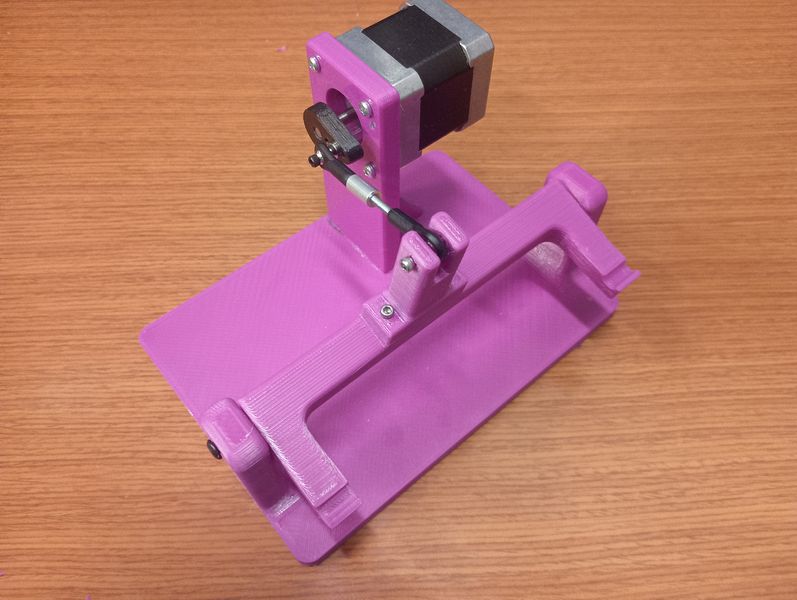
Parts for the Big Tray Rocker. I made the upright on the lift arm a separate piece that is bolted into place instead of relying on solvent welding as I did on the second version. This allowed for easier printing and better durability. The motor bracket (middle part) is also separate and is solvent welded into place, One of the advantages to using PETG filament is the ability to permanently bond parts. The arm is close to 1 inch wider than the original test mule. I also up scaled the controller, using the same model I did for the Enlarger Controls. Pushing either the CW or CCW button starts the motor turning. The speed can be set for either button by rotating the knob. Direction of rotation has no effect. With this setup, you have two immediate choices on speed and can fine tune either one on the fly. Speed settings are retained in memory of the controller.
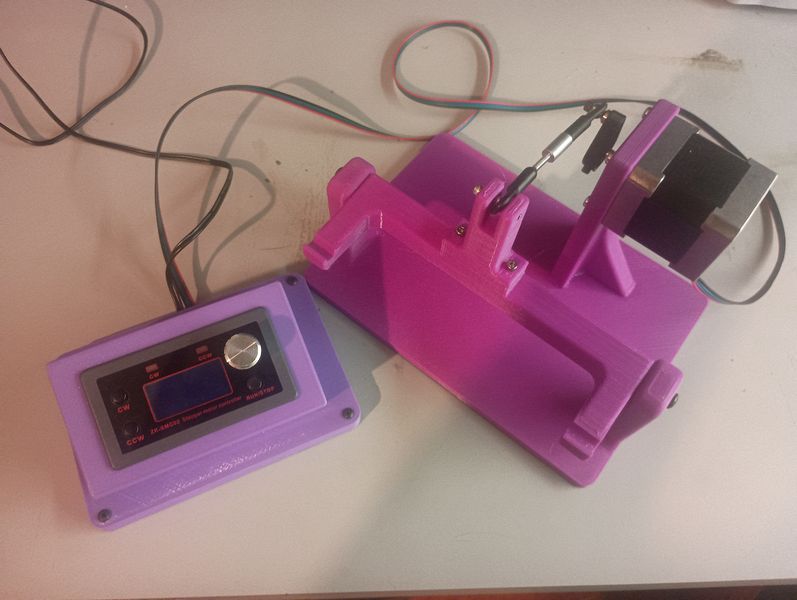
Completed Big Tray Rocker. Ignore the purple filament, that was what was in the 3D printer. (The color of the left image is pretty close to actual.) The device is close to one inch wider, but otherwise unchanged except beefing up the thickness of the parts.
Action Video of the Big Tray Rocker