
Quill Ball Screw
I sourced a 16mm, 250mm long ball screw kit from eBay for $36. Includes thrust bearing block, end support bearing block and the ball screw itself. The mounting block for the movable part of the system is not being used and I am making my own.
The one I purchased is similar to what is shown here.
250mm was spot on perfect in length!
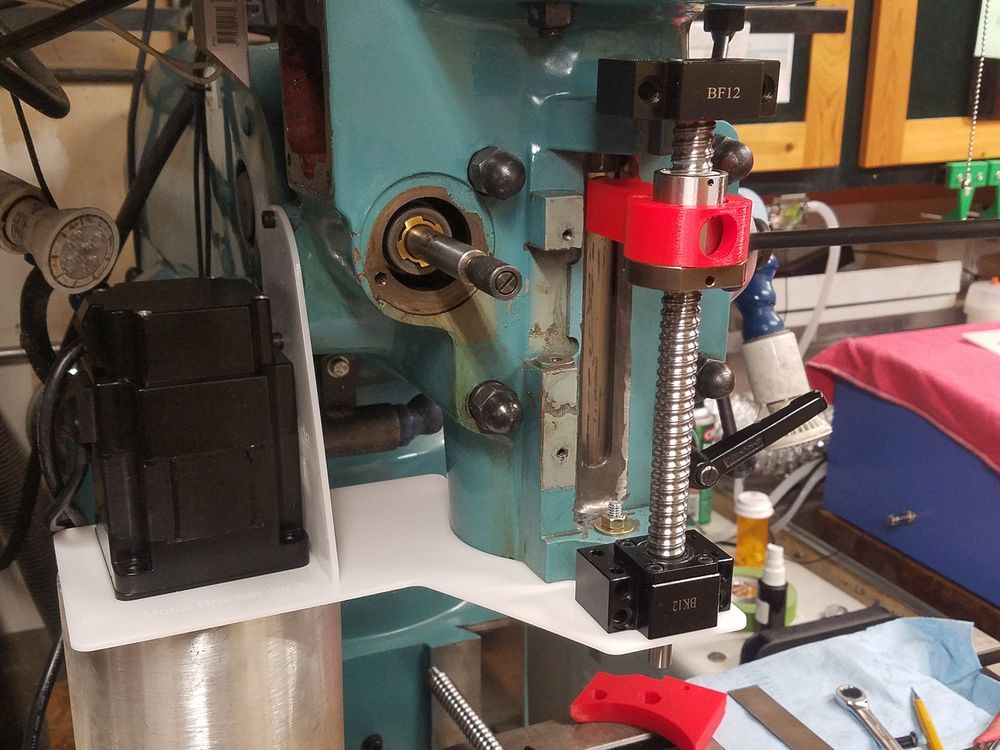
The original idea was to mount the servo motor in the location shown here and drive the ball screw from the bottom.
While simple and clean, it really obstructed the view around the end of the quill.
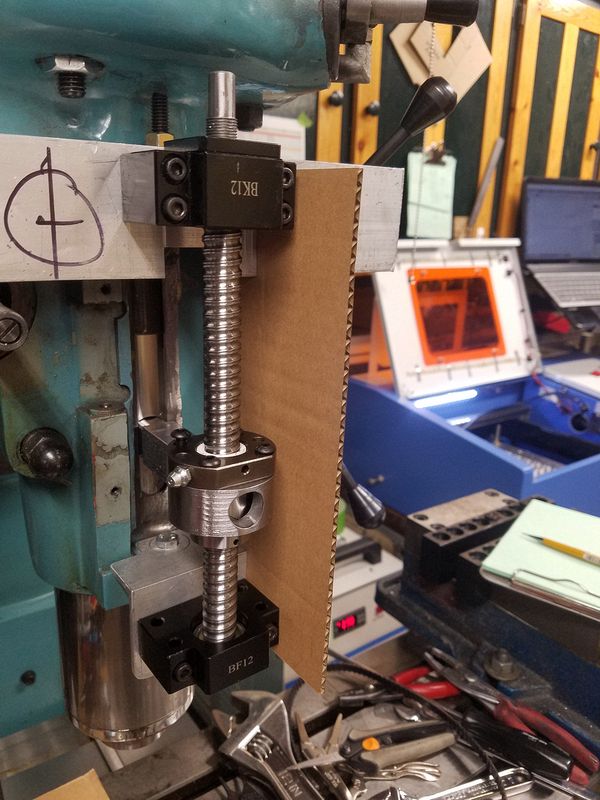
White Lexan was cut using the laser for mockup once the parts were sized and massaged in cardboard. I can't say enough about doing test parts in cardboard that were cut on the laser.
Shifing gears I discovered I would have just enough room to mount the drive pulley at the top of the ball screw assembly,
A trip to McMaster for a CAD file of the pulley I planned to use and the 3D printer cranked out this test part...
Temporary brackets were made.
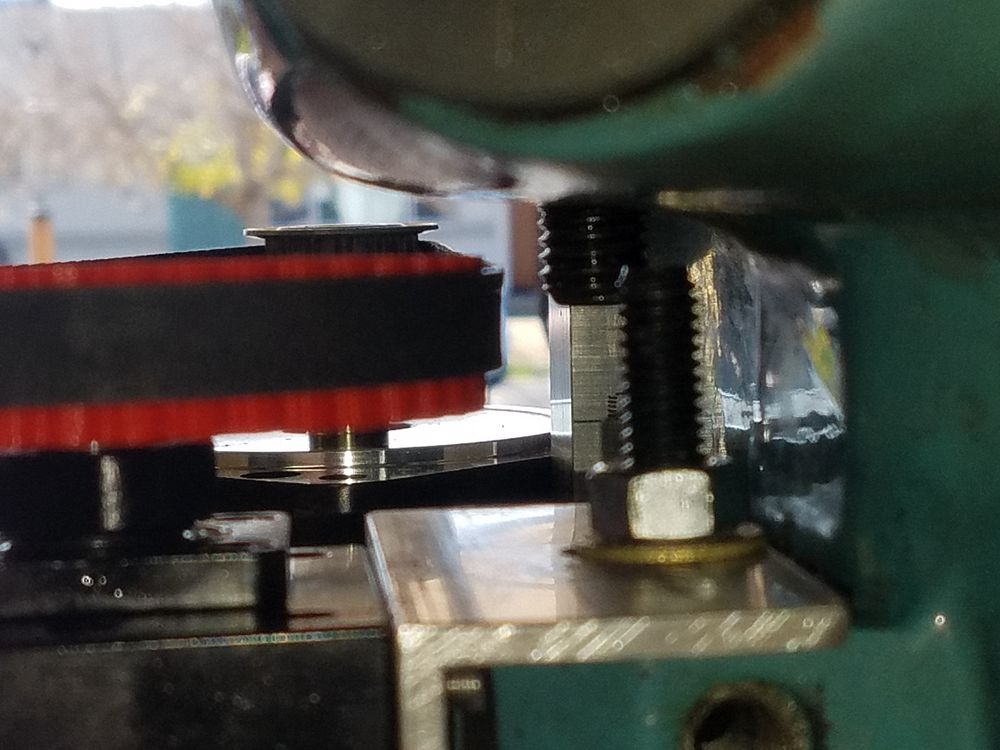
Clearance was tight but doable.
Motor perched on a stand can be seen in the background.
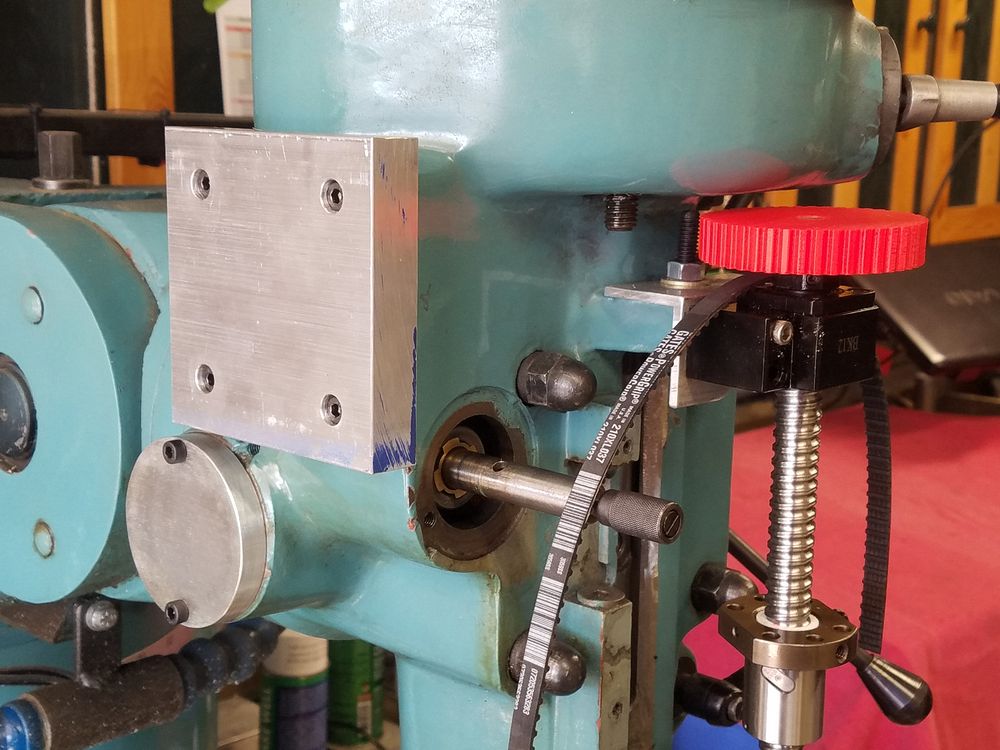
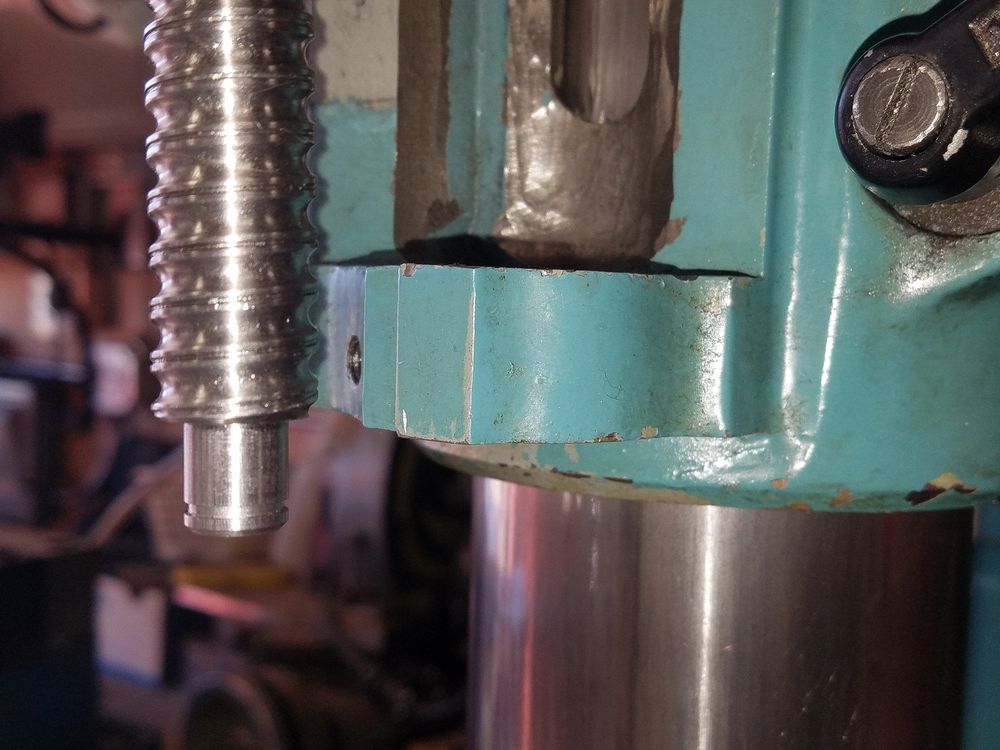
Upper bracket bolted to the solid casting ear that previously help the upper end of the threaded quill stop rod.
I lucked out on the length of the ball screw too!
Shown with the beginnings of the final top and bottom brackets.
Cardboard (laser cut of course) is the beginnings of a Swarf shield.