Darkroom Tour
A couple of decades ago I turned one of the bedrooms in the house into a darkroom. Part of this was to make using the laundry room more convenient as equipment had to be moved when doing the wash. I also moved from an Omega B series enlarger to the current D2.
The closet of the selected bedroom is on the other side of the wet wall in the bathroom, which made tying into the plumbing a whole lot easier. The sliding closet doors were removed and stored away so when reverting the bedroom back to its intended use would be easy.
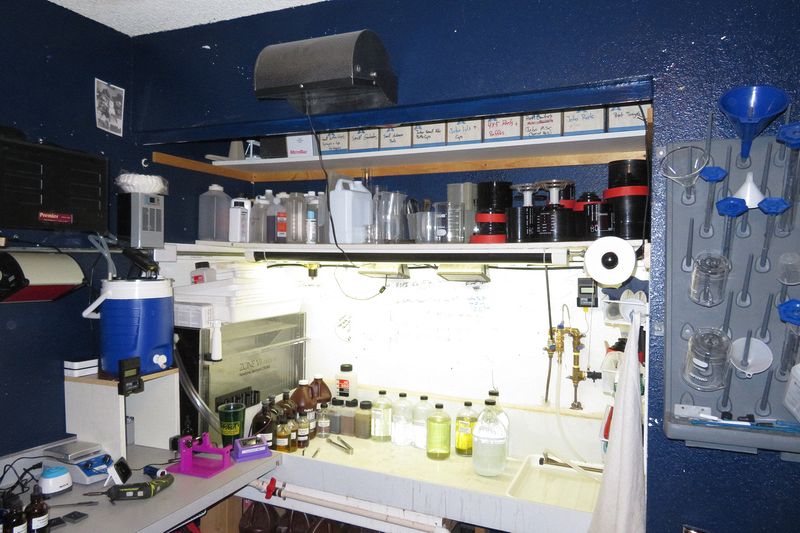
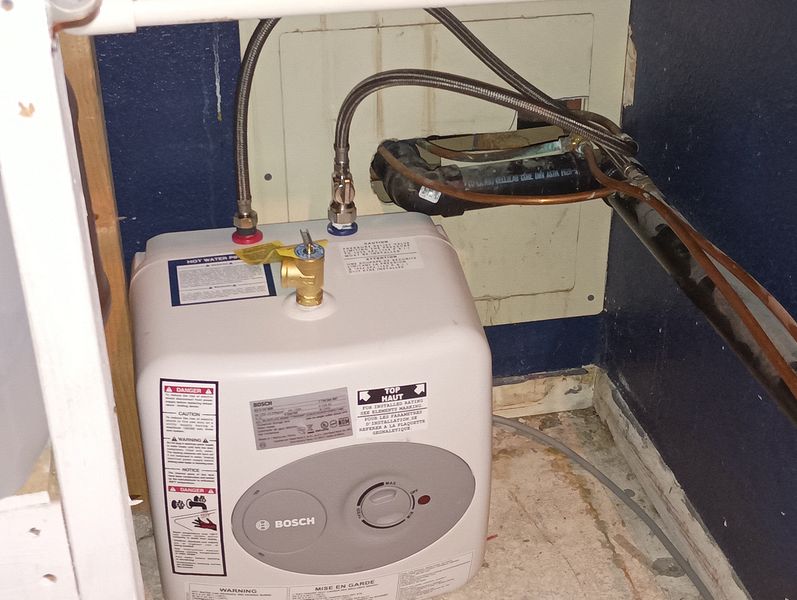
A five foot wet sink was constructed by a friend who makes such thing for the chip making companies in my area. Welded acid & chemical resistant plastic, 1/2" thick. The back of the closet has a covered opening and when the plumbing is disconnected nothing will show. An On-Demand water heater was installed under the sink A substantial frame was made to hold the sink and the huge Zone VI Print Washer.
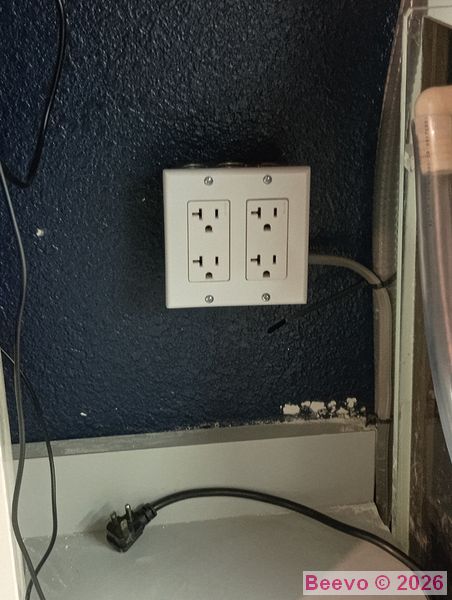
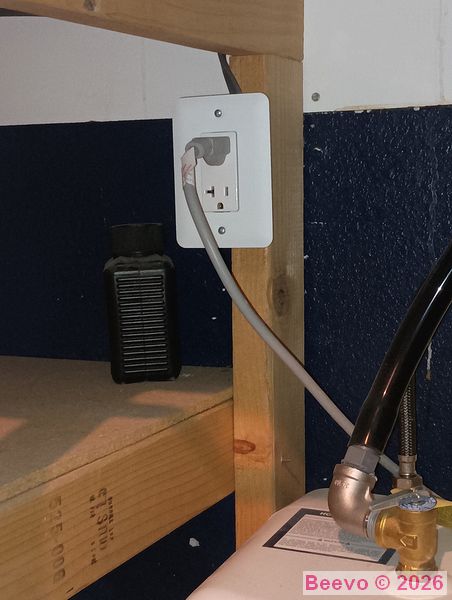
I had added a small Refrigerator/Freezer a few months after the installation of the point of use hot water heater. I was processing some C41 4x5 sheets and had used the majority of the water in the heater to fill the Jobo processor and had a small bucket with a Sous Vide heater in my tempering bath. A perfect storm of the Water Heater re-heating, the Jobo heating and the tempering bath running occurred when the refrigerator compressor came on. I found myself in the dark and the realization that my electrical loads from years ago were not going to cut it now...
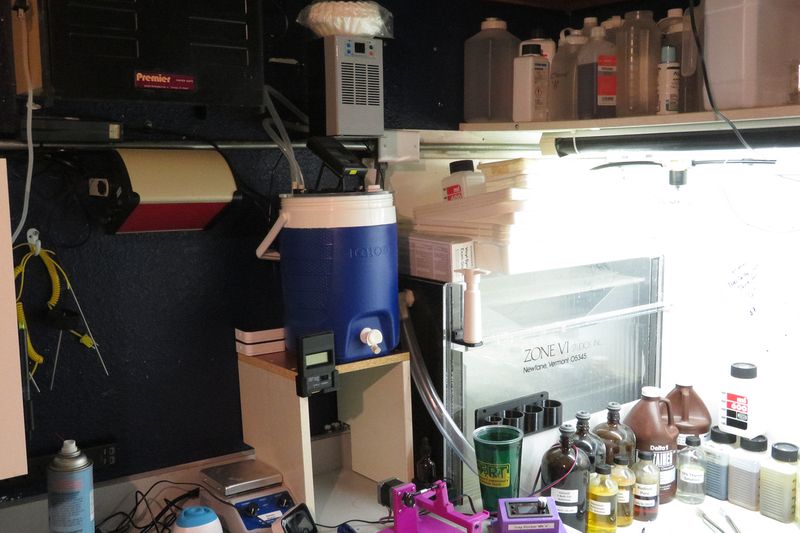
I ran down to Home Despot and got 50' of 12 gauge solid and some 20A receptacles and proceeded to add two 20A circuits to the darkroom. One circuit is solely for the water heater and is pictured in the RH image. I added an outlet box to the work table and it is located just to the right of the chiller setup in the LH picture below. The fridge will be plugged into the work table outlet (cord seen in the LH image) and that is where the tempering bath will be plugged in when used. The Jobo will stay on the existing house circuit as I have never had issues in the past due to the relatively low current draw. I added a short power strip with USB outlets at the top of the backsplash.
I do have to say, Damn, electrical wire has really gotten expensive!!
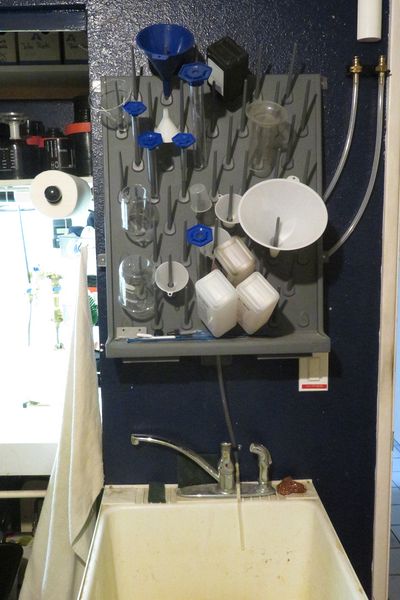
I installed a standard freestanding laundry sink and a laboratory glassware rack. The glassware rack was sourced from Amazon and has a drip pan which has a drain tube that drops into the sink.
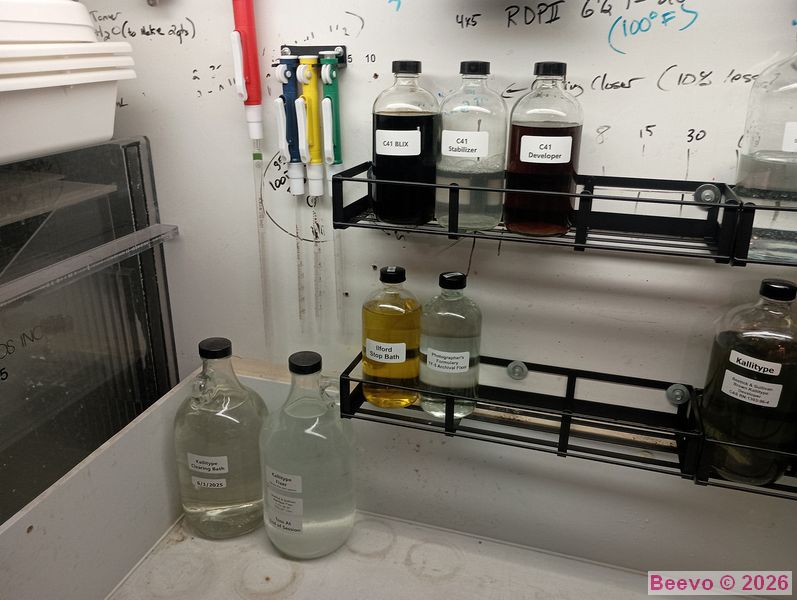
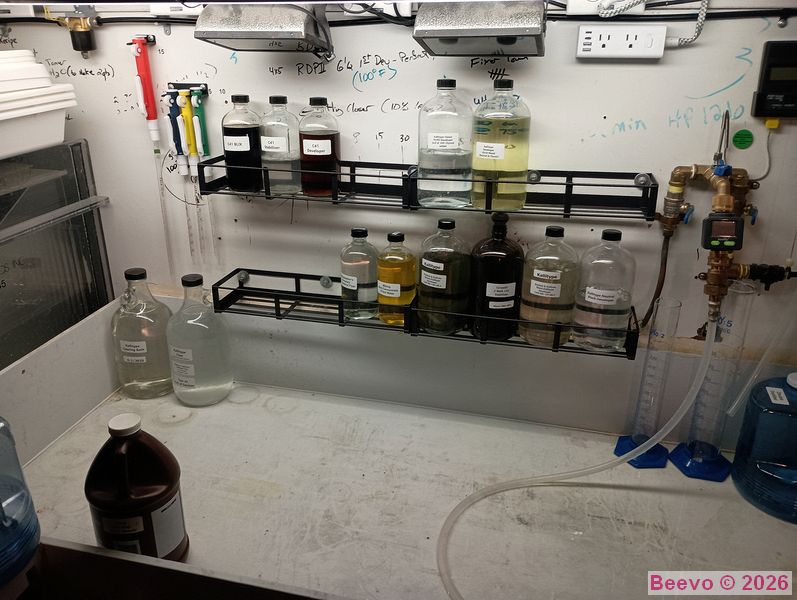
I bought a modular spice rack for the kitchen in May 2026 and while installing it I kept thinking this might be the salvation for all the bottles that seem to occupy the wet sink. I am constantly moving them around and to get them up and out of the way seemed to be a good addition. The rack mounts were not conducive to this installation and three wood screws per rack will support them well. the center screws on each rack actually hit the wall studs.
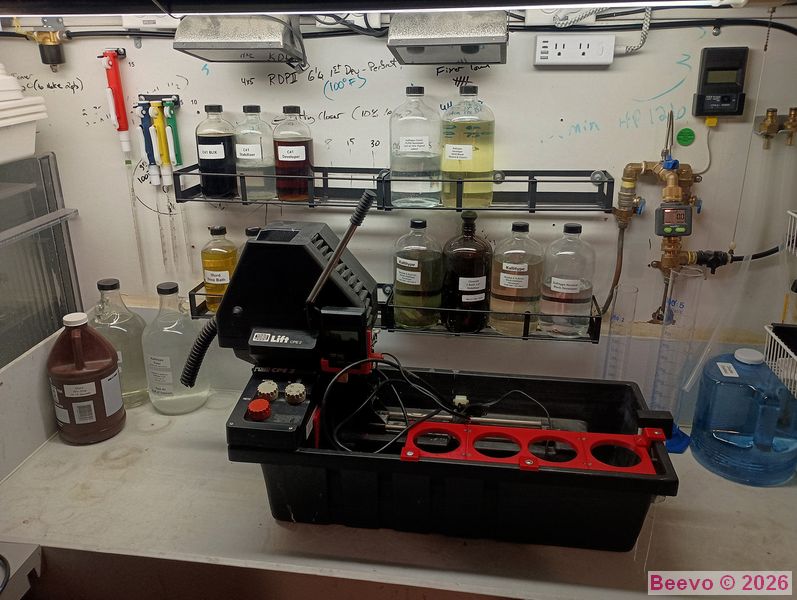
The final results. Plenty of room for the Jobo CPE processor and only a couple of stray bottles sitting in the sink. I added a short power strip with USB outlets at the top of the backsplash.
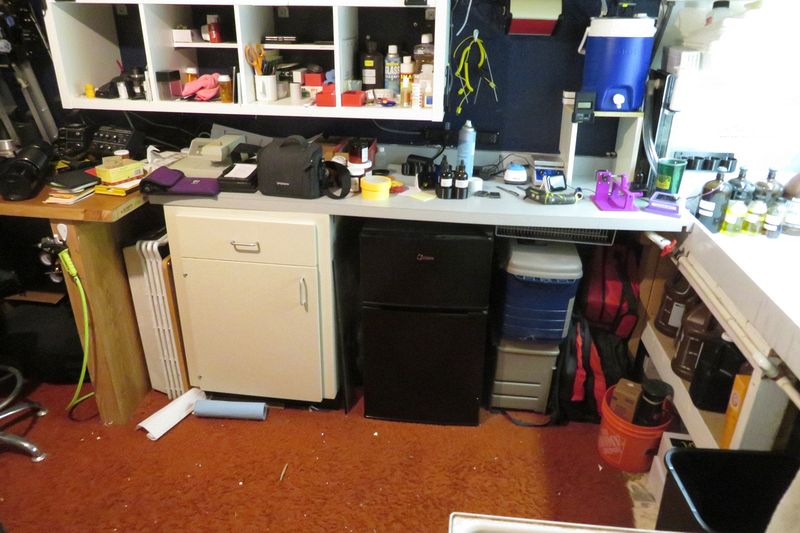
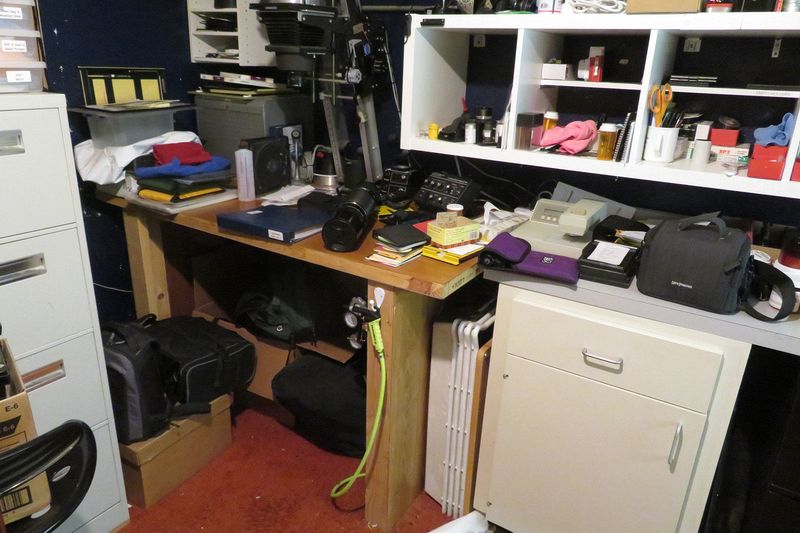
An 8' piece of surplus countertop supported on one end by a surplus cabinet provided a work area along with storage. A small apartment refrigerator/freezer is tucked underneath. The table top of the enlarger stand is a nicely varnished solid core door. The enlarger bolts directly to the table top. The frame of the table is 2x4 and provides a vibration free work surface. The area under the table will be used for Banker's Box storage once the clean up in the darkroom is completed.
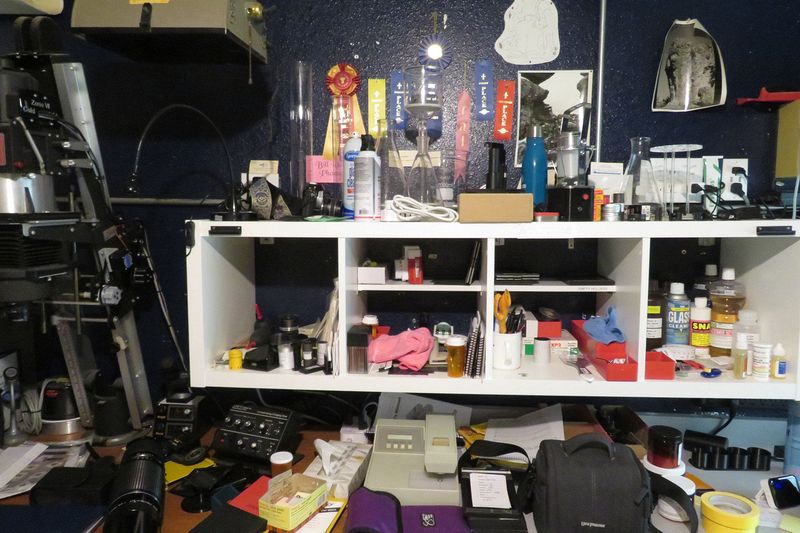
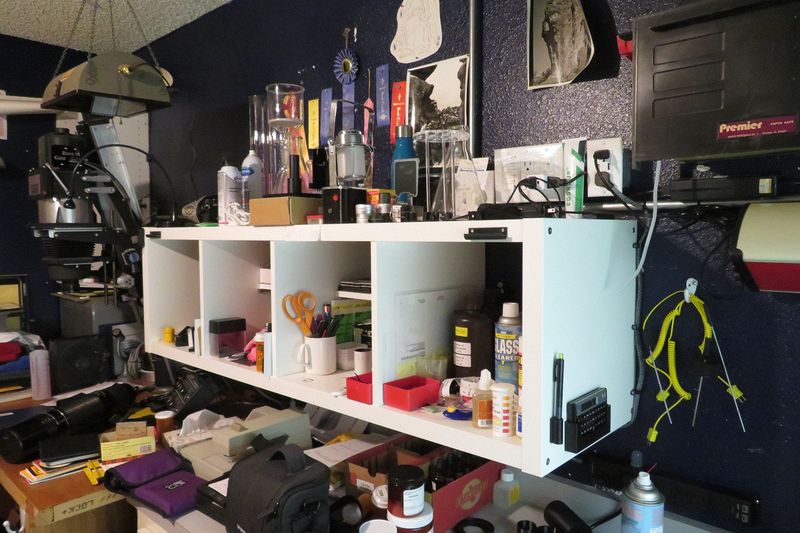
Some Ikea shelving was installed above the work counter.
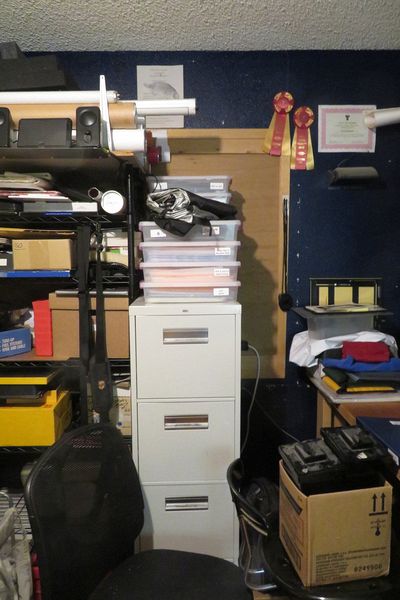
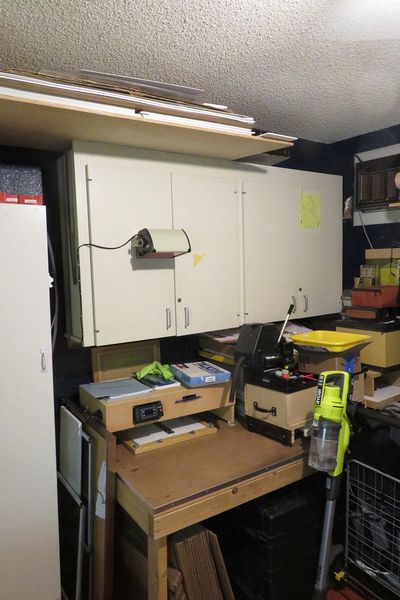
The file cabinet stores film holders, and various other items pertaining to darkroom and photography pursuits. The plastic tubs on top of the cabinet hold my negatives, see my page about Negative Storage.
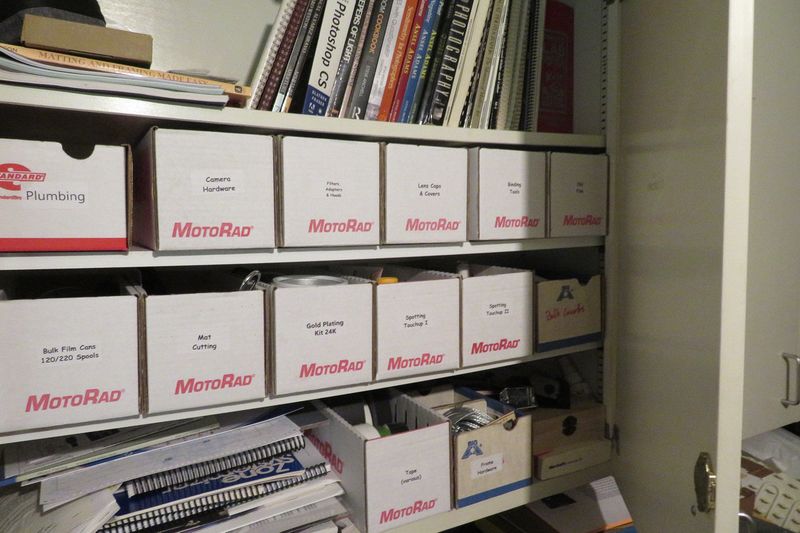
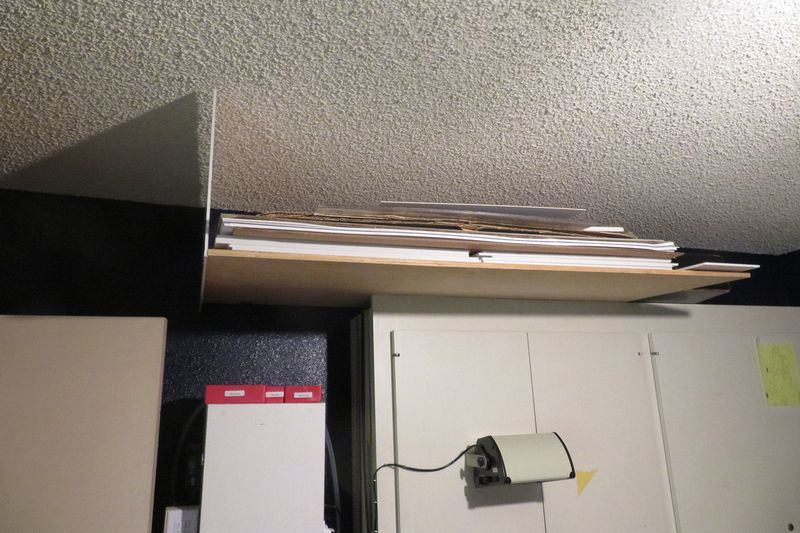
The wall cabinets are sized to fit automotive cardboard parts bins. I got 50 of them for $ .75 each off of eBay. I added some overhead storage to provide a safe place for mat and foam board stock.
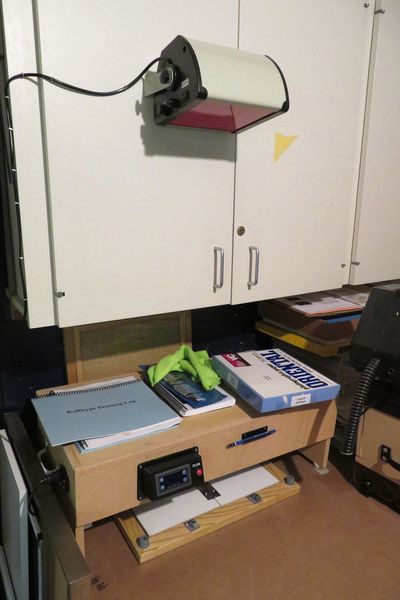
My exposure work area for alternate process work. Red safe light to provide a little bit of illumination for loading the Exposure Unit.
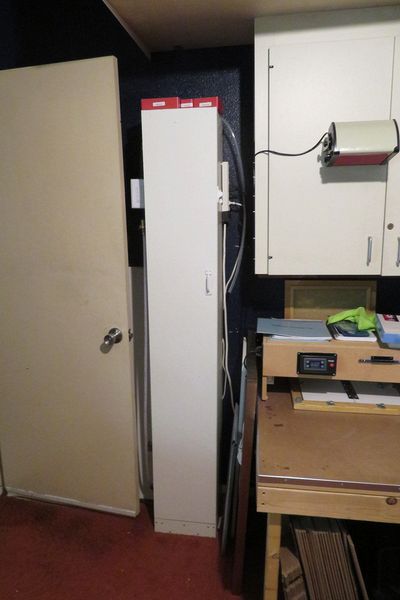
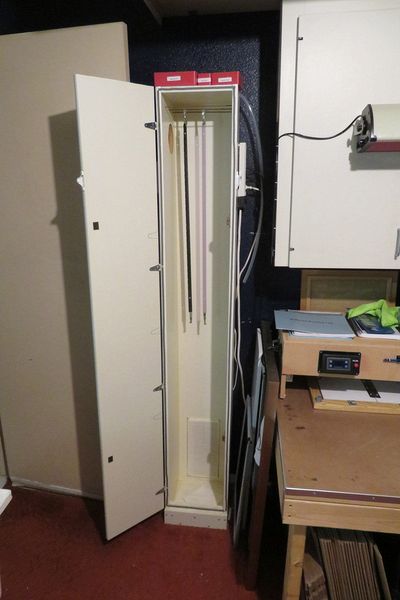
The Film Drying Cabinet is tucked between the door and the end of the wall cabinet storage. No, the cabinet is NOT that big, those are 110/16mm negatives...